Love this? Save it for later!
Share the inspiration with your friends
The smoke alarm went off. Not because anything was burning, but because I had just pulled a baking sheet of chicken thighs out of a 425-degree oven and the sheer wave of sweet, smoky, sticky heat hit the sensor. I stood there, holding the pan with a kitchen towel, letting the sauce bubble and hiss as it settled. The kitchen smelled like a summer cookout, but it was a random Tuesday in February and I had about thirty minutes to get dinner on the table. That was the moment I realized I didn’t need a grill to get that deep, caramelized barbecue flavor. I just needed an oven, a wire rack, and a little bit of patience. These Juicy Oven BBQ Chicken Thighs have been a regular on my dinner rotation ever since. They are the kind of recipe you make once and then immediately text your friends about. Honestly, they are better than anything I have ever pulled off a grill, and they require way less hovering. The skin gets crispy, the meat stays tender, and the sauce turns into this sticky, almost candied coating that is just impossible to resist.
I have made this recipe for weeknight dinners, for meal prep Sundays, and even for a small backyard get-together where everyone assumed I had been standing over a charcoal chimney all afternoon. I just smiled and nodded. Let them think I worked hard for it. The truth is, this is one of the easiest ways to get a deeply satisfying, crowd-pleasing dinner on the table with almost zero active cooking time. It is the kind of meal that makes you feel like you have your life together, even if you are just barely keeping up. And let’s be real, we all need more of those nights. So, if you have been looking for a reliable, foolproof method for making Juicy Oven BBQ Chicken Thighs that come out perfect every single time, you have found it. No grill required, no special equipment, just a few simple tricks that make all the difference.
Why You’ll Love This Recipe
I have tested this recipe more times than I care to admit. I have tried different temperatures, different racks, different sauces. I have made it with bone-in, skin-on thighs and boneless, skinless ones. I have even tried it with a dry rub versus a wet sauce. This version is the one that wins every single time. Here is why you are going to love it as much as I do:
- Quick & Easy : From start to finish, you are looking at about 35-40 minutes. Most of that is hands-off oven time, so you can throw together a side salad or just sit down and breathe for a minute.
- Simple Ingredients : You probably already have everything you need in your pantry and fridge. A good bottle of BBQ sauce, some spices, and chicken thighs. No fancy grocery store trips required.
- Perfect for Any Occasion : These are great for a busy weeknight dinner, but they are also fancy enough to serve to guests. Pair them with some coleslaw and cornbread, and you have a meal that feels like a celebration.
- Crowd-Pleaser : I have yet to meet someone who doesn’t love a sticky, juicy, flavorful chicken thigh. Kids love the sweetness, and adults appreciate the savory depth. It is a universal win.
- Unbelievably Delicious : The combination of the crispy, rendered skin and the sticky, caramelized sauce is pure comfort food magic. It hits every single note you want in a barbecue chicken.
What makes this recipe different from the rest is the technique. We are not just slathering sauce on raw chicken and hoping for the best. We are baking the thighs first to render the fat and get the skin crispy, then we are coating them in sauce and giving them a final blast of high heat to create that perfect sticky glaze. It is a simple two-step process that makes a world of difference. This isn’t just another version of oven-baked chicken. It is the best version. It is the kind of recipe that makes you close your eyes after the first bite because it is exactly what you were craving. It is comfort food reimagined—healthier than takeout, faster than grilling, but with the same soul-soothing satisfaction. Perfect for impressing guests without stress, or turning a simple Tuesday into something memorable.
What Ingredients You Will Need
This recipe uses simple, wholesome ingredients to deliver bold flavor and satisfying texture without the fuss. Most of these are pantry staples or easy to find at any grocery store. Let’s break down what you need and why each ingredient matters.
- Bone-in, Skin-on Chicken Thighs (2 lbs / about 900g): This is the star of the show. The bone keeps the meat incredibly juicy during the long bake, and the skin is what gets that amazing crispy texture. You can use boneless, skinless thighs if you are in a pinch, but you will lose some of that crispy skin magic. I prefer getting thighs that are roughly the same size so they cook evenly.
- Your Favorite BBQ Sauce (1 cup / 240 ml): This is where you can make the recipe your own. I personally love a smoky, slightly sweet Kansas City-style sauce, but a tangy Carolina mustard sauce or a spicy chipotle sauce would also be incredible. Use a good quality brand you already enjoy. I often use Sweet Baby Ray’s or Stubb’s, but feel free to experiment.
- Smoked Paprika (1 tablespoon): This adds a deep, smoky flavor that mimics the taste of an actual barbecue. It is non-negotiable for that authentic flavor profile. If you only have sweet paprika, it will still be good, but the smoked version really elevates the dish.
- Garlic Powder (1 teaspoon): A savory base note that complements the sweetness of the BBQ sauce. Fresh garlic can burn under the high heat, so garlic powder is the better choice here.
- Onion Powder (1 teaspoon): Adds a subtle sweetness and depth without being overpowering. It works in the background to make the overall flavor more complex.
- Salt (1 teaspoon): Essential for seasoning the chicken skin and drawing out moisture, which helps it crisp up. I use kosher salt for its clean flavor and easy pinch-ability.
- Black Pepper (½ teaspoon): A little bit of heat and earthiness to balance the sweet and smoky flavors. Freshly ground is always best.
- Olive Oil (1 tablespoon): Helps the spices stick to the chicken and encourages the skin to brown and crisp in the oven.
- Optional: Honey or Brown Sugar (1-2 tablespoons): If you want an extra-sticky, candy-like glaze, mix a little honey or brown sugar into your BBQ sauce before the final brush. It adds a beautiful sheen and a little extra sweetness.
For the best texture, look for chicken thighs that are plump and have a good amount of fat under the skin. The fat is what renders and keeps the meat moist. If you are looking for a gluten-free option, double-check your BBQ sauce label, as some brands use wheat-based thickeners. Most are naturally gluten-free, but it is always good to be sure. You can also swap the smoked paprika for chipotle powder if you want a spicier kick. The beauty of this recipe is its flexibility.
Equipment Needed
You do not need a lot of fancy equipment to make this recipe, which is part of its charm. Here is what you will need to get the job done:
- Baking Sheet (Half-Sheet Pan): A sturdy, rimmed baking sheet is essential. The rim catches any drips and prevents a mess in your oven. A standard 13×18 inch pan works perfectly.
- Wire Rack (Fits Inside the Baking Sheet): This is the secret weapon. Elevating the chicken on a wire rack allows hot air to circulate all around the thighs, ensuring the skin gets crispy on the bottom as well as the top. Without it, the bottom of the chicken sits in its own juices and gets soggy.
- Small Bowl: For mixing your spice rub.
- Pastry Brush or Basting Brush: For applying the BBQ sauce evenly. A silicone brush is great because it is easy to clean and doesn’t shed bristles.
- Tongs: For flipping and moving the hot chicken thighs around. A good pair of sturdy tongs is a lifesaver.
- Instant-Read Meat Thermometer (Optional but Recommended): This takes the guesswork out of cooking chicken. You are looking for an internal temperature of 165°F (74°C) for safety, but thighs are best at around 175-185°F (80-85°C) where the connective tissue breaks down and they become fall-apart tender.
- Aluminum Foil: For covering the baking sheet if the chicken starts to brown too quickly, though it rarely happens with this method.
If you do not have a wire rack, you can try to use a few crumpled pieces of foil to elevate the chicken, but a wire rack is really the best tool for the job. They are inexpensive and widely available. I have had the same set of cooling racks for years, and they get used for everything from roasting vegetables to cooling cookies. A good investment for any kitchen.
Preparation Method
Alright, let’s get cooking. This process is straightforward, but following these steps in order is the key to achieving that perfect juicy, crispy, sticky result. Trust the process, and you will be rewarded.
- Preheat and Prep (5 minutes): First things first, move your oven rack to the middle position and preheat your oven to 400°F (200°C). While the oven is heating up, pat your chicken thighs dry with paper towels. This is a crucial step. Removing the surface moisture is what allows the skin to get crispy instead of steaming. Place the thighs on a plate and let them sit at room temperature for about 10 minutes while you prepare the spice rub.
- Make the Spice Rub (2 minutes): In a small bowl, combine the smoked paprika, garlic powder, onion powder, salt, and black pepper. Mix them together with a fork until everything is evenly distributed. The smell alone at this point is enough to make you hungry.
- Season the Chicken (3 minutes): Drizzle the olive oil over the chicken thighs and use your hands to rub it all over the skin and a little bit underneath. Then, sprinkle the spice rub generously over all sides of the thighs. Make sure every bit of skin is coated. This is where the flavor foundation is built. Place the seasoned thighs skin-side up on the wire rack set inside the baking sheet. Make sure they are not touching each other; give them a little space so the heat can circulate.
- First Bake: Crisp the Skin (25 minutes): Place the baking sheet in the preheated oven and bake for 25 minutes. During this time, the fat under the skin will render out, the skin will start to crisp up, and the chicken will begin to cook through. You will see the fat bubbling and sizzling. It is a beautiful thing. Do not open the oven door during this time. We want to keep that heat steady.
- Apply the First Coat of BBQ Sauce (5 minutes): After 25 minutes, carefully remove the baking sheet from the oven. Using a basting brush, generously brush each chicken thigh with your BBQ sauce. Make sure to cover the entire surface of the skin. Don’t be shy with it. This is the first layer of that sticky, caramelized goodness.
- Second Bake: Caramelize the Sauce (10 minutes): Return the baking sheet to the oven and increase the temperature to 425°F (220°C). Bake for another 10 minutes. The higher heat will cause the sugar in the BBQ sauce to caramelize, creating that beautiful, sticky, slightly charred glaze. The kitchen is going to smell incredible right now.
- Apply the Final Coat and Broil (3-5 minutes): Remove the sheet from the oven again. Apply a second, thinner coat of BBQ sauce. This is where you can add that optional honey or brown sugar if you want an extra-sticky finish. Now, switch your oven to the broil setting (high). Place the baking sheet back in the oven, but watch it very closely. Broil for 2-5 minutes, depending on your oven, until the sauce is bubbly and has those dark, caramelized spots. This happens fast, so do not walk away. You want char, not burnt.
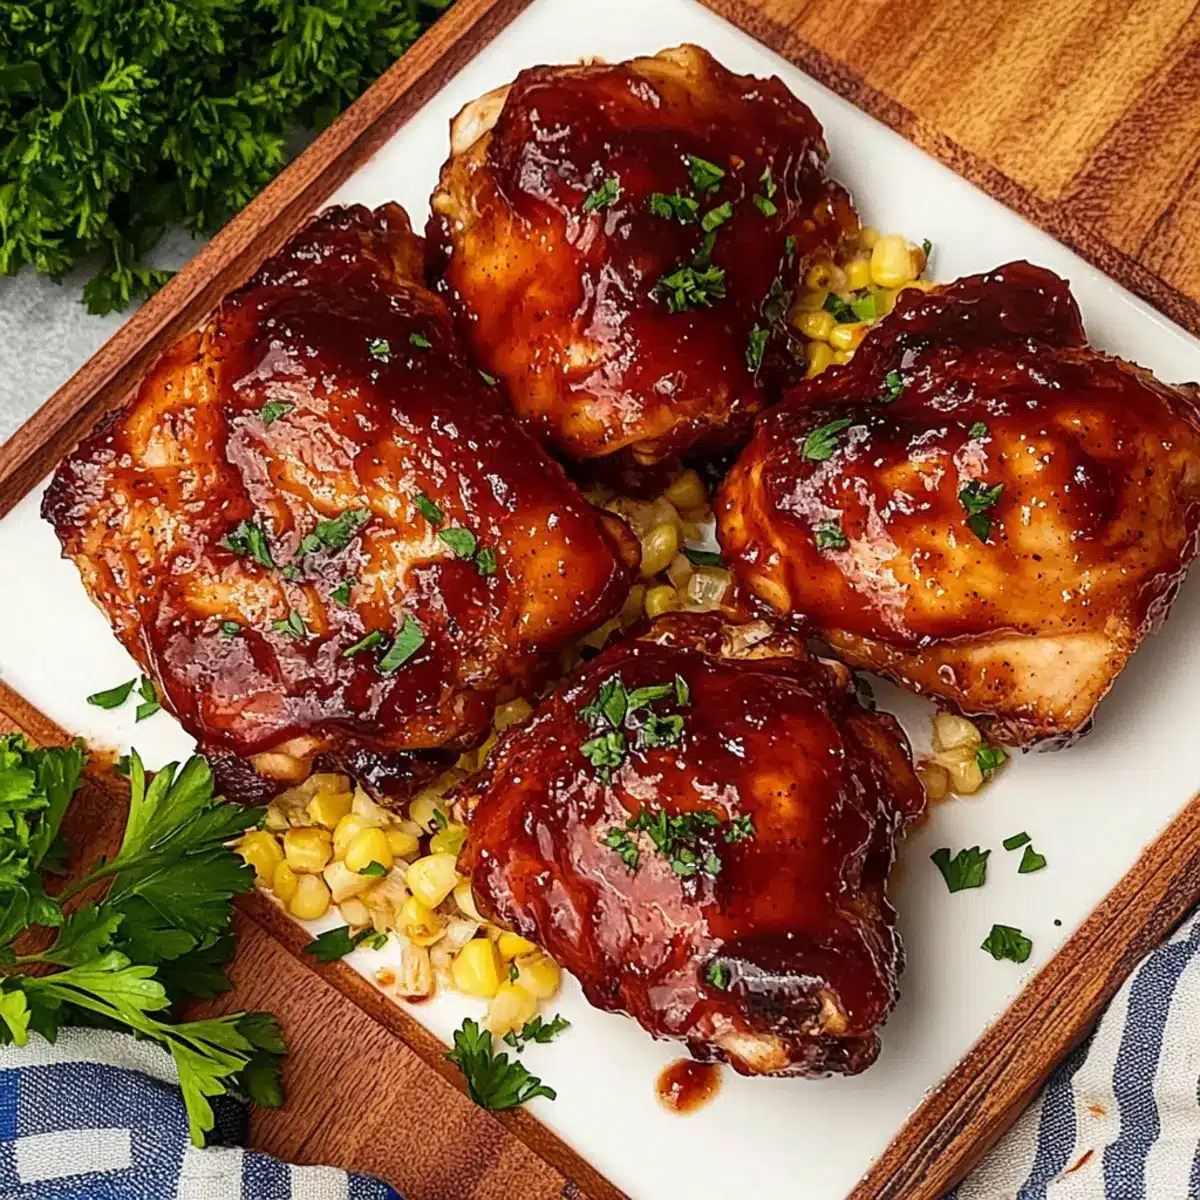
- Rest and Serve (5 minutes): Remove the chicken from the oven and let it rest on the wire rack for 5 minutes. This allows the juices to redistribute throughout the meat, ensuring every bite is moist and tender. Do not skip this step! After resting, transfer the thighs to a serving platter. The skin should be crispy, the meat should be incredibly juicy and pull away from the bone easily, and the sauce should be perfectly sticky and caramelized.
Your internal temperature should read at least 165°F (74°C) in the thickest part of the thigh, but 175-185°F (80-85°C) is the sweet spot for that fall-apart texture. If you are using boneless thighs, the cooking time will be shorter, around 20 minutes for the first bake and 5-7 minutes for the second. Adjust your timing accordingly.
Cooking Tips & Techniques
I have learned a few things the hard way so you do not have to. Here are my best tips for nailing these Juicy Oven BBQ Chicken Thighs every single time.
Patience is a Virtue (with the Skin): The biggest mistake people make is not drying the chicken properly. If the skin is even a little bit damp, it will steam instead of crisp. Take the extra 30 seconds to really pat it dry with paper towels. I have also learned that letting the chicken sit uncovered in the fridge for an hour or two before cooking can help dry out the skin even more, but that is a pro-level move for when you have the time.
Do Not Overcrowd the Pan: If you crowd the chicken thighs on the wire rack, they will steam each other. They need space for the hot air to circulate. If you are cooking for a crowd, use two baking sheets or cook them in batches. Overcrowding is the number one enemy of crispy skin.
The Wire Rack is Your Best Friend: I cannot stress this enough. Baking the chicken directly on a baking sheet will result in soggy bottoms. The wire rack lifts the chicken up, allowing the rendered fat to drip down and the heat to crisp the underside. It makes all the difference between good chicken and great chicken.
Watch the Broiler Like a Hawk: The final broil is where the magic happens, but it is also where things can go wrong very quickly. Every oven is different. Your broiler might be a dragon that burns everything in 30 seconds, or it might be gentle and take a full 5 minutes. Stay by the oven, keep the light on, and watch it. You are looking for the sauce to bubble and darken, not turn black.
Double Sauce for the Win: Applying the sauce in two coats is a game-changer. The first coat bakes into the skin, creating a base layer of flavor. The second coat, applied right before the broil, creates that thick, sticky, candy-like glaze. It is a simple technique that delivers a much more complex and satisfying result than just basting once.
I once forgot to put the wire rack in the pan and ended up with soggy, sad chicken. It was still edible, but it was a far cry from the crispy, sticky perfection I was after. Learn from my mistakes, my friends. Use the rack. Pat the chicken dry. Watch the broiler. Your taste buds will thank you.
Variations & Adaptations
One of the best things about this recipe is how easy it is to adapt to your own tastes and dietary needs. Here are a few of my favorite variations.
Spicy Chipotle Version: If you like heat, mix 1-2 tablespoons of adobo sauce from a can of chipotle peppers into your BBQ sauce before applying the final coat. You can also add a teaspoon of chipotle powder to the dry spice rub. The smoky heat pairs beautifully with the sweetness of the sauce. I made this version for a game day party, and it disappeared in minutes.
Honey Garlic Twist: For a sweeter, more savory profile, replace half of the BBQ sauce with a mix of honey, soy sauce (or tamari for gluten-free), and minced garlic. Brush this mixture on during the first coat, then use a regular BBQ sauce for the final coat. It gives you a beautiful balance of sweet and salty. This pairs wonderfully with a side of garlic butter chicken flavors if you are planning a larger spread.
Lemon Pepper Herb Version: Skip the BBQ sauce altogether for a lighter, brighter dish. Omit the paprika and use a lemon pepper seasoning blend instead. After the first bake, brush the chicken with a mixture of melted butter, lemon juice, and fresh herbs like thyme and rosemary. Finish with a quick broil to crisp the skin. This is a fantastic option for a summer dinner when you want something less heavy. It reminds me of the bright flavors in this lemon basil salmon.
Dietary Adaptations: This recipe is naturally gluten-free as long as you use a gluten-free BBQ sauce. It is also low-carb and keto-friendly if you choose a sugar-free BBQ sauce. For a dairy-free option, just ensure your BBQ sauce is dairy-free (most are). The recipe is very accommodating. If you are looking for a way to use up leftover chicken, try shredding it and using it in a one-pan chicken and rice dish for a completely different meal the next day.
Serving & Storage Suggestions
These Juicy Oven BBQ Chicken Thighs are incredibly versatile when it comes to serving. They are the star of the plate and pair well with so many sides.
Serving: Serve the chicken hot, straight from the oven. The skin is at its crispiest and the sauce is at its stickiest. I love to serve them on a large platter, garnished with a sprinkle of fresh parsley or chopped green onions for a pop of color. Classic pairings include creamy coleslaw, corn on the cob, baked beans, or a simple green salad. For a heartier meal, serve them over mashed potatoes or with a side of warm cornbread. The sticky sauce is amazing over rice or quinoa, too. For a lighter option, pair it with a fresh grilled chicken salad for a full barbecue-themed meal.
Storage: Leftover chicken thighs store beautifully. Let them cool completely, then place them in an airtight container in the refrigerator. They will stay good for up to 4 days. The sauce will thicken as it cools, which is perfectly fine. The flavors actually meld together even more overnight, making the leftovers almost better than the original meal.
Reheating: The best way to reheat these is in the oven. Preheat your oven to 350°F (175°C). Place the chicken thighs on a wire rack over a baking sheet and reheat for 10-15 minutes, or until warmed through. This will help re-crisp the skin. You can also use an air fryer at 350°F (175°C) for 5-7 minutes. Avoid the microwave, as it will make the skin rubbery and the chicken tough. If you are in a rush, you can microwave them, but be prepared for a less-than-ideal texture.
Freezing: These chicken thighs freeze exceptionally well. Once cooked and cooled, wrap each thigh individually in plastic wrap, then place them in a freezer-safe bag or container. They will keep for up to 3 months. To reheat, thaw them in the refrigerator overnight and then follow the oven reheating instructions above. It is a fantastic meal prep option for busy weeks.
Nutritional Information & Benefits
While these are a treat, they also offer some solid nutritional benefits, especially when compared to takeout versions. Here is a general estimate per serving (based on 4 servings, using a standard BBQ sauce).
- Calories: Approximately 450-550 kcal
- Protein: 30-35g
- Fat: 25-30g
- Carbohydrates: 20-25g (mostly from the BBQ sauce)
- Fiber: 1-2g
- Sugar: 15-20g
Health Benefits: Chicken thighs are a fantastic source of high-quality protein, which is essential for muscle repair and keeping you feeling full and satisfied. They are also rich in B vitamins, particularly B6 and B12, which are important for energy metabolism and brain health. The fat in the skin, while higher in calories, contains monounsaturated and polyunsaturated fats, which are heart-healthy in moderation. By baking instead of frying, you are avoiding unnecessary added oils and trans fats. This recipe is also a great source of iron and zinc, which support a healthy immune system.
Dietary Considerations: As mentioned, this recipe is naturally gluten-free and can be made low-carb or keto-friendly with a sugar-free BBQ sauce. It is not suitable for a vegan or vegetarian diet. The main potential allergens are chicken and the ingredients in the BBQ sauce (check for soy, wheat, or other additives). From a personal wellness perspective, I love that I can get a deeply satisfying, comfort-food meal on the table without feeling heavy or sluggish afterward. It is a balanced indulgence that fits perfectly into a healthy, realistic lifestyle.
Conclusion
If you have been searching for a foolproof way to get that perfect, sticky, crispy, juicy barbecue chicken without firing up the grill, your search is over. These Juicy Oven BBQ Chicken Thighs are everything you want in a weeknight dinner—fast, simple, and packed with flavor. They are forgiving enough for a beginner cook and impressive enough to serve to company. I love this recipe because it feels like a secret weapon. It is my go-to when I want to feel like I put in a ton of effort without actually doing much work. That is the kind of energy I want to bring to the kitchen.
I encourage you to make this recipe your own. Play with the spice rub, experiment with different BBQ sauces, and find the combination that makes you close your eyes and smile. That is the magic of cooking. When you make them, I would love to hear about it. Drop a comment below and tell me how they turned out, what sauce you used, or any fun variations you tried. Share this recipe with a friend who needs an easy win in the kitchen. And most importantly, enjoy every single sticky, delicious bite. You deserve it.
Frequently Asked Questions
Can I use boneless, skinless chicken thighs for this recipe?
Yes, you can absolutely use boneless, skinless thighs. The cooking time will be shorter. Bake them at 400°F (200°C) for about 15-18 minutes for the first bake, then apply the sauce and bake at 425°F (220°C) for another 5-7 minutes. You will miss out on the crispy skin, but the meat will still be very juicy and flavorful.
What is the best BBQ sauce to use for this recipe?
The best BBQ sauce is the one you love to eat! A classic Kansas City-style sauce (like Sweet Baby Ray’s or Stubb’s) works perfectly. For a tangier flavor, try a Carolina mustard sauce. For heat, use a spicy chipotle sauce. The key is to use a sauce you already enjoy, as its flavor will be the star of the dish.
How do I get the skin extra crispy?
The keys to crispy skin are threefold: 1) Pat the chicken thighs completely dry with paper towels before seasoning. 2) Use a wire rack on your baking sheet to allow air to circulate all around the chicken. 3) Do not skip the final broil. The high heat of the broiler helps render the last bit of fat and crisp the skin to perfection.
Can I make these chicken thighs in advance?
Yes, they are great for meal prep. You can cook them completely, let them cool, and store them in the refrigerator for up to 4 days. To reheat, place them on a wire rack over a baking sheet in a 350°F (175°C) oven for 10-15 minutes to re-crisp the skin. They also freeze well for up to 3 months.
Why is my chicken tough and dry?
Chicken thighs are very forgiving and hard to dry out, but it can happen if they are overcooked. The best way to ensure juicy chicken is to use an instant-read meat thermometer. Cook to an internal temperature of 165°F (74°C) at minimum, but thighs are best at 175-185°F (80-85°C). Also, make sure to let them rest for 5 minutes after cooking so the juices can redistribute.
Pin This Recipe!
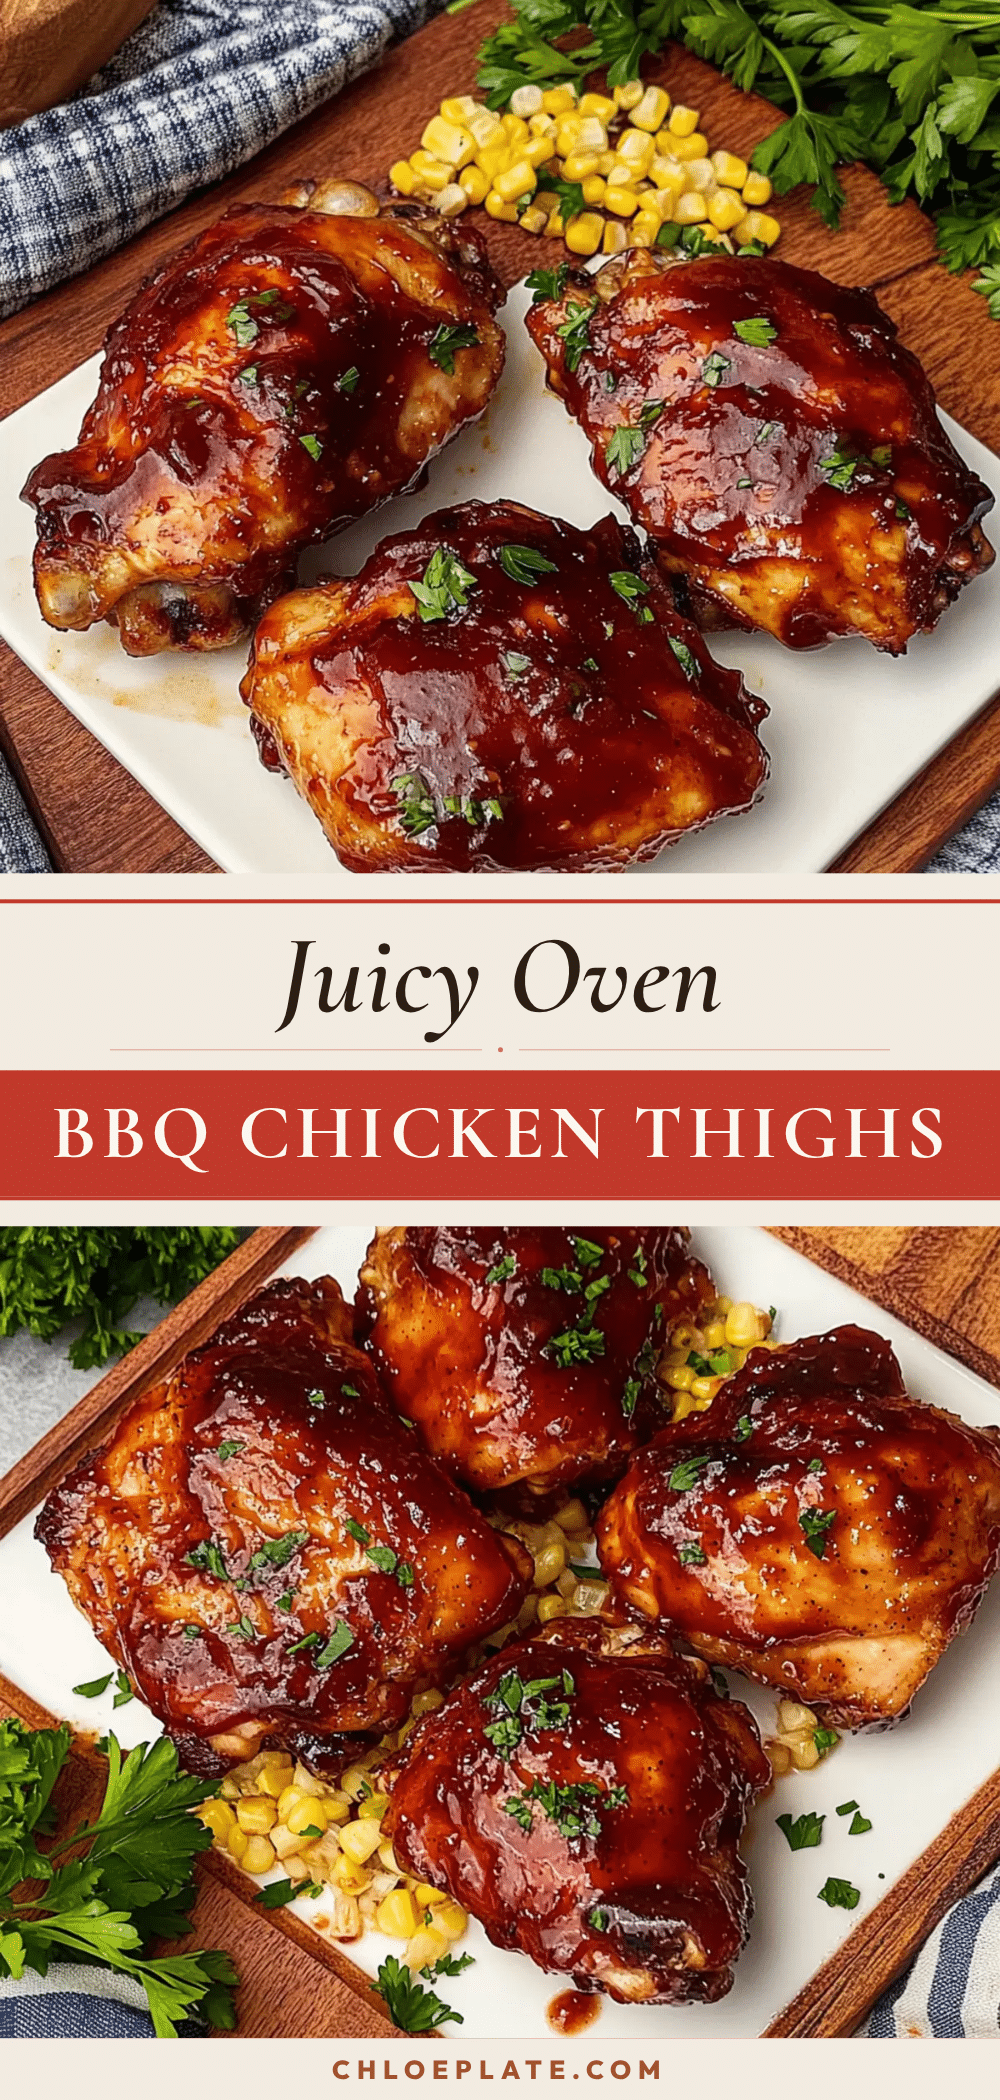
Juicy Oven BBQ Chicken Thighs: Easy, Best Homemade Recipe

These Juicy Oven BBQ Chicken Thighs are the easiest way to get that perfect sticky, crispy, and tender barbecue flavor without a grill. Ready in about 35-40 minutes, this foolproof recipe uses simple ingredients and a clever two-step baking method for a crowd-pleasing weeknight dinner.
- Prep Time: 10 minutes
- Cook Time: 38-40 minutes
- Total Time: 48-50 minutes
- Yield: 4 servings 1x
- Category: Main Course
- Cuisine: American
Ingredients
- 2 lbs (about 900g) bone-in, skin-on chicken thighs
- 1 cup (240 ml) your favorite BBQ sauce
- 1 tablespoon smoked paprika
- 1 teaspoon garlic powder
- 1 teaspoon onion powder
- 1 teaspoon salt
- ½ teaspoon black pepper
- 1 tablespoon olive oil
- 1–2 tablespoons honey or brown sugar (optional, for extra-sticky glaze)
Instructions
- Preheat and Prep (5 minutes): Move oven rack to the middle position and preheat oven to 400°F (200°C). Pat chicken thighs dry with paper towels. Let them sit at room temperature for about 10 minutes.
- Make the Spice Rub (2 minutes): In a small bowl, combine smoked paprika, garlic powder, onion powder, salt, and black pepper. Mix well.
- Season the Chicken (3 minutes): Drizzle olive oil over chicken thighs and rub all over the skin and underneath. Sprinkle spice rub generously over all sides. Place seasoned thighs skin-side up on a wire rack set inside a baking sheet, ensuring they are not touching.
- First Bake: Crisp the Skin (25 minutes): Bake for 25 minutes. Do not open the oven door during this time.
- Apply the First Coat of BBQ Sauce (5 minutes): Remove baking sheet from oven. Generously brush each chicken thigh with BBQ sauce.
- Second Bake: Caramelize the Sauce (10 minutes): Return baking sheet to oven and increase temperature to 425°F (220°C). Bake for another 10 minutes.
- Apply the Final Coat and Broil (3-5 minutes): Remove sheet from oven. Apply a second, thinner coat of BBQ sauce (add optional honey or brown sugar if desired). Switch oven to broil (high). Place baking sheet back in oven and broil for 2-5 minutes, watching closely, until sauce is bubbly and caramelized.
- Rest and Serve (5 minutes): Remove chicken from oven and let rest on wire rack for 5 minutes. Transfer to a serving platter. Internal temperature should be at least 165°F (74°C), ideally 175-185°F (80-85°C).
Notes
Pat chicken thighs completely dry for crispy skin. Use a wire rack to allow air circulation and prevent soggy bottoms. Watch the broiler closely to avoid burning. Apply sauce in two coats for a thick, sticky glaze. Let chicken rest for 5 minutes after cooking to redistribute juices.
Nutrition
- Serving Size: 1 serving (about 2 t
- Calories: 500
- Sugar: 18
- Sodium: 800
- Fat: 28
- Saturated Fat: 8
- Carbohydrates: 22
- Fiber: 1
- Protein: 33
Keywords: oven BBQ chicken thighs, juicy chicken thighs, crispy chicken thighs, easy chicken recipe, weeknight dinner, barbecue chicken, homemade BBQ chicken



