Love this? Save it for later!
Share the inspiration with your friends
The first time I made this creamy key lime smoothie bowl, it was honestly an accident. I had a couple of spotty bananas on the counter, a lone lime rolling around in the crisper drawer, and a can of coconut milk that had been staring at me for weeks. It was late morning, I was hungry, and I didn’t feel like chewing anything. You know those days? Where you just want something cold, creamy, and slightly sweet without putting in any real effort?
So I threw everything into the blender—bananas, lime juice, a splash of coconut milk, and some frozen cauliflower I had stashed away (don’t knock it until you try it). I wasn’t aiming for anything blog-worthy. I just wanted breakfast. But when I poured that thick, tangy, tropical mixture into a bowl and topped it with toasted coconut flakes, I stood there eating it over the kitchen counter and thought, Wait. This is actually incredible.
The lime cuts through the richness of the coconut in a way that feels fresh, not heavy. It’s bright without being sour, creamy without being cloying. And the texture? Thick enough to hold all your toppings, but smooth enough to eat with a spoon without feeling like you’re chewing your breakfast. That accidental bowl turned into a week-long obsession—I made it four times in seven days. My boyfriend started asking if we had a problem. I told him we had a solution.
This is that recipe. The one I didn’t plan, but now I can’t stop making. And honestly? I think you’re going to feel the same way.
Why You’ll Love This Creamy Key Lime Smoothie Bowl
Let me tell you why this smoothie bowl has earned a permanent spot in my morning rotation. It checks all the boxes without trying too hard.
- Quick & Easy: From fridge to bowl in under 5 minutes. No cooking, no waiting, no complicated steps. Just blend and go.
- Simple Ingredients: You probably have most of this in your kitchen right now. Frozen bananas, a lime, coconut milk—that’s basically it. No fancy superfood powders required.
- Perfect for Warm Mornings: When it’s too hot for oatmeal but you still want something satisfying, this bowl hits the spot. It’s like a tropical vacation in a bowl, minus the plane ticket.
- Crowd-Pleaser: I’ve served this to friends who swore they didn’t like smoothie bowls, and they asked for seconds. The key lime flavor is familiar but unexpected—everyone loves it.
- Unbelievably Creamy: The secret is frozen bananas plus a little coconut cream. No ice needed, which means no watery texture. It’s thick, luscious, and spoonable.
What makes this different from other smoothie bowls? Most recipes rely on yogurt or protein powder for thickness, which can make things chalky or tart in the wrong way. This one uses the natural creaminess of banana and coconut to create a base that’s silky and indulgent without being heavy. The lime juice adds just enough zing to wake up your taste buds without overwhelming them. It’s the kind of breakfast that makes you slow down and actually enjoy your morning.
I love this recipe because it feels like a treat but isn’t loaded with sugar or processed stuff. It’s comfort food that happens to be good for you—and that’s the sweet spot, isn’t it?
What Ingredients You Will Need
This creamy key lime smoothie bowl uses simple, whole ingredients that work together to create something truly special. No weird additives or hard-to-find items here. Just real food that blends beautifully.
For the Smoothie Base
- 2 large ripe bananas, frozen (the riper, the sweeter—look for brown spots for maximum natural sweetness)
- 1/2 cup full-fat coconut milk (canned, not the carton kind—it’s thicker and creamier; I prefer Thai Kitchen or Native Forest)
- Juice of 1 1/2 limes (about 3 tablespoons; fresh is non-negotiable here, bottled just won’t give you that bright kick)
- 1 tablespoon lime zest (from the same limes—don’t skip this, it adds so much aroma)
- 1/2 cup frozen cauliflower florets (trust me on this—adds creaminess without changing the flavor; you won’t taste it at all)
- 1 tablespoon maple syrup or agave (optional, only if your bananas aren’t sweet enough; I usually don’t need it)
For the Toppings (My Favorite Combo)
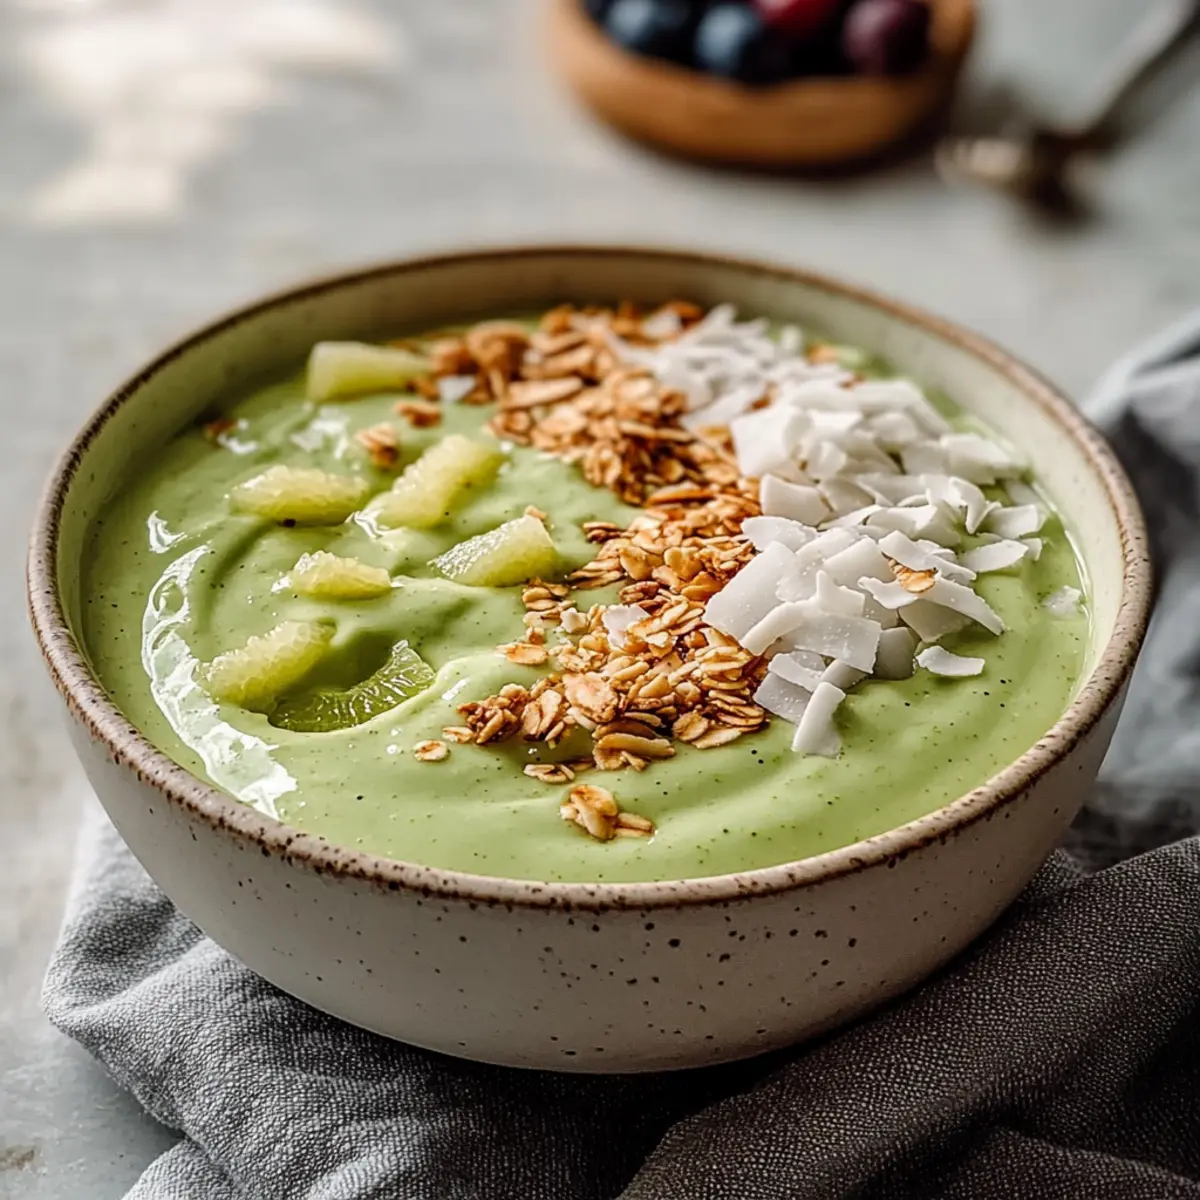
- 1/4 cup unsweetened shredded coconut, toasted (toasting brings out a nutty flavor—just 2-3 minutes in a dry pan)
- 1 tablespoon chia seeds (adds texture and a little omega-3 boost)
- 1/4 cup fresh berries (blueberries or raspberries work great; the tartness plays nicely with the lime)
- 1 tablespoon coconut chips (for crunch; I like Dang brand or just extra toasted flakes)
- Thin lime slices (for looks, but also because I like to bite into a little extra citrus)
If you’re looking to switch things up, you can use frozen mango instead of cauliflower for a fruitier base, or swap the coconut milk for oat milk if you want a lighter bowl (just note it won’t be as creamy). I’ve also used Greek yogurt in place of coconut milk for a protein boost—it works, but you lose that tropical vibe. For a nut-free version, skip the coconut chips and use sunflower seeds or pumpkin seeds instead.
One thing I’ve learned: always taste your lime juice before adding it. Some limes are more tart than others, and you don’t want to end up with a puckeringly sour bowl. If your limes are particularly sharp, start with juice from one lime and add more to taste.
Equipment Needed
You don’t need a fancy kitchen to make this bowl. Here’s what I use:
- A high-speed blender (Vitamix or Ninja work great; a regular blender will also work, but you might need to scrape down the sides a few times)
- A rubber spatula (for getting every last bit of that creamy goodness out of the blender)
- A small skillet (for toasting the coconut—nonstick is easiest)
- A zester or microplane (for getting that fine lime zest; a box grater works in a pinch)
- A sharp knife and cutting board (for slicing fruit and zesting)
- A measuring spoon set (for accuracy, though I often eyeb it now)
If you don’t have a high-speed blender, don’t worry. I’ve made this with a $30 blender from Target and it worked fine—just blend a little longer and add an extra tablespoon of coconut milk if it’s struggling. Pro tip: let your frozen bananas sit out for 5 minutes before blending so they soften slightly; it makes a huge difference in how easily everything comes together.
Preparation Method
Here’s how to make this creamy key lime smoothie bowl step by step. It’s quick, but there are a few little tricks that make it perfect every time.
- Prep your bananas. Peel them before freezing—trust me, trying to peel a frozen banana is a battle you don’t want. Slice them into chunks so they blend easier. If you forgot to freeze them beforehand, just use fresh bananas and add a handful of ice cubes (though the texture won’t be quite as thick).
- Zest and juice your limes. Zest first, then juice. Wash the limes well before zesting, and try to get only the green part—the white pith is bitter. You’ll need about 1 1/2 limes for the juice and 1 for the zest. Set the zest aside for now.
- Toast the coconut. Place the shredded coconut in a small dry skillet over medium heat. Stir constantly—coconut burns fast. After about 2-3 minutes, it should turn golden and smell nutty. Remove it from the pan immediately so it doesn’t continue cooking. Let it cool while you make the bowl.
- Blend the base. Add the frozen banana chunks, coconut milk, lime juice, frozen cauliflower, lime zest, and maple syrup (if using) to your blender. Start on low speed to break everything up, then gradually increase to high. Use the tamper or stop and scrape down the sides as needed. The mixture should be thick, smooth, and slightly fluffy—like soft serve ice cream. If it’s too thick to blend, add coconut milk one tablespoon at a time until it moves. If it’s too thin, add a few more frozen banana chunks or a handful of ice.
- Check the consistency. The perfect smoothie bowl should hold its shape when you scoop it. If it’s too runny, it won’t support your toppings. If it’s too thick, it’ll be hard to eat. Aim for a texture that’s between a milkshake and a thick yogurt. This is where experience comes in—after a few tries, you’ll know exactly what to look for.
- Assemble the bowl. Pour the smoothie base into a shallow bowl. Use the back of a spoon to create swirls and dips—this isn’t just for looks, it also helps the toppings stay put.
- Add the toppings. Sprinkle the toasted coconut, chia seeds, and fresh berries over the top. Add the coconut chips and a few thin lime slices for a pop of color. Serve immediately—this bowl waits for no one.
A quick note: if you’re making this for meal prep, you can blend the base and freeze it in individual portions. Just let it thaw for 10-15 minutes before scooping into bowls and adding toppings. I do this when I know I’ll have a busy week ahead.
Cooking Tips & Techniques
I’ve made this smoothie bowl probably fifty times by now, and I’ve learned a few things the hard way so you don’t have to.
Don’t over-blend. It’s tempting to let the blender run until everything is perfectly smooth, but over-blending can warm up the mixture and make it runny. Blend just until the ingredients come together, then stop. If you need to blend longer, use frozen ingredients that are really cold to compensate.
Use room temperature coconut milk. I know it sounds counterintuitive since we’re making a cold dish, but room temperature coconut milk blends more smoothly than cold. If your coconut milk is straight from the fridge, let it sit out for 10 minutes first. The cream will separate less, and you’ll get a silkier texture.
Toast your coconut in batches. I once tried to toast a whole cup of coconut at once, and half of it burned while the other half stayed raw. Spread it in a single layer in the pan, and work in smaller batches if needed. It’s worth the extra minute.
Taste as you go. Limes vary in acidity, bananas vary in sweetness. Before you pour the base into a bowl, taste it and adjust. Add a little more maple syrup if it’s too tart, or another squeeze of lime if it’s too sweet. This is your bowl—make it exactly how you like it.
Prep your toppings first. Nothing is worse than having a perfectly blended smoothie base sitting there while you frantically chop fruit or toast coconut. Get everything ready before you blend. The base waits for no one, and it will start to melt if you take too long.
One mistake I made early on: using too much liquid. I thought adding more coconut milk would make it creamier, but it just made it watery. Stick to the measurements, and if you want extra creaminess, add more frozen banana instead of more liquid.
Variations & Adaptations
This recipe is super flexible. Here are a few ways I’ve changed it up depending on what I have on hand or what I’m craving.
Dairy-Free & Vegan: It already is! But if you want a protein boost, add a scoop of vanilla or unflavored plant-based protein powder. Just reduce the coconut milk by a tablespoon or two to keep the texture thick.
Mango Key Lime Twist: Swap one of the frozen bananas for a cup of frozen mango chunks. The mango adds a tropical sweetness that pairs beautifully with the lime. This is my go-to summer version.
Green Smoothie Bowl: Add a handful of fresh spinach or kale to the blender. You won’t taste it (the lime and banana mask it completely), but you’ll get an extra dose of greens. I do this when I want to feel extra virtuous.
Low-Sugar Option: Use green-tipped bananas (less ripe) and skip the maple syrup. Add an extra tablespoon of lime juice for brightness and a pinch of stevia if needed. The cauliflower does double duty here—it adds bulk without sugar.
Nutty Crunch Version: Swap the coconut chips for chopped almonds or pecans. The crunch from nuts adds a completely different texture that I love when I’m in the mood for something more substantial.
I once made a version with frozen pineapple instead of cauliflower, and it was like a pina colada in bowl form. Not quite key lime anymore, but absolutely delicious. Don’t be afraid to experiment—that’s how the best recipes are born.
Serving & Storage Suggestions
This bowl is best eaten immediately, but here’s how to make the most of it.
Serving temperature: Serve cold, straight from the blender. The ideal consistency is thick enough to hold a spoon upright but soft enough to eat without a struggle. If it’s too hard, let it sit at room temperature for 2-3 minutes before digging in.
Presentation tips: I like to serve this in a wide, shallow bowl so the toppings have room to spread out. Arrange the toppings in sections rather than mixing them all together—it looks prettier and lets you taste each element individually. A sprinkle of lime zest on top adds a pop of green that photographs beautifully.
Storage: If you have leftovers (rare in my house, but it happens), pour the base into an airtight container and freeze for up to 2 weeks. When you’re ready to eat, let it thaw in the fridge for 20-30 minutes, then stir well. The texture won’t be quite as smooth as fresh, but it’s still good. I don’t recommend refrigerating it—the texture gets icy and weird.
Reheating: Don’t. This is a cold dish. If it’s frozen solid, just let it thaw naturally. Microwaving will ruin the texture completely.
Flavor development: The lime flavor actually mellows a bit after the bowl sits, so if you want a stronger citrus kick, add an extra squeeze of lime right before serving. The coconut flavor deepens as it sits, which is nice if you prefer a more mellow, tropical taste.
This bowl pairs beautifully with a side of gingerbread french toast bake if you’re hosting brunch, or you can keep it light and serve it alongside fresh carrot salad with citrus miso dressing for a refreshing summer meal.
Nutritional Information & Benefits
Here’s a rough estimate per serving (without toppings):
- Calories: 320
- Fat: 14g (mostly from coconut milk, which is full of healthy medium-chain triglycerides)
- Carbohydrates: 48g
- Fiber: 6g
- Sugar: 22g (natural from bananas and lime)
- Protein: 4g
- Vitamin C: 35% of your daily needs (thanks to the lime)
- Potassium: 600mg
The bananas provide natural energy and potassium, which is great for muscle function and blood pressure regulation. The lime is packed with vitamin C and antioxidants that support your immune system. Coconut milk gives you healthy fats that keep you full and satisfied, plus a little iron and magnesium. And the cauliflower? It’s a stealthy way to add fiber and vitamin K without changing the flavor. This bowl is naturally gluten-free, dairy-free, and vegan, making it a great option for a wide range of dietary needs.
I’m not a nutritionist, but I feel good eating this—and that matters more to me than any number on a label. It’s real food that makes me feel energized, not sluggish. That’s the kind of breakfast I can get behind.
Conclusion
This creamy key lime smoothie bowl has become my go-to breakfast for days when I want something that feels like a treat but doesn’t require any actual effort. It’s bright, tangy, and satisfying in a way that cold cereal just can’t compete with. The combination of lime and coconut is one of those flavor pairings that feels like a little bit of magic—it’s familiar but still exciting every time.
I hope you give this recipe a try and make it your own. Add your favorite toppings, adjust the sweetness to your liking, and don’t be afraid to experiment. That’s the beauty of a smoothie bowl—it’s forgiving, flexible, and always delicious. If you make it, I’d love to hear how it turned out. Drop a comment below or tag me in your photos. And if you’re looking for more easy breakfast inspiration, try my creamy blue chia pudding or energizing matcha overnight oats—both are just as simple and satisfying.
Here’s to mornings that taste like the tropics, even when you’re just standing in your kitchen in your pajamas. Enjoy every spoonful.
Frequently Asked Questions
Can I make this smoothie bowl without a high-speed blender?
Yes, absolutely. A regular blender will work, but you may need to blend a little longer and scrape down the sides more often. Let your frozen bananas soften for 5 minutes at room temperature first, and add an extra tablespoon of coconut milk if the blender struggles.
Can I use bottled lime juice instead of fresh?
I wouldn’t recommend it. Fresh lime juice has a brighter, more complex flavor that really makes this bowl shine. Bottled juice often tastes flat or metallic. Trust me, the extra 30 seconds it takes to squeeze a lime is worth it.
How do I make this smoothie bowl thicker?
Use more frozen banana or add an extra handful of frozen cauliflower. You can also reduce the coconut milk by a tablespoon or two. The key is to keep the liquid-to-frozen ratio balanced—too much liquid will make it runny every time.
Can I prep this smoothie bowl ahead of time?
You can blend the base and freeze it in individual portions for up to 2 weeks. Let it thaw for 10-15 minutes before scooping into bowls and adding toppings. The texture won’t be quite as perfect as fresh, but it’s still delicious and saves you time on busy mornings.
Is this smoothie bowl suitable for kids?
Yes! My niece loves this bowl. The key lime flavor is tangy but not too sour, and the sweetness from the bananas makes it kid-friendly. You can even let them pick their own toppings—it’s a fun way to get kids involved in making breakfast.
Pin This Recipe!
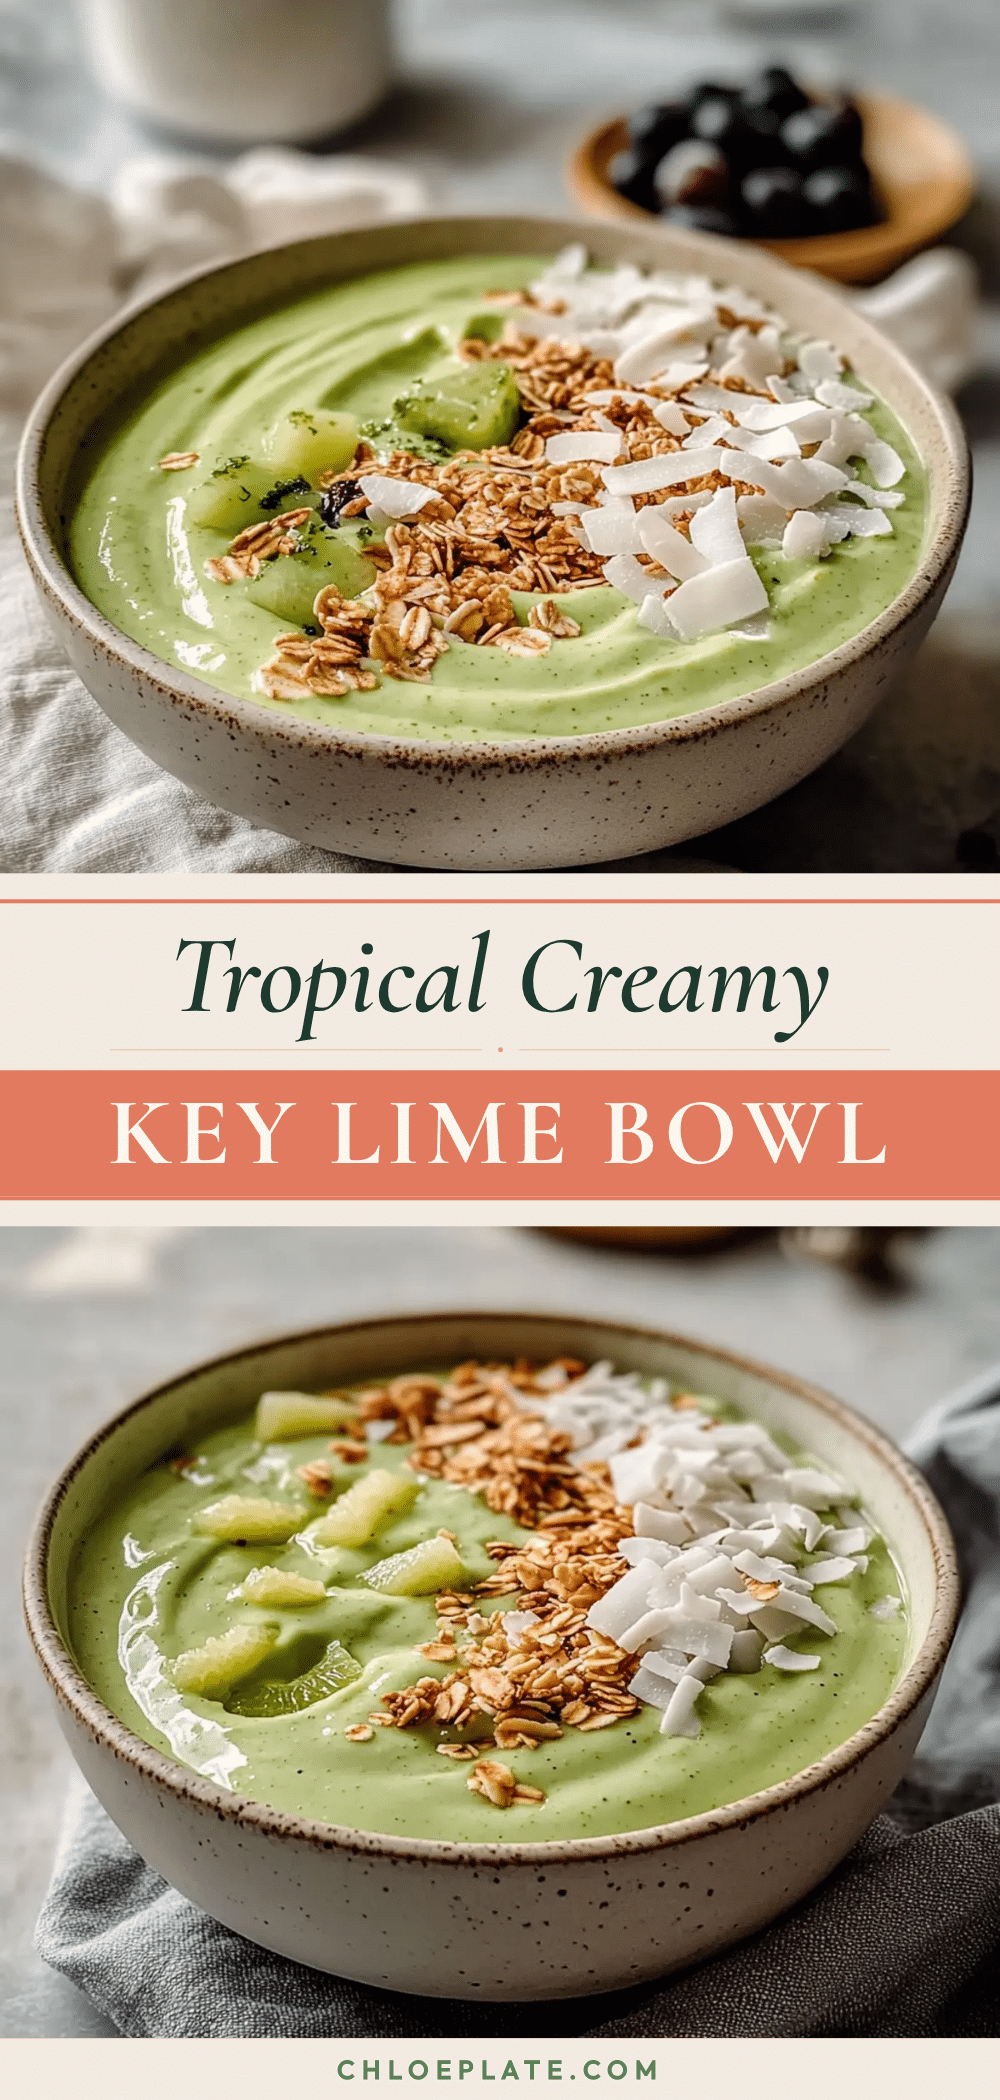
Creamy Key Lime Smoothie Bowl with Coconut
A bright, tangy, and creamy smoothie bowl made with frozen bananas, coconut milk, and fresh lime juice. Topped with toasted coconut, berries, and chia seeds for a tropical breakfast that feels like a treat but is naturally sweet and healthy.
- Prep Time: 5 minutes
- Cook Time: 3 minutes
- Total Time: 8 minutes
- Yield: 1 serving 1x
- Category: Breakfast
- Cuisine: American
Ingredients
- 2 large ripe bananas, frozen and sliced
- 1/2 cup full-fat coconut milk (canned)
- Juice of 1 1/2 limes (about 3 tablespoons)
- 1 tablespoon lime zest
- 1/2 cup frozen cauliflower florets
- 1 tablespoon maple syrup or agave (optional)
- 1/4 cup unsweetened shredded coconut, toasted
- 1 tablespoon chia seeds
- 1/4 cup fresh berries (blueberries or raspberries)
- 1 tablespoon coconut chips
- Thin lime slices (for garnish)
Instructions
- Peel and slice bananas before freezing. Let frozen bananas sit at room temperature for 5 minutes to soften slightly.
- Zest and juice the limes. Zest first, then juice. Set zest aside.
- Toast shredded coconut in a dry skillet over medium heat for 2-3 minutes, stirring constantly, until golden and fragrant. Remove from pan immediately and let cool.
- Add frozen banana chunks, coconut milk, lime juice, frozen cauliflower, lime zest, and maple syrup (if using) to a blender. Start on low speed, then increase to high. Blend until thick, smooth, and fluffy, scraping down sides as needed. If too thick, add coconut milk 1 tablespoon at a time. If too thin, add more frozen banana or ice.
- Check consistency: the smoothie base should hold its shape when scooped, like soft serve ice cream.
- Pour the smoothie base into a shallow bowl. Use the back of a spoon to create swirls and dips.
- Top with toasted coconut, chia seeds, fresh berries, coconut chips, and lime slices. Serve immediately.
Notes
For a thicker bowl, use more frozen banana or cauliflower. For a thinner bowl, add more coconut milk. Fresh lime juice is essential; bottled juice will not provide the same bright flavor. Toasting coconut in a single layer prevents burning. Prep all toppings before blending to prevent the base from melting. Leftover base can be frozen for up to 2 weeks; thaw 10-15 minutes before serving.
Nutrition
- Serving Size: 1 bowl
- Calories: 320
- Sugar: 22
- Sodium: 30
- Fat: 14
- Saturated Fat: 12
- Carbohydrates: 48
- Fiber: 6
- Protein: 4
Keywords: key lime smoothie bowl, coconut smoothie bowl, vegan breakfast, gluten-free breakfast, dairy-free smoothie bowl, tropical smoothie bowl, healthy breakfast



