Love this? Save it for later!
Share the inspiration with your friends
I didn’t set out to make a healthy candy. Honestly, I was just trying to use up the last of a bag of pitted dates before they turned into a solid brick. You know that moment when you open the pantry and a dried fruit stares back at you with judgment? That was me. I tossed the dates into the food processor with a handful of roasted peanuts, a pinch of salt, and a drizzle of maple syrup, mostly out of laziness. What came out was a crumbly, buttery, almost-too-good mixture that tasted suspiciously like the inside of a Butterfinger bar. I froze a piece out of curiosity, dipped it in chocolate the next day, and honestly? I haven’t bought a candy bar since.
This healthy homemade Butterfingers recipe is the kind of accident you keep on purpose. It’s crunchy, it’s sweet, it’s salty, and it has that signature flaky-crumbly texture that makes Butterfingers so addictive—only now it’s made from whole foods. No corn syrup, no weird preservatives, no refined sugar. Just dates, peanuts, a little coconut oil, and dark chocolate. The first time I handed one to my husband, he took a bite, paused, and said, “Wait, this is actually good.” High praise from someone who normally side-eyes my “healthy” experiments.
What I love most is how this recipe doesn’t ask you to compromise. You get that satisfying snap when you bite through the chocolate shell, followed by that melt-in-your-mouth, slightly crumbly peanut center. It’s the kind of treat that feels indulgent but leaves you feeling light, not sluggish. And honestly? That’s the whole point. If you’ve ever craved a candy bar but wished it didn’t come with a side of guilt, this is your answer.
Why You’ll Love This Recipe
- Quick & Easy: Comes together in under 20 minutes of active time. Most of the work is just waiting for the freezer to do its thing.
- Simple Ingredients: You only need five base ingredients, and you probably already have four of them in your kitchen right now.
- Perfect for Meal Prep: Make a batch on Sunday and have a guilt-free treat ready all week. They keep beautifully in the fridge or freezer.
- Crowd-Pleaser: I’ve served these at parties, and no one guessed they were healthy. Not once. Kids and adults alike go back for seconds.
- Unbelievably Delicious: The texture is spot-on—flaky, crunchy, and creamy all at once. The dark chocolate coating seals the deal.
What sets this recipe apart from other healthy candy attempts is the technique. Instead of using protein powder or artificial sweeteners, we rely on the natural caramel-like sweetness of Medjool dates and the rich fat from peanut butter and coconut oil. The result isn’t just edible—it’s genuinely crave-worthy. This isn’t a compromise version of a candy bar. It’s a reimagined one that happens to be better for you.
What Ingredients You Will Need
This recipe uses simple, wholesome ingredients to deliver that classic Butterfinger flavor and texture without any of the junk. Every ingredient has a job, and none of them are hard to find.
- Medjool Dates (1 cup, pitted): These are the backbone of the recipe. They provide natural sweetness and that sticky, caramel-like base that holds everything together. Make sure they’re soft and fresh—if they feel dry, soak them in warm water for 10 minutes and drain well before using. I prefer Medjool over Deglet Noor for their richer flavor and softer texture.
- Natural Peanut Butter (½ cup, creamy): Look for a brand with no added sugar or oil—just peanuts and salt. The natural oils help create that crumbly texture when mixed with the dates. I use Smucker’s Natural or Justin’s for consistent results. If you’re allergic to peanuts, almond butter or sunflower seed butter work beautifully here.
- Coconut Flour (2 tablespoons): This is the secret to getting that signature flaky, crumbly texture. Coconut flour absorbs moisture and creates a dry, almost sandy consistency that mimics the inside of a Butterfinger bar. Do not substitute with almond flour—it’s too oily and will make the filling dense.
- Maple Syrup (1 tablespoon): Just a touch to enhance the sweetness and help bind the mixture. You can also use honey or agave, but maple syrup adds a subtle warmth that pairs perfectly with the peanuts.
- Vanilla Extract (1 teaspoon): Rounds out the flavors and makes everything taste more like a dessert. Pure vanilla extract is best, but imitation works in a pinch.
- Salt (¼ teaspoon): A crucial element. Salt balances the sweetness and brings out the peanut flavor. If your peanut butter is already salted, you might want to skip this or reduce it slightly.
- Dark Chocolate Chips (1 cup, at least 70% cocoa): For the coating. Dark chocolate adds a rich, slightly bitter contrast to the sweet filling. I like Lily’s for a stevia-sweetened option or Enjoy Life for a dairy-free version. You can also use milk chocolate if you prefer a sweeter finish.
- Coconut Oil (1 tablespoon): Added to the chocolate for a smoother melt and a thinner coating. It also helps the chocolate set with a nice snap. Refined coconut oil has no coconut flavor, which is what I recommend here.
Equipment Needed
- Food Processor: A must for breaking down the dates and peanuts into a cohesive dough. A high-speed blender might work, but a food processor gives you more control over the texture.
- Parchment Paper: For lining the baking dish and making cleanup effortless. It also prevents the filling from sticking.
- 8×8-inch Baking Dish: The perfect size for pressing the filling into an even layer. A loaf pan works too, but the bars will be thicker.
- Double Boiler or Microwave-Safe Bowl: For melting the chocolate. A double boiler gives you more control, but the microwave works in a pinch—just go in 20-second intervals.
- Sharp Knife: For cutting the chilled filling into bars. A serrated knife works best to avoid crumbling.
- Parchment Paper or Wax Paper: For setting the dipped bars on while the chocolate hardens.
If you don’t have a food processor, you can mash the dates by hand with a fork, but it takes a lot of elbow grease and the texture won’t be as uniform. Trust me, the food processor is worth the investment here.
Preparation Method
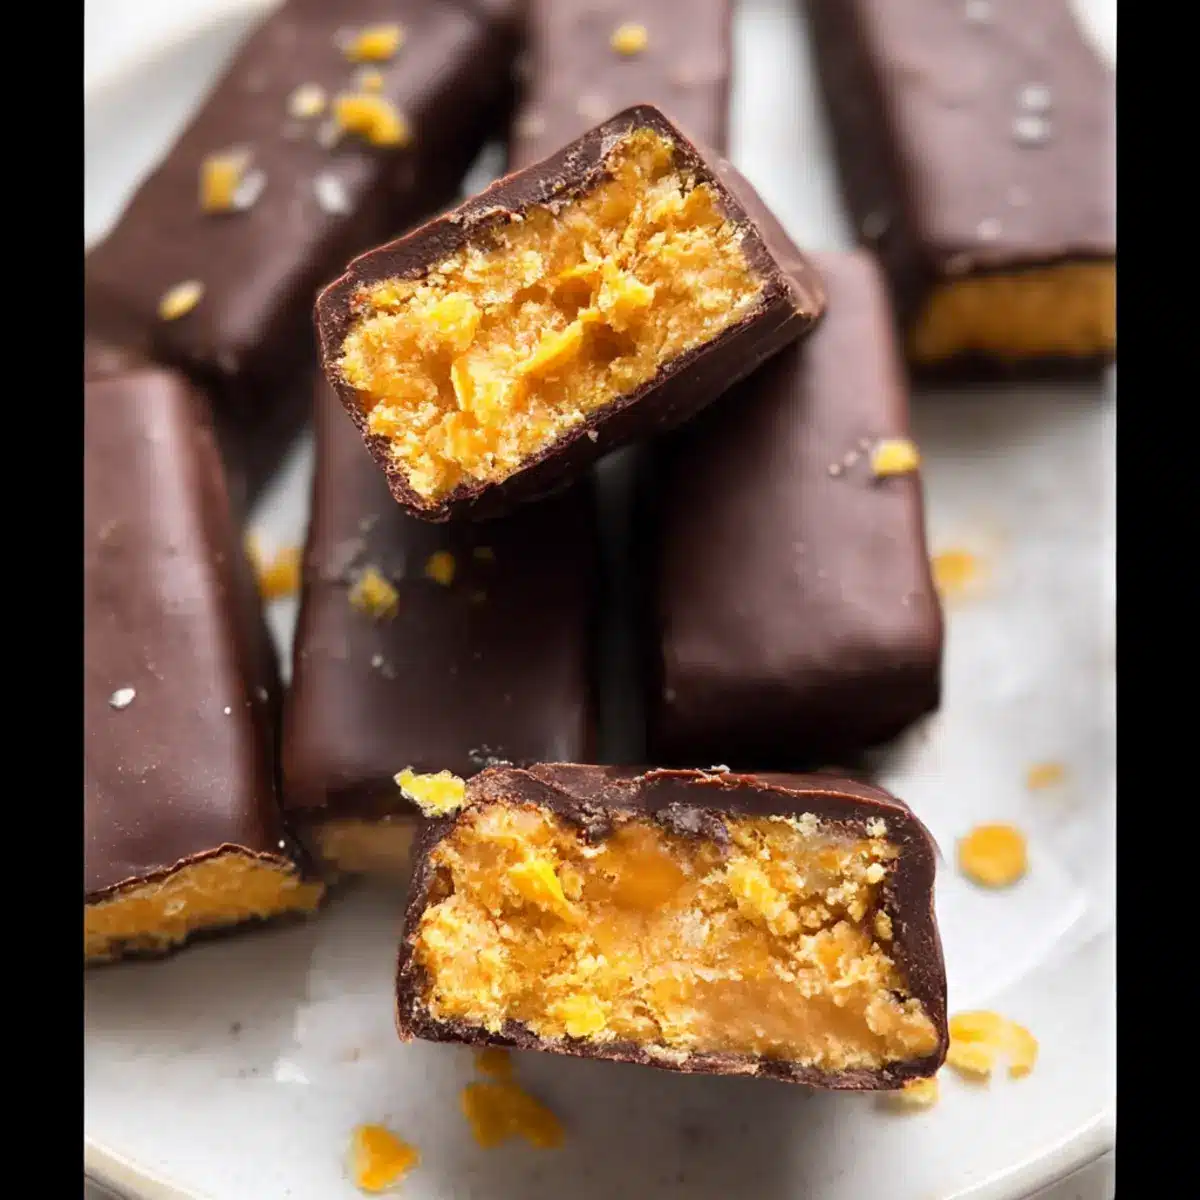
Making these healthy homemade Butterfingers is surprisingly straightforward. The hardest part is waiting for them to freeze.
- Prepare the dates: If your Medjool dates feel dry or stiff, soak them in warm water for 10 minutes. Drain them well and pat dry with a paper towel. Remove any pits if they aren’t already pitted. The dates should be soft and sticky to the touch.
- Make the filling: Add the pitted dates, natural peanut butter, coconut flour, maple syrup, vanilla extract, and salt to a food processor. Pulse a few times to break everything down, then run continuously for about 30-45 seconds. The mixture should look crumbly but hold together when pressed between your fingers. If it feels too dry, add another teaspoon of maple syrup or water. If it feels too wet, add another teaspoon of coconut flour.
- Press into dish: Line an 8×8-inch baking dish with parchment paper, leaving some overhang on two sides for easy removal. Transfer the date-peanut mixture into the dish. Press it down firmly and evenly using your hands or the bottom of a measuring cup. You want it compact—this prevents the bars from falling apart later.
- Chill the filling: Place the dish in the freezer for at least 30 minutes, or until the filling is firm to the touch. You can also refrigerate it for 1-2 hours if you prefer, but freezing speeds things up.
- Cut into bars: Once firm, lift the filling out of the dish using the parchment overhang. Place it on a cutting board. Using a sharp knife, cut the block into rectangles about 1 inch wide and 2 inches long. You should get around 12-16 bars, depending on how thick you cut them. If the edges crumble a little, don’t worry—you can press them back together.
- Melt the chocolate: In a double boiler or a microwave-safe bowl, combine the dark chocolate chips and coconut oil. If using the microwave, heat in 20-second intervals, stirring between each, until fully melted and smooth. Be careful not to overheat, or the chocolate will seize.
- Dip the bars: Line a baking sheet or plate with parchment paper. Using a fork or a pair of tongs, dip each bar into the melted chocolate, turning to coat all sides. Let the excess chocolate drip off, then place the bar on the parchment paper. Repeat with all the bars.
- Set the chocolate: Place the baking sheet in the refrigerator for 15-20 minutes, or until the chocolate is completely set and firm. You can also return them to the freezer for 10 minutes if you’re in a hurry.
- Serve or store: Once set, the bars are ready to eat. Store them in an airtight container in the refrigerator for up to two weeks, or in the freezer for up to three months.
Pro tip: If the filling starts to get too soft while you’re dipping, pop the remaining bars back in the freezer for 10 minutes. Cold filling makes for a cleaner chocolate coating.
Cooking Tips & Techniques
I’ve made this recipe more times than I can count, and I’ve learned a few things the hard way. Here’s what I wish I knew from the start.
- Don’t skip the coconut flour. I tried making these with almond flour once, thinking it would be a fine substitute. It was not. The bars turned out greasy and dense, and they never set properly. Coconut flour is the key to that light, crumbly texture that makes these taste like the real thing.
- Press the filling firmly. If you don’t pack the mixture down tight enough, the bars will fall apart when you cut them. Use the bottom of a glass or a measuring cup to really compress it. The firmer the base, the cleaner the cuts.
- Work quickly with the chocolate. Once the melted chocolate starts to cool, it thickens and becomes harder to work with. If that happens, just reheat it gently in the microwave for 10 seconds. You can also add a tiny splash more coconut oil to thin it out.
- Use a fork for dipping. A fork lets the excess chocolate drip off easily and creates those little ridges on the surface that make homemade candy look professional. If you don’t have a dipping tool, two forks work just as well.
- Chill between batches. If you’re making a double batch, keep the cut bars in the freezer while you dip the first round. This prevents them from getting too warm and ensures a smooth, even coating every time.
Variations & Adaptations
One of the best things about this recipe is how flexible it is. You can tweak it to fit almost any diet or craving.
- Nut-Free Version: Swap the peanut butter for sunflower seed butter or tahini. The flavor will be different—more savory and earthy—but still delicious. Just make sure to use a brand that’s smooth and runny, not thick and pasty.
- Protein-Packed Bars: Add 2 tablespoons of vanilla or chocolate protein powder to the food processor along with the dates. You may need to add an extra teaspoon of maple syrup to balance the dryness. This turns them into a post-workout treat that actually tastes good.
- Crunchy Variation: Stir in 2 tablespoons of crushed roasted peanuts or cacao nibs after the filling comes together. This adds an extra layer of texture and makes the bars even more reminiscent of the original.
- White Chocolate Drizzle: After the dark chocolate sets, melt a small amount of white chocolate (about ¼ cup) and drizzle it over the bars with a fork. It adds a nice visual contrast and a touch of extra sweetness.
- Seasonal Twist: In the fall, add ½ teaspoon of pumpkin pie spice to the filling. It pairs surprisingly well with the peanut and date flavors and gives the bars a cozy, holiday feel.
Personally, I love making a batch with a pinch of cayenne pepper mixed into the chocolate. The heat sneaks up on you and makes the sweet-salty combination even more addictive. Try it if you’re feeling adventurous!
Serving & Storage Suggestions
These healthy homemade Butterfingers are best served cold, straight from the fridge or freezer. The chocolate stays snappy, and the filling retains that perfect crumbly texture. If you let them sit at room temperature for too long, the chocolate can get a little soft, especially in warmer weather.
For a fun presentation, arrange the bars on a wooden board with fresh berries and a sprinkle of sea salt. They make a great addition to a dessert charcuterie board or a holiday cookie platter. I’ve also crumbled them over vanilla ice cream for an instant sundae upgrade—highly recommend.
Storage is simple: keep the bars in an airtight container in the refrigerator for up to two weeks. For longer storage, place them in a freezer-safe bag or container and freeze for up to three months. They’re delicious eaten straight from the freezer—no thawing required. If you prefer a softer texture, let them sit at room temperature for 5 minutes before eating.
One thing I’ve noticed is that the flavors actually deepen after a day or two in the fridge. The peanut and date meld together more, and the chocolate sets into that perfect snap. So don’t be afraid to make them ahead of time—they only get better.
Nutritional Information & Benefits
Each bar (based on 16 servings) contains approximately:
- Calories: 145
- Protein: 4g
- Fat: 9g (mostly from healthy peanuts and dark chocolate)
- Carbohydrates: 16g
- Fiber: 3g
- Sugar: 11g (all natural from dates and maple syrup)
The star ingredient here is the Medjool date. They’re packed with fiber, potassium, and antioxidants, and they provide a slow-release energy that won’t spike your blood sugar the way refined sugar does. Peanuts add plant-based protein and healthy monounsaturated fats, while dark chocolate is rich in flavonoids that support heart health. Together, these ingredients make a candy bar that actually has nutritional merit—something you can feel good about eating and sharing.
This recipe is naturally gluten-free, dairy-free (depending on your chocolate), and vegan. The only potential allergen is peanuts, but as mentioned above, you can easily swap them out. If you’re watching your sugar intake, use a stevia-sweetened chocolate like Lily’s to cut the sugar content even further.
Conclusion
If you’ve been searching for a candy bar that doesn’t come with a side of regret, this is it. These healthy homemade Butterfingers deliver everything you love about the original—the crunch, the crumble, the chocolate coating—but with ingredients you can actually pronounce. They’re quick to make, easy to customize, and perfect for stashing in the fridge for those moments when a sweet craving hits.
I’ve made these for friends, family, and even skeptical coworkers, and every single time, someone asks for the recipe. That’s the kind of reaction that tells me this one’s a keeper. So go ahead—give them a try. Play with the flavors, make them your own, and don’t be surprised if you end up eating the whole batch in three days. It happens to the best of us.
I’d love to hear how yours turn out! Drop a comment below and let me know what variations you tried, or tag me in your photos if you share them online. Happy snacking!
Frequently Asked Questions
Can I use regular flour instead of coconut flour?
I don’t recommend it. Coconut flour is unique because it absorbs a lot of moisture, which is exactly what gives these bars their crumbly texture. Regular flour would make them dense and doughy, not flaky. If you don’t have coconut flour, you can try almond flour, but the texture will be softer and more fudge-like.
How long do these healthy homemade Butterfingers last?
They keep well for up to two weeks in the refrigerator or up to three months in the freezer. Just make sure they’re stored in an airtight container to prevent the chocolate from absorbing any fridge odors. They’re delicious eaten straight from the freezer, so don’t worry about thawing.
Can I make these without a food processor?
Technically, yes, but it’s a lot more work. You’d need to finely chop the dates by hand and then mash them together with the peanut butter and coconut flour using a fork or your hands. The texture won’t be as smooth, and it takes a lot of elbow grease. If you’re going to make these regularly, a food processor is worth the investment.
Are these really healthy enough for a snack?
Absolutely. Each bar has about 145 calories, 4 grams of protein, and 3 grams of fiber, with no refined sugar or artificial ingredients. They’re made from whole foods like dates, peanuts, and dark chocolate. I often pack them in my kids’ lunchboxes or grab one as a mid-afternoon energy boost. They’re far more nutritious than anything you’d buy at the store.
Can I double this recipe?
Yes! This recipe doubles beautifully. Just use a 9×13-inch baking dish instead of the 8×8-inch, and increase the freezing time slightly to ensure the filling is fully firm before cutting. You’ll get about 28-32 bars from a double batch, which is perfect for parties or holiday gifting.
Pin This Recipe!
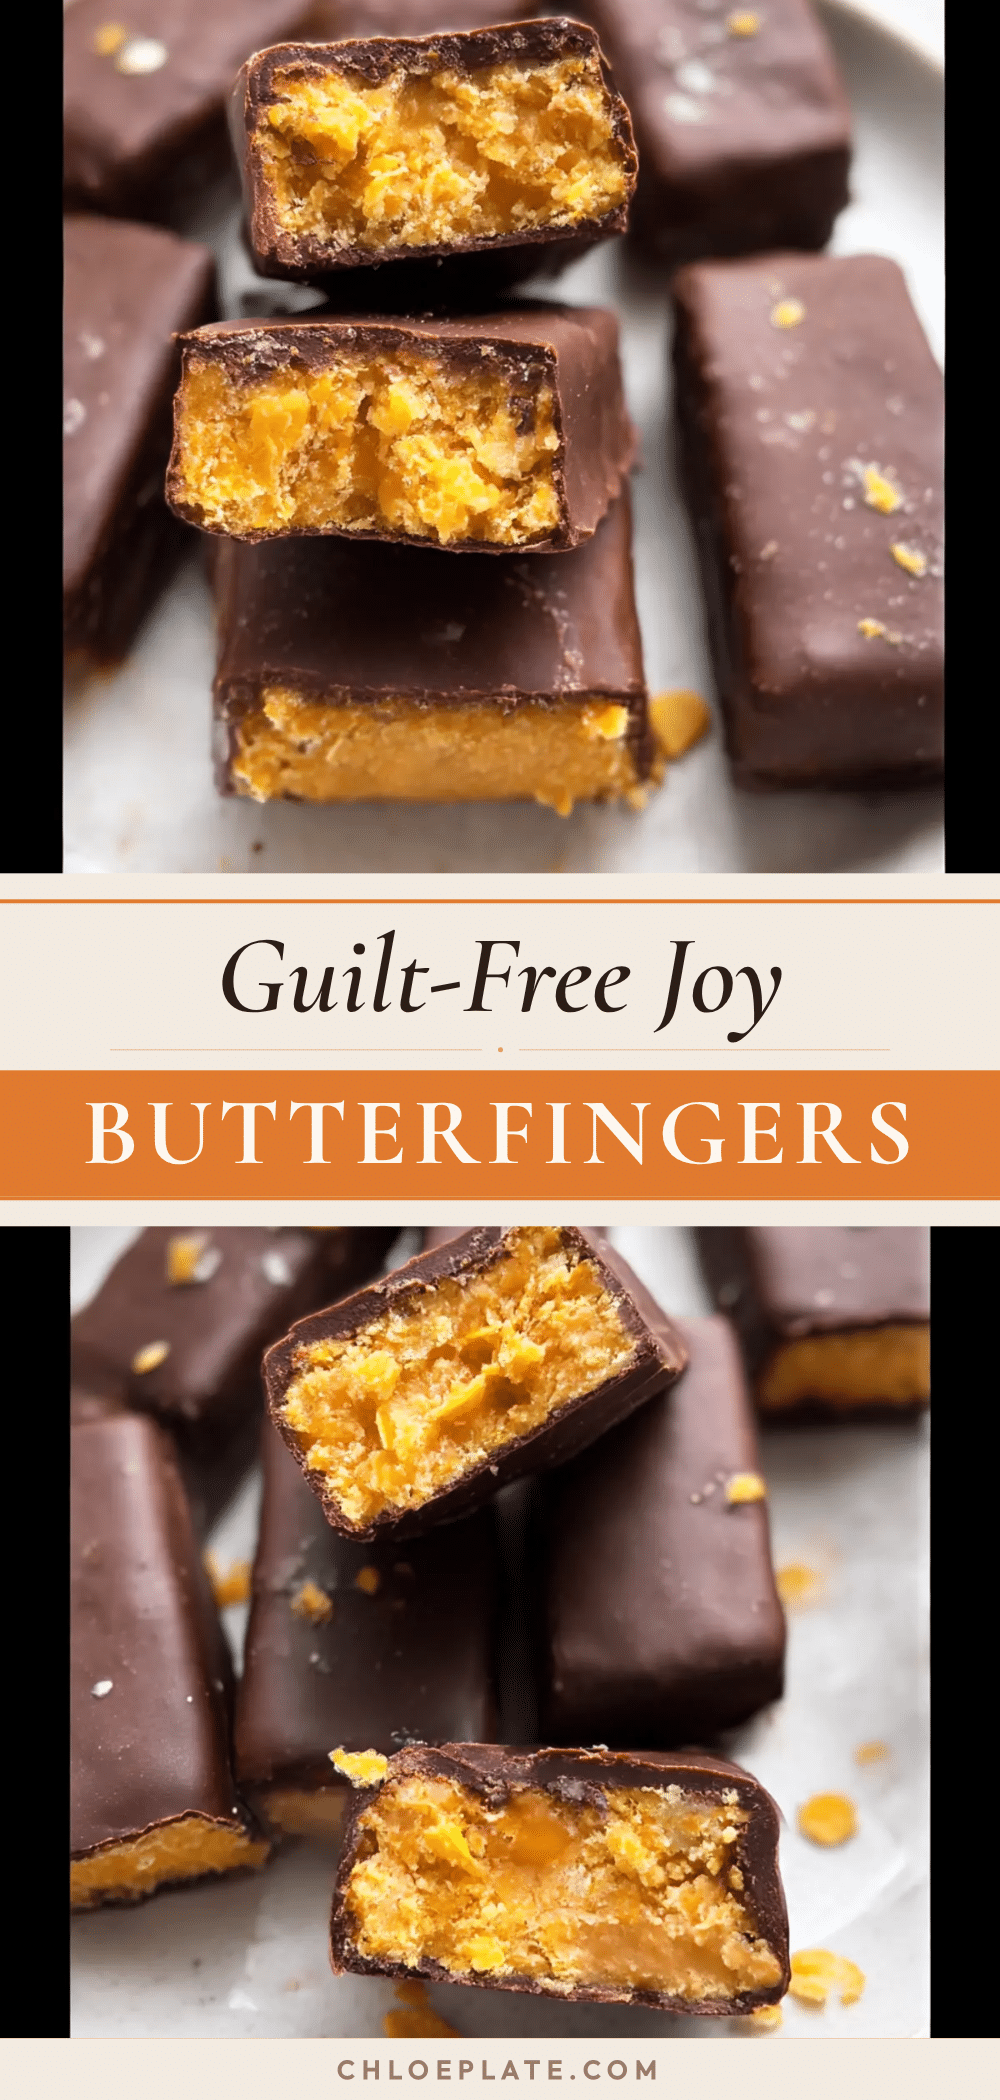
Healthy Homemade Butterfingers: Best Guilt-Free Candy Recipe

A guilt-free homemade candy that tastes just like a Butterfinger bar, made with wholesome ingredients like dates, peanuts, and dark chocolate. It’s crunchy, sweet, salty, and has that signature flaky-crumbly texture without any refined sugar or corn syrup.
- Prep Time: 20 minutes
- Cook Time: 0 minutes
- Total Time: 50 minutes (includes 30 minutes freezing time)
- Yield: 16 servings 1x
- Category: Dessert
- Cuisine: American
Ingredients
- 1 cup Medjool dates, pitted
- ½ cup natural peanut butter, creamy
- 2 tablespoons coconut flour
- 1 tablespoon maple syrup
- 1 teaspoon vanilla extract
- ¼ teaspoon salt
- 1 cup dark chocolate chips (at least 70% cocoa)
- 1 tablespoon coconut oil (refined)
Instructions
- If your Medjool dates feel dry or stiff, soak them in warm water for 10 minutes. Drain well and pat dry. Remove any pits if needed.
- Add the pitted dates, natural peanut butter, coconut flour, maple syrup, vanilla extract, and salt to a food processor. Pulse a few times, then run continuously for 30-45 seconds until the mixture is crumbly but holds together when pressed. If too dry, add another teaspoon of maple syrup or water; if too wet, add another teaspoon of coconut flour.
- Line an 8×8-inch baking dish with parchment paper, leaving overhang on two sides. Transfer the date-peanut mixture into the dish and press it down firmly and evenly using your hands or the bottom of a measuring cup.
- Place the dish in the freezer for at least 30 minutes, or until the filling is firm to the touch. Alternatively, refrigerate for 1-2 hours.
- Once firm, lift the filling out of the dish using the parchment overhang. Place on a cutting board and cut into rectangles about 1 inch wide and 2 inches long (about 12-16 bars).
- In a double boiler or microwave-safe bowl, combine the dark chocolate chips and coconut oil. If using the microwave, heat in 20-second intervals, stirring between each, until fully melted and smooth.
- Line a baking sheet or plate with parchment paper. Using a fork or tongs, dip each bar into the melted chocolate, turning to coat all sides. Let excess chocolate drip off, then place on the parchment paper.
- Place the baking sheet in the refrigerator for 15-20 minutes, or until the chocolate is completely set and firm. Alternatively, freeze for 10 minutes.
- Once set, the bars are ready to eat. Store in an airtight container in the refrigerator for up to two weeks, or in the freezer for up to three months.
Notes
Don’t skip the coconut flour—it’s key to the crumbly texture. Press the filling firmly to prevent bars from falling apart. Work quickly with melted chocolate; reheat if it thickens. For cleaner dipping, keep cut bars in the freezer while dipping. Flavors deepen after a day in the fridge.
Nutrition
- Serving Size: 1 bar
- Calories: 145
- Sugar: 11
- Sodium: 60
- Fat: 9
- Saturated Fat: 3
- Carbohydrates: 16
- Fiber: 3
- Protein: 4
Keywords: healthy butterfingers, homemade candy, date candy, peanut butter candy, guilt-free candy, no refined sugar, gluten-free candy, vegan candy, dairy-free candy



