Love this? Save it for later!
Share the inspiration with your friends
“You’ve got to try these,” my friend texted me late one evening, attaching a photo of a golden, crispy snack that looked way too good to be healthy. I was skeptical—cheese and pickles? Together? Honestly, I wasn’t sold at first. But curiosity got the better of me, and I found myself in the kitchen, slicing pickles and grating cheese well past midnight. The result? Crispy cheese pickle chips that are so addictive, I ended up making them three times in one week. It’s one of those recipes where the tangy crunch of the pickle meets the salty, melty goodness of cheese in a way that just clicks.
It’s funny how the best snacks often come from a whim or a last-minute craving. I was trying to whip up something different from my usual go-tos after a long day, and this recipe quietly became my favorite quick fix. The smell of melting cheese crisping up in the oven, the sharp pop of pickles, and the way the chips shatter perfectly when you bite into them—that combo is surprisingly comforting, if you ask me. I’m not exactly a “snack chef,” but these chips gave me that little spark of joy in the kitchen I hadn’t expected. It’s a simple recipe, but it sticks because it’s just so satisfyingly different.
When you’re craving something crunchy, cheesy, and a bit tangy, these chips fill that space perfectly without needing a million ingredients or fancy techniques. And, honestly, I love that they’re homemade—no weird preservatives or mystery flavors—and you get to control just how crispy or cheesy you want them. Plus, they’re a total crowd-pleaser without the usual stress of guessing what everyone might want. If you’ve ever wondered if pickles and cheese could be a match made in snack heaven, well… now’s your chance to find out.
Why You’ll Love This Recipe
After testing this crispy cheese pickle chips recipe multiple times (yes, I admit it, I got a bit obsessed), I can say it’s a snack that delivers every single time. Here’s why it’s been a staple in my kitchen:
- Quick & Easy: Ready in about 20 minutes from start to finish, perfect for those last-minute snack attacks or when you just want something crunchy and flavorful fast.
- Simple Ingredients: No need to hunt for specialty items—just cheese, pickles, and a few pantry basics. You probably have everything on hand already.
- Perfect for Parties or Solo Snacking: Whether you’re whipping up a batch for friends or indulging solo in front of your favorite show, these chips hit the spot every time.
- Crowd-Pleaser: The combo of melty cheese and tangy pickles is a surprising favorite with kids and adults alike. You can trust that these won’t last long!
- Unbelievably Delicious: The contrast of crispy, cheesy edges with the juicy pickle slice inside is a flavor and texture party that’s hard to beat.
- Unique Twist: This isn’t your average cheese chip. The pickle adds a zesty punch that sets it apart from typical snacks like crispy shrimp tacos or plain cheese crisps.
This recipe feels like a tiny kitchen victory that’s also a bit indulgent without being complicated. It’s one of those snacks you’ll find yourself making again and again—not just because it’s tasty, but because it scratches that itch for something fun, crunchy, and a little unexpected.
What Ingredients You Will Need
This recipe relies on a handful of straightforward ingredients that come together to create a bold, flavorful snack without any fuss. The star players are the cheese and pickles, backed by a few seasoning touches to round out the flavor.
- Pickles: Sliced dill pickles are the base here. I prefer firm, crunchy pickles like Claussen or Mt. Olive for that perfect bite. Avoid super soft or sweet pickles as they won’t crisp up well.
- Cheese: Sharp cheddar cheese works beautifully for a rich, tangy flavor and great melting quality. You want something that crisps nicely but also adds depth. You can also use Monterey Jack or Colby for a milder taste.
- Flour: A little all-purpose flour helps bind the cheese to the pickle and gives the chips a slight crunch on the outside. You can swap with almond flour for gluten-free versions.
- Egg: One large egg acts as the glue to hold everything together.
- Seasonings: Garlic powder, smoked paprika, and a pinch of black pepper add subtle layers of flavor. Feel free to tweak these—you might like a little cayenne for heat.
- Oil for frying or baking: Use a neutral oil with a high smoke point like canola or avocado oil if frying. Alternatively, olive oil spray works well if baking.
Optional extras I sometimes add include a sprinkle of Parmesan on top before baking for an extra cheesy crust or a dash of dried dill to echo the pickle flavor. The best part is this recipe is flexible—you can customize the seasoning or cheese based on what you have or crave.
Equipment Needed
- Baking sheet or frying pan: If you’re baking the chips, a rimmed baking sheet lined with parchment paper or a silicone mat is perfect. For frying, a heavy skillet or cast iron pan works best to keep the oil temperature steady.
- Mixing bowls: One for the egg wash and another for combining the dry ingredients.
- Grater or food processor: To shred your cheese evenly. You want fine shreds so the cheese crisps well and binds effectively.
- Tongs or slotted spoon: For safely removing chips from hot oil if frying.
- Cooling rack: Helps keep chips crispy after cooking by allowing air circulation.
Honestly, you don’t need fancy gadgets here. I’ve made these with just a skillet and a fork on busy nights. If you don’t have a food processor, a box grater works just fine. Just keep a close eye on the cooking time to avoid burning.
Preparation Method
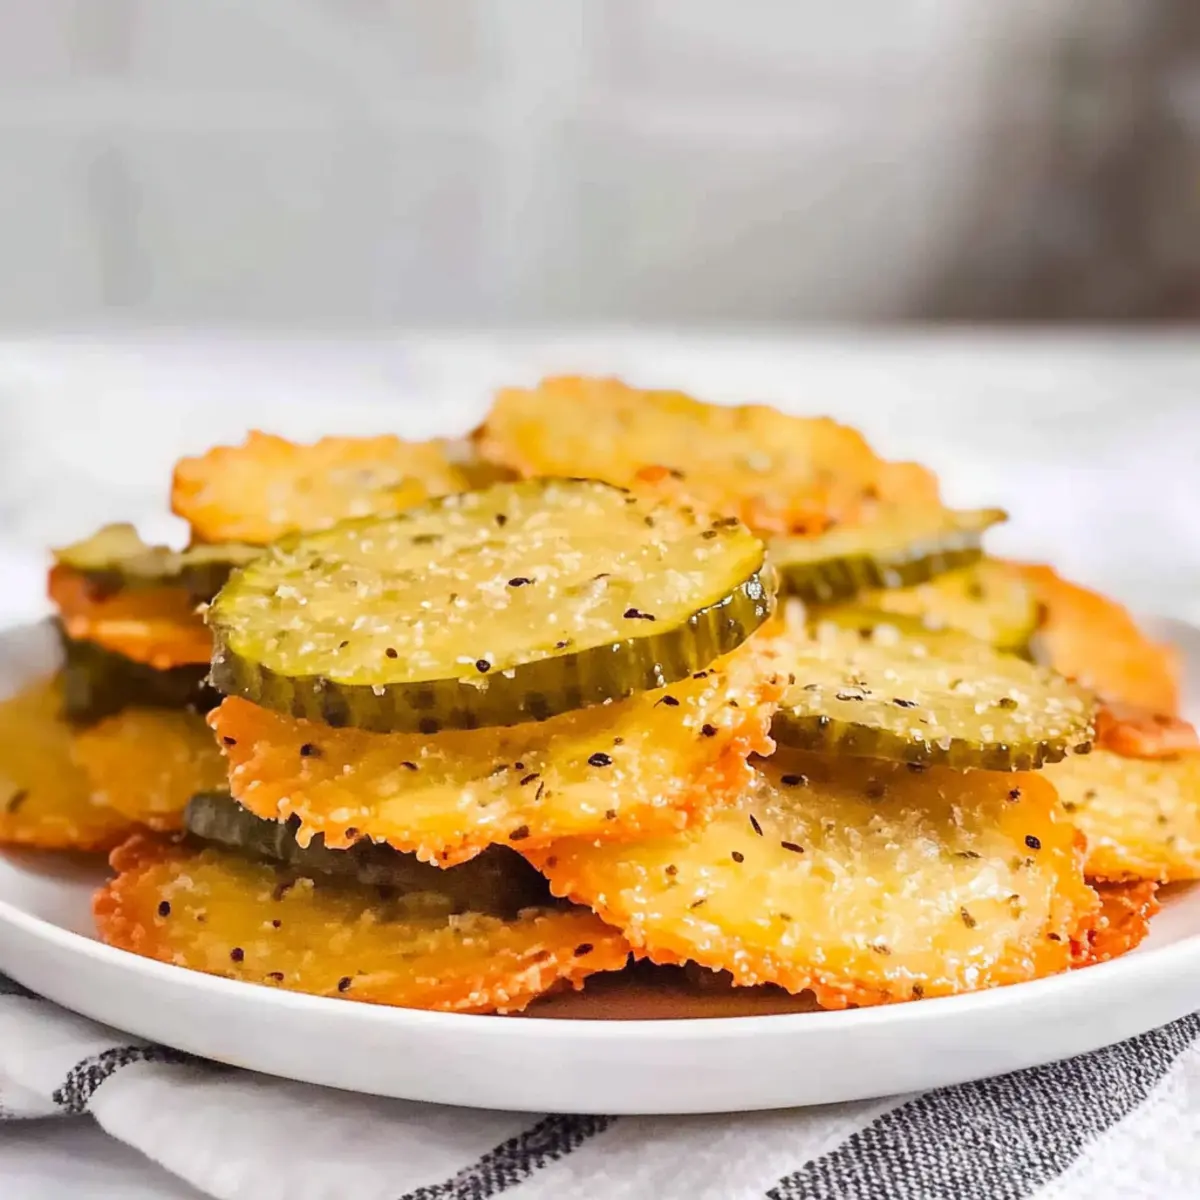
- Preheat and prep (10 minutes): Preheat your oven to 400°F (200°C) if baking, or heat 1 inch of oil in a skillet to 350°F (175°C) if frying. Line a baking sheet with parchment paper and set a cooling rack nearby.
- Slice the pickles: Use a sharp knife to slice your pickles into 1/4-inch (about 6mm) thick chips. Thinner slices get crispier but are trickier to handle.
- Shred the cheese: Grate 1 cup (about 100g) of sharp cheddar cheese finely. The smaller the shreds, the better they’ll melt and crisp.
- Mix dry ingredients: In a medium bowl, combine 1/4 cup (30g) all-purpose flour, 1 teaspoon garlic powder, 1/2 teaspoon smoked paprika, and a pinch of black pepper. Stir well to blend.
- Prepare egg wash: Beat 1 large egg in a separate bowl until smooth.
- Assemble chips: Dip each pickle slice into the egg wash, then dredge in the flour mixture. Press some shredded cheese onto each side of the pickle slice so it sticks well.
- Cook the chips: If baking, arrange chips on the baking sheet, spaced apart, and bake for 12-15 minutes until the cheese is bubbly and golden. If frying, carefully place chips in hot oil and fry for 2-3 minutes per side until golden and crisp. Remove with tongs and drain on paper towels or a cooling rack.
- Cool slightly: Let the chips rest for 5 minutes to crisp up fully before digging in. They’ll be hot but totally worth it.
Pro tip: If baking, keep an eye on the edges—they can go from perfect to burnt fast. Also, don’t overcrowd the pan; chips need room to crisp properly. When frying, maintain oil temperature to avoid greasy chips.
Cooking Tips & Techniques
Getting crispy cheese pickle chips just right is all about a few small details I learned after some trial and error.
- Cheese shredding matters: Finely shredded cheese melts evenly and crisps better than chunky pieces. I once tried cubed cheese and ended up with uneven, chewy patches—no thanks.
- Pickle thickness: If your slices are too thick, they won’t crisp well; too thin, and they might fall apart. I stick to about 1/4 inch, which balances crunch and structural integrity.
- Oil temperature control: When frying, keep the oil steady around 350°F (175°C). Too hot and the cheese burns before the pickle heats through; too cool and the chips absorb oil and become soggy.
- Baking vs. frying: Baking is cleaner and less hands-on but can take a minute longer to get that perfect crisp. Frying yields a more golden, crunchy chip but requires more attention to avoid burning.
- Seasoning tweaks: Don’t skip the garlic powder and paprika—they add depth and a hint of smoky warmth that makes these chips so addictive.
My first batch was a bit floppy because I didn’t press the cheese firmly onto the pickles. Pressing gently but firmly ensures the cheese hugs the slices and crisps into a tasty shell instead of melting off.
Variations & Adaptations
One of the fun parts about this recipe is how easy it is to customize for different tastes and dietary needs.
- Spicy Kick: Add a pinch of cayenne or chipotle powder to the flour mix for smoky heat. I love this when pairing with a cold beer on game night.
- Gluten-Free: Swap all-purpose flour with almond flour or a gluten-free blend. The texture shifts slightly but still crisps nicely.
- Dairy-Free: Use a plant-based cheese that melts well (like Violife cheddar style) and bake instead of frying to keep things light.
- Herbed Twist: Mix dried dill or fresh chopped chives into the flour for an herby flavor echoing the pickles.
- Alternative Pickles: Try bread and butter pickles for a sweeter, tangier chip, or spicy pickles for extra zing.
When I first shared this snack at a potluck, I tried adding a sprinkle of Parmesan on top before baking, which gave it a nice nutty crunch. Also, if you’re into low-carb snacking, pairing these with other veggie dishes like the low-carb zucchini roll-up lasagna makes for a satisfying combo.
Serving & Storage Suggestions
These crispy cheese pickle chips are best served warm—right out of the oven or pan—when they’re at peak crunchiness. Arrange them on a platter with a side of ranch or spicy aioli dip for extra flavor points. They make a great appetizer or snack to nibble on during casual hangouts or movie nights.
If you have leftovers (which is rare!), store them in an airtight container lined with paper towels to absorb moisture. They keep well in the fridge for up to 2 days but may soften slightly. To revive the crunch, pop them in a 350°F (175°C) oven for 5 minutes before serving.
These chips also pair surprisingly well with fresh, light salads like the fresh vibrant chickpea salad, balancing the rich, salty crunch with bright, wholesome flavors.
Nutritional Information & Benefits
While these crispy cheese pickle chips are definitely a treat, they do pack some nutritional perks thanks to their simple, real-food ingredients. Here’s a rough estimate per serving (about 8 chips):
| Calories | 180 |
|---|---|
| Protein | 10g |
| Fat | 14g |
| Carbohydrates | 4g |
| Fiber | 1g |
Cheese provides a good source of calcium and protein, while pickles add a low-calorie crunch with probiotics if you use naturally fermented varieties. The recipe is naturally gluten-free if you substitute flour accordingly. Just watch the sodium content if you’re sensitive, since cheese and pickles both bring salt to the party.
From a wellness perspective, I appreciate that this snack doesn’t rely on artificial flavors or processed ingredients. It’s a little indulgent, yes, but made with care and intention to satisfy cravings mindfully.
Conclusion
These crispy cheese pickle chips became a quick favorite because they’re deliciously different and surprisingly simple to make. They fill that snack craving with a perfect balance of tangy, cheesy, and crunchy that you don’t find in everyday munchies. I love how easy it is to customize and how well they fit into casual get-togethers or solo treat moments.
Feel free to tweak the seasonings or cheese type to suit your taste, and don’t hesitate to experiment a bit—this recipe rewards creativity. If you try them, I’d love to hear how you made them your own or what dipping sauces you paired with these chips. There’s something about a homemade snack that just hits different, and these chips are proof of that.
Here’s to crunchy, cheesy goodness you can whip up anytime.
FAQs about Crispy Cheese Pickle Chips
Can I make these chips ahead of time?
You can prepare the chips ahead and store them refrigerated, but they’re best crispy and fresh right after cooking. Reheat briefly in the oven to bring back the crunch.
What’s the best cheese to use for crispy chips?
Sharp cheddar is my top pick for flavor and crispiness, but Monterey Jack or Colby work well too. Avoid very soft cheeses that won’t crisp properly.
Are these chips gluten-free?
They can be! Just swap the all-purpose flour for almond flour or your favorite gluten-free flour blend.
Can I bake these instead of frying?
Absolutely. Baking at 400°F (200°C) gives a cleaner cooking method and still yields crispy, tasty chips.
How do I store leftover chips without them getting soggy?
Store in an airtight container with paper towels to absorb moisture. Reheat in the oven for a few minutes to crisp them back up.
Pin This Recipe!
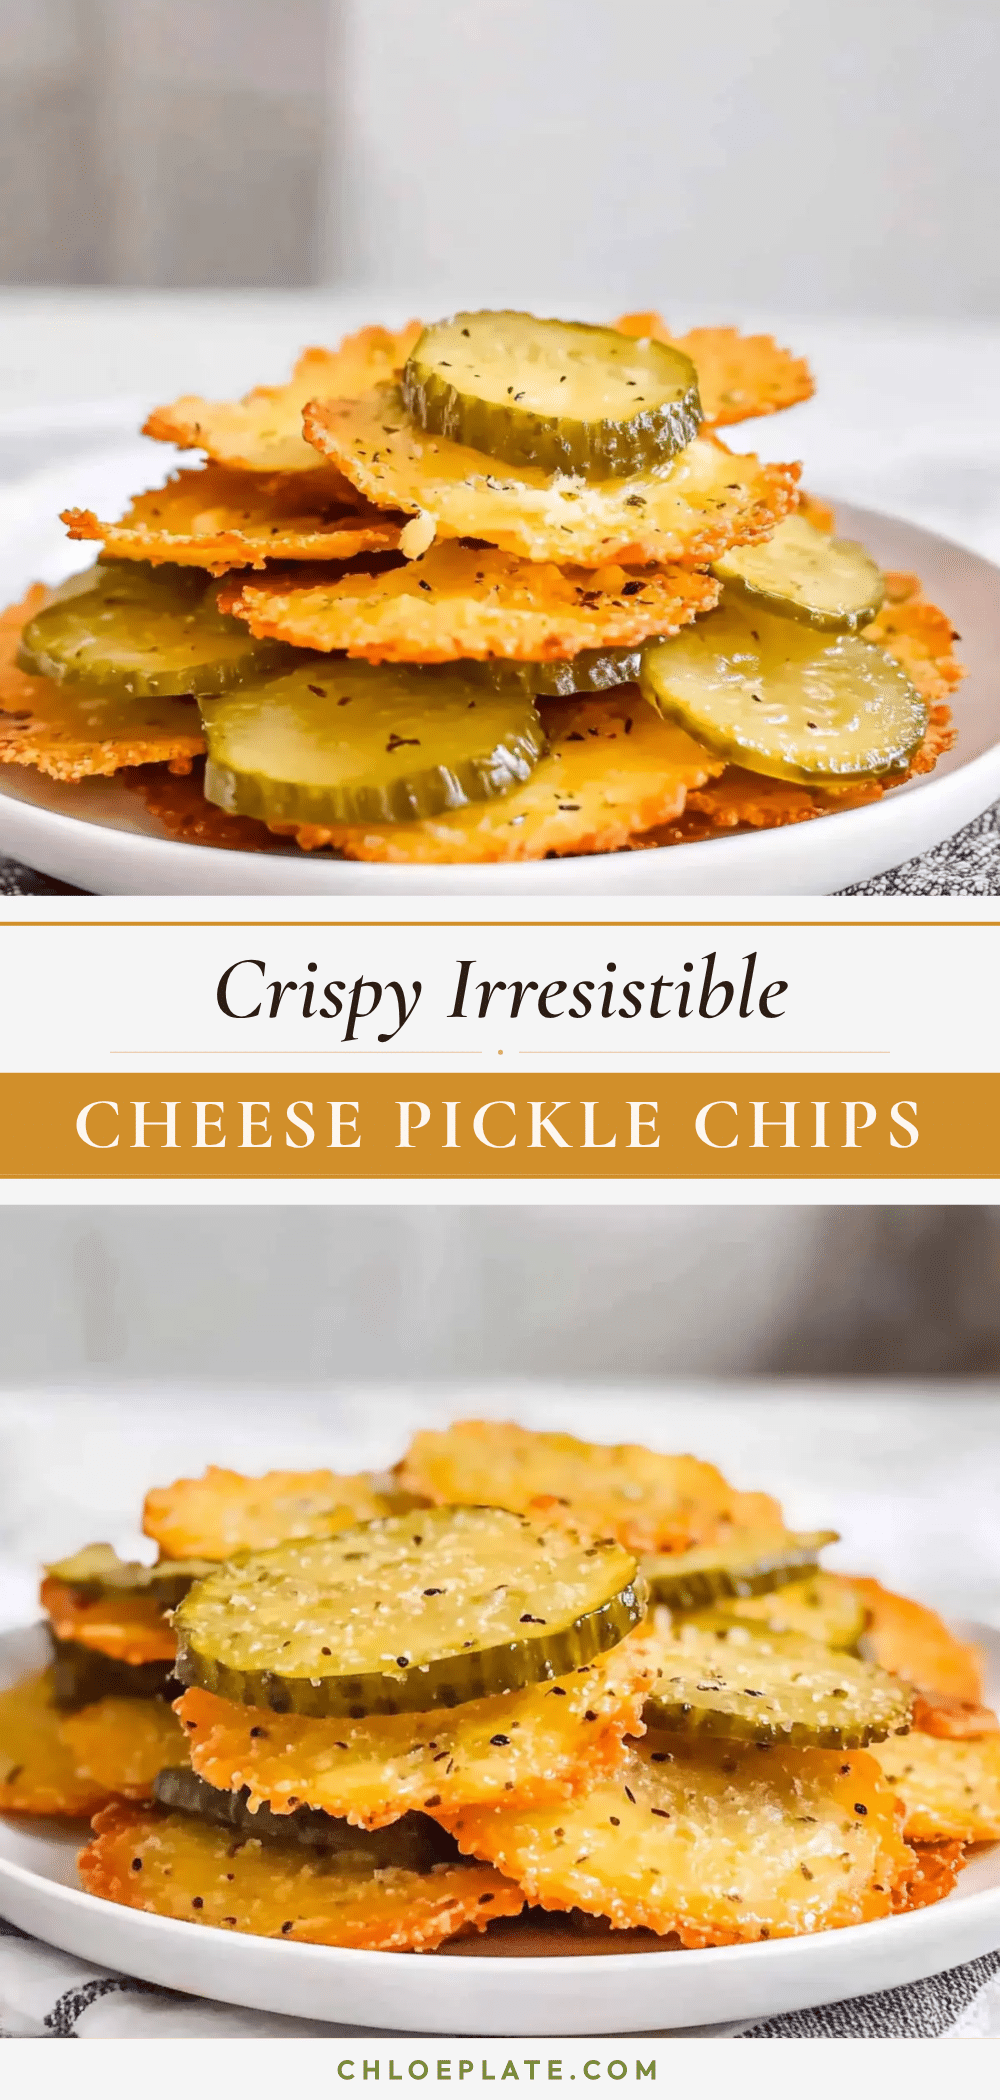
Crispy Cheese Pickle Chips Recipe Easy Homemade Flavor-Packed Snack
A quick and easy snack combining the tangy crunch of pickles with the salty, melty goodness of cheese, baked or fried to crispy perfection.
- Prep Time: 10 minutes
- Cook Time: 12-15 minutes baking or 4-6 minutes frying
- Total Time: 20 minutes
- Yield: About 8 chips per serving 1x
- Category: Snack
- Cuisine: American
Ingredients
- Sliced dill pickles (about 1/4 inch thick)
- 1 cup sharp cheddar cheese, finely shredded (about 100g)
- 1/4 cup all-purpose flour (30g) or almond flour for gluten-free
- 1 large egg
- 1 teaspoon garlic powder
- 1/2 teaspoon smoked paprika
- Pinch of black pepper
- Neutral oil for frying (canola or avocado) or olive oil spray for baking
- Optional: Parmesan cheese for sprinkling
- Optional: Dried dill or fresh chopped chives
- Optional: Cayenne or chipotle powder for spice
Instructions
- Preheat oven to 400°F (200°C) if baking, or heat 1 inch of oil in a skillet to 350°F (175°C) if frying. Line a baking sheet with parchment paper and set a cooling rack nearby.
- Slice pickles into 1/4-inch (about 6mm) thick chips.
- Grate 1 cup sharp cheddar cheese finely.
- In a medium bowl, combine 1/4 cup all-purpose flour, 1 teaspoon garlic powder, 1/2 teaspoon smoked paprika, and a pinch of black pepper. Stir well.
- Beat 1 large egg in a separate bowl until smooth.
- Dip each pickle slice into the egg wash, then dredge in the flour mixture. Press shredded cheese onto each side of the pickle slice so it sticks well.
- If baking, arrange chips on the baking sheet spaced apart and bake for 12-15 minutes until cheese is bubbly and golden. If frying, carefully place chips in hot oil and fry for 2-3 minutes per side until golden and crisp. Remove with tongs and drain on paper towels or a cooling rack.
- Let chips rest for 5 minutes to crisp up before serving.
Notes
Keep an eye on chips when baking to avoid burning. Do not overcrowd the pan to ensure proper crisping. Maintain oil temperature at 350°F (175°C) when frying to avoid greasy chips. Press cheese firmly onto pickles to prevent melting off. Store leftovers in an airtight container with paper towels and reheat in oven to restore crispiness.
Nutrition
- Serving Size: About 8 chips
- Calories: 180
- Fat: 14
- Carbohydrates: 4
- Fiber: 1
- Protein: 10
Keywords: crispy cheese pickle chips, homemade snack, cheesy pickle chips, easy snack recipe, baked cheese chips, fried cheese chips, gluten-free snack option



