Love this? Save it for later!
Share the inspiration with your friends
I was staring at a carton of blackberries that had seen better days. They were soft, a little wrinkled, and definitely not going to make it through another afternoon in the fridge. I almost tossed them. But then I remembered a jar of store-bought jam in my pantry that was full of ingredients I couldn’t pronounce, and something clicked. Why not try making my own? Right then, with no real plan and a pot that was already on the stove from boiling water for tea, I threw those berries in with a splash of water and a spoonful of maple syrup.
Ten minutes later, I was stirring in some chia seeds, watching the liquid turn into this gorgeous, deep purple gel right before my eyes. I scraped it into a small jar, let it cool on the counter, and by the time I was done with dinner, I had the most vibrant, real-tasting jam I’d ever eaten. No pectin, no canning equipment, and definitely no corn syrup. Just honest fruit and a little patience.
That first batch was a revelation. It wasn’t just good for a quick jam—it was genuinely better than most of the stuff I’d been buying. The texture was perfect, not too runny and not too stiff, with those tiny chia seeds adding a little pop that felt almost playful. I’ve been making it ever since, and it never fails to surprise people when I tell them it took less time than their morning commute. This easy blackberry chia jam has become my go-to for breakfast, snacks, and even last-minute gifts. Honestly, I don’t think I’ll ever go back to the store-bought stuff.
Why You’ll Love This Recipe
This isn’t just another jam recipe. It’s the kind of thing that makes you wonder why you ever bothered with the complicated stuff. Let me tell you why this one sticks.
- Quick & Easy: From start to finish, this is on your table in 15 minutes. No standing over a hot stove for hours, no sterilizing jars, no stress. Perfect for a Tuesday morning or a last-minute brunch addition.
- Simple Ingredients: You need exactly three main ingredients. That’s it. Blackberries, chia seeds, and a little sweetener. No pectin, no gelatin, no mysterious additives you can’t pronounce.
- Low Sugar, Real Flavor: Most commercial jams are loaded with sugar to help them set. This one uses the natural sweetness of the berries and just a touch of maple syrup or honey. The fruit is the star here, not the sugar.
- Perfect for Everything: Slather it on toast, swirl it into yogurt, spoon it over pancakes, or use it as a filling for thumbprint cookies. It’s incredibly versatile and always delivers.
- No Fancy Equipment: You don’t need a water bath canner or a candy thermometer. Just a saucepan, a wooden spoon, and a jar to store it in. If you can boil water, you can make this jam.
What really sets this apart is the texture. The chia seeds create a natural gel that thickens the jam without cooking it down to a sticky paste. The berries stay whole-ish, giving you little bursts of fruit in every bite. It’s rustic, it’s honest, and it tastes like summer in a jar. I’ve brought this to potlucks and breakfast spreads, and people always ask for the recipe. They can’t believe it’s this simple.
What Ingredients You Will Need
This recipe is all about keeping things simple. You don’t need a long list of exotic ingredients to make a truly delicious jam. Here’s what you’ll need to grab.
- 2 cups fresh or frozen blackberries: The heart of the recipe. Fresh, in-season berries are amazing, but frozen work just as well (and are often cheaper). If using frozen, don’t thaw them first—just toss them straight into the pot. For the best flavor, look for berries that are deep purple and fragrant. I’ve used both organic and conventional, and both work fine.
- 2-3 tablespoons maple syrup or honey: This is your sweetener. Maple syrup adds a subtle warmth, while honey gives a floral note. Start with 2 tablespoons and taste your berry mixture before adding more. The sweetness of your fruit will vary, so trust your palate. For a sugar-free version, you can use a few drops of stevia, but the texture will be slightly different.
- 2 tablespoons chia seeds: These little seeds are the magic ingredient. They absorb liquid and form a gel, which thickens your jam without any pectin. They also add a nice dose of fiber and omega-3s. I prefer white chia seeds for a more uniform look, but black ones work perfectly too. Just make sure they’re fresh—old chia seeds won’t gel as well.
- 1 tablespoon lemon juice (optional): A squeeze of lemon brightens the flavor and helps balance the sweetness. It also helps the jam set a little firmer. I almost always add it, but you can skip it if you don’t have a lemon on hand.
- Pinch of salt: Just a tiny pinch. Salt enhances the fruitiness and rounds out the flavors. You won’t taste it, but you’ll miss it if it’s not there.
That’s it! Five ingredients, and three of them are optional. You probably have most of these in your kitchen right now. I love that this recipe doesn’t require a special trip to the store. It’s the kind of thing you can make on a whim, which is exactly how the best cooking happens.
Equipment Needed
One of the best things about this recipe is how little equipment it requires. You don’t need a fancy kitchen to make great jam.
- Medium saucepan: A 2-quart saucepan is perfect. You want something with a heavy bottom to prevent the berries from scorching. I use my trusty stainless steel one, but nonstick works too.
- Wooden spoon or silicone spatula: For stirring and mashing the berries. A wooden spoon gives you a little more control when mashing, but a spatula works fine.
- Potato masher or fork: To break down the berries. A potato masher is quicker and gives you a more even texture, but a fork works in a pinch. I’ve used both, and honestly, the fork just takes a little more elbow grease.
- Glass jar with a tight-fitting lid: For storing your jam. A 12-ounce jar is the perfect size for this batch. Make sure it’s clean and dry. I like to use a wide-mouth mason jar for easy scooping.
- Measuring cups and spoons: Standard set for accuracy. No need for anything fancy.
If you don’t have a potato masher, you can pulse the berries in a food processor before cooking, but I prefer the chunky texture you get from mashing by hand. It feels more rustic and homemade.
Preparation Method
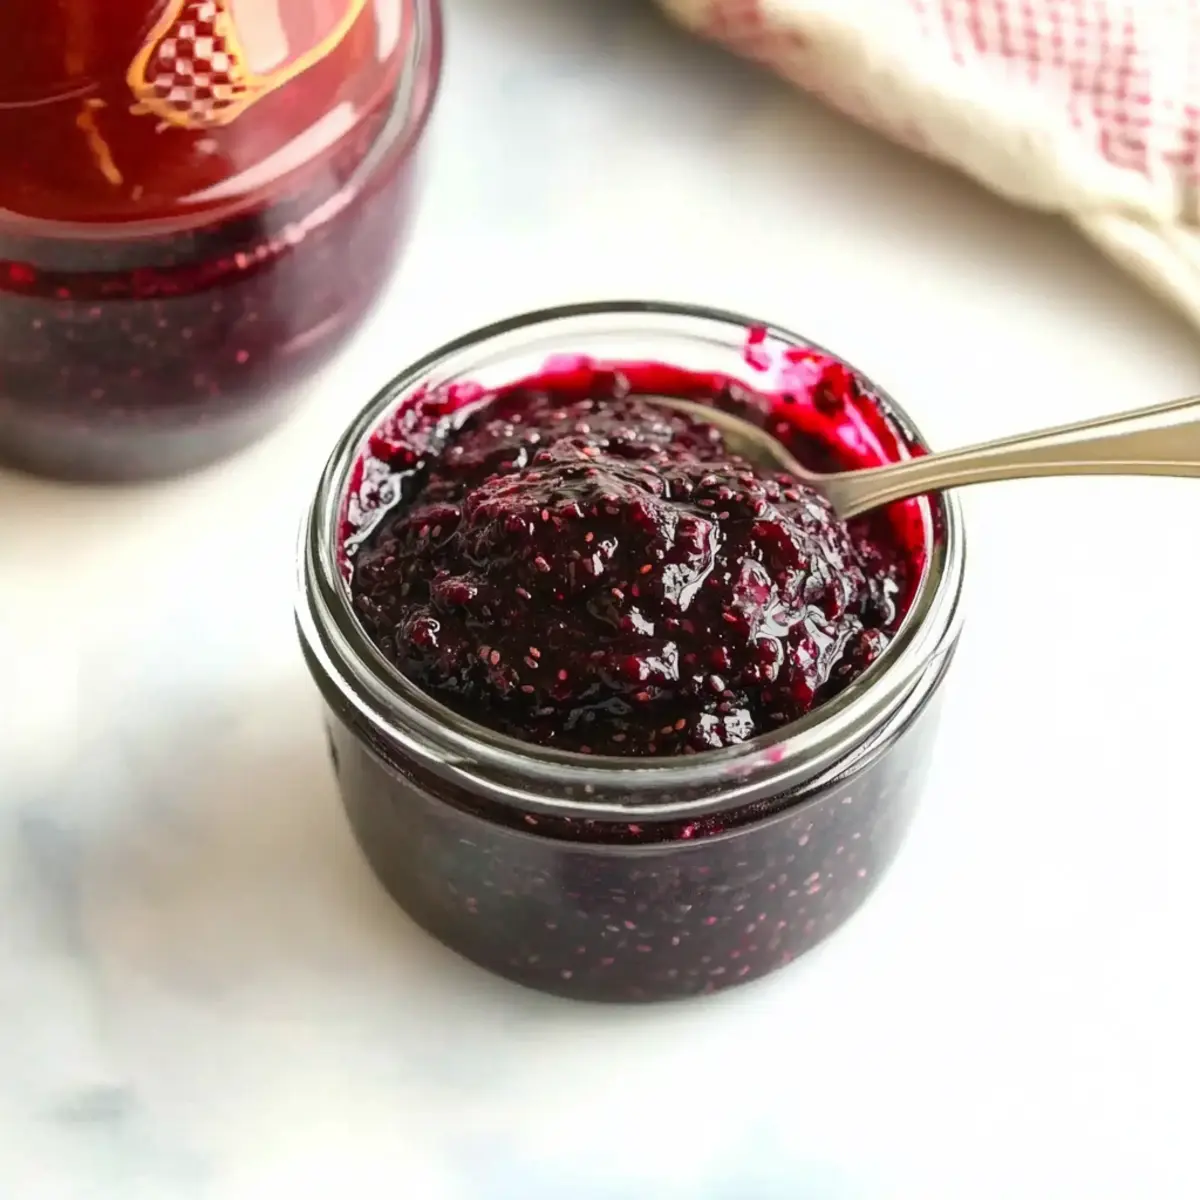
This is where the magic happens. Follow these steps, and you’ll have a jar of beautiful jam in no time.
- Prepare the berries: Rinse your fresh blackberries under cold water and pick out any stems or leaves. If you’re using frozen berries, skip the rinsing and just measure them straight from the bag.
- Cook the fruit: Place the blackberries in your saucepan over medium heat. Add the maple syrup (or honey) and the lemon juice if you’re using it. Stir everything together. The berries will start to release their juices almost immediately. Let them cook for about 5 minutes, stirring occasionally. You’ll see the liquid turn a deep, gorgeous purple.
- Mash the berries: Once the berries are soft and bubbling, use your potato masher or fork to break them down. I like to leave some chunks for texture, but you can mash them as smooth as you like. If you prefer a completely seedless jam, you can press the mixture through a fine-mesh sieve after this step, but you’ll lose the chia seeds and some of the fiber.
- Add the chia seeds: Reduce the heat to low and sprinkle the chia seeds over the berry mixture. Stir well to combine. The chia seeds will start to swell almost immediately. Let the mixture simmer gently for another 3-5 minutes, stirring frequently. You’ll see it begin to thicken. It should look like a loose jam at this point.
- Check the consistency: Turn off the heat. The jam will continue to thicken as it cools. It should be thick enough to coat the back of a spoon but still a little runny. Don’t worry if it looks too thin right now—it sets up significantly in the fridge.
- Taste and adjust: Give it a taste. Is it sweet enough? Add a little more maple syrup if needed. Is it too sweet? A tiny squeeze of lemon will balance it out. This is your jam, so make it exactly how you like it.
- Cool and store: Let the jam cool in the saucepan for about 10 minutes. Then, carefully pour it into your clean glass jar. Let it cool completely to room temperature before putting the lid on and transferring it to the refrigerator. It will firm up as it chills.
A little tip I learned the hard way: don’t over-stir once the chia seeds are in. They need a little stillness to do their gelling thing. Just a gentle stir every minute or so is perfect.
Cooking Tips & Techniques
I’ve made this jam more times than I can count, and I’ve picked up a few tricks along the way. Here’s what I wish someone had told me.
- Don’t walk away: This jam cooks fast. Once the berries are in the pot, stay close. Berries can scorch quickly if the heat is too high. Keep it at a steady simmer, not a rolling boil.
- Use a wide pot: A wider saucepan lets the liquid evaporate faster, which means a thicker jam in less time. If your pot is too tall and narrow, the jam might stay runny.
- Trust the cooling process: The biggest mistake people make is thinking the jam is too thin when it’s hot. It will thicken as it cools, and even more once it’s chilled. Be patient. I once added extra chia seeds because I thought it was too runny, and I ended up with a jam that was almost solid.
- Double the batch: This recipe is so easy, you might as well make a double batch. It keeps for weeks in the fridge and makes a great last-minute gift. Just use a larger pot and increase the cooking time by a couple of minutes.
- Toast your chia seeds: This is a pro move. Dry toast your chia seeds in a small pan for about a minute before adding them to the jam. It gives them a nuttier flavor that pairs beautifully with the blackberries. Just watch them closely—they burn fast.
I remember one time I was making this for a friend’s baby shower and I got distracted by a phone call. I let the jam cook a little too long and it started to stick to the bottom of the pan. The flavor was still good, but it had a slightly caramelized taste that wasn’t quite right. It taught me to set a timer, even for a 15-minute recipe.
Variations & Adaptations
This recipe is a fantastic base for all kinds of experiments. Here are some of my favorite twists.
- Mixed Berry Jam: Use a combination of blackberries, raspberries, blueberries, and chopped strawberries. The flavor gets more complex and the color is absolutely stunning. This is my go-to for summer brunches.
- Spiced Blackberry Jam: Add a cinnamon stick or a star anise to the pot while the berries are cooking. Remove it before adding the chia seeds. A pinch of cardamom or a scrape of vanilla bean also works wonders. It gives the jam a warm, cozy feel that’s perfect for fall.
- Low-Carb Version: Swap the maple syrup for a monk fruit sweetener or a few drops of liquid stevia. The chia seeds already add plenty of fiber, so the carb count stays low. This version is great for keto or low-sugar diets.
- Herb-Infused Jam: Add a sprig of fresh thyme or a few basil leaves to the pot while cooking. The herbal notes cut through the sweetness and make the jam taste incredibly sophisticated. I love this on a cheese board.
- Spicy Kick: Add a tiny pinch of cayenne pepper or a small slice of fresh ginger to the pot. It sounds weird, but the heat plays beautifully with the sweet-tart berries. It’s amazing on a grilled cheese sandwich.
I once made a batch with a splash of balsamic vinegar and a few cracks of black pepper. It was weirdly addictive. Don’t be afraid to experiment—this recipe is very forgiving.
Serving & Storage Suggestions
This jam is incredibly versatile, so let’s talk about the best ways to use and store it.
How to Serve: This jam is perfect at room temperature or straight from the fridge. Spread it thickly on a piece of warm, crusty bread or a toasted English muffin. It’s also amazing swirled into a bowl of Greek yogurt or oatmeal. For a fancy touch, spoon it over a block of cream cheese and serve with crackers for an instant appetizer. I’ve even used it as a filling for thumbprint cookies and a topping for vanilla ice cream. If you’re looking for a savory twist, try it on a green chile pimento cheese burger for a sweet and spicy kick.
How to Store: Keep your jam in a sealed glass jar in the refrigerator. It will stay fresh for up to 3 weeks. Because this is a low-sugar, no-canning recipe, it should not be stored at room temperature for more than a few hours. If you want to keep it longer, you can freeze it for up to 3 months. Just leave a little headspace in the jar to allow for expansion. Thaw it in the fridge overnight.
Flavor Development: The flavor actually gets better after a day or two in the fridge. The berries continue to meld with the sweetener, and the chia seeds fully hydrate. I often make this a day ahead of time when I’m planning a brunch. It’s one less thing to worry about in the morning.
Nutritional Information & Benefits
This jam isn’t just delicious—it’s actually pretty good for you. Here’s the breakdown per 2-tablespoon serving.
| Nutrient | Amount |
|---|---|
| Calories | 45-55 |
| Total Fat | 2g |
| Carbohydrates | 8-10g |
| Fiber | 4g |
| Sugar | 5-6g (naturally occurring + added) |
| Protein | 1g |
Blackberries are packed with antioxidants, vitamin C, and vitamin K. They’re also a great source of fiber, which is good for digestion. The chia seeds add even more fiber, plus omega-3 fatty acids and a little protein. This jam is naturally gluten-free, dairy-free, and vegan (if you use maple syrup). The only potential allergen is the chia seeds, which are a seed and not a common allergen, but always check with your guests.
I love that I can feel good about eating this jam. It’s a treat that doesn’t come with a side of guilt. When I’m craving something sweet, a spoonful of this on some yogurt is way more satisfying than a sugary snack.
Conclusion
This easy blackberry chia jam has become a staple in my kitchen for a reason. It’s fast, it’s forgiving, and it tastes like you spent hours on it. The first time I made it, I was just trying to save some sad berries from the compost bin. Now, I buy extra blackberries just so I can make a batch. It’s that good.
I hope you give this recipe a try. Don’t be afraid to play with the flavors—make it your own. Add a little vanilla, throw in some mint, or keep it pure and simple. However you make it, it’s going to be delicious. And the best part? You can have it on your table in 15 minutes. That’s a win in my book.
If you make this jam, I’d love to hear about it. Leave a comment below and let me know how it turned out. Did you try a variation? Did you put it on something unexpected? Share your stories. And if you’re looking for another quick and easy recipe, check out this easy homemade apricot chia jam for a sunny twist on the same method. Happy cooking, friends!
Frequently Asked Questions
Can I use frozen blackberries for this jam?
Absolutely! Frozen blackberries work perfectly. In fact, they are often picked at peak ripeness and flash-frozen, so they can be even more flavorful than fresh ones. Just add them straight to the pot without thawing. You may need to cook them for an extra minute or two to account for the extra liquid.
Why is my jam still runny after cooling?
This is the most common question I get. First, make sure you gave the jam enough time to cool completely and then chill in the fridge. It thickens significantly as it cools. If it’s still runny after that, you may need to cook it a little longer next time to evaporate more liquid. Also, check that your chia seeds are fresh—old seeds lose their gelling power.
Can I can this jam for long-term storage?
This recipe is not designed for traditional water bath canning because of its low sugar and acid content. For long-term storage, I recommend freezing it instead. It freezes beautifully for up to 3 months. If you want a shelf-stable jam, you’ll need to follow a tested canning recipe with more sugar or a commercial pectin.
Can I use a different sweetener?
Yes, you have options. Maple syrup and honey are my favorites, but you can also use agave nectar, coconut sugar, or a granulated sweetener like monk fruit. If you use a dry sweetener, you may need to add a tablespoon or two of water to help the berries cook down. Liquid stevia works, but start with just a few drops—it’s very potent.
How long does this jam last in the fridge?
Stored in a clean, airtight jar, this jam will stay fresh for up to 3 weeks in the refrigerator. Because it has less sugar than traditional jam, it won’t last as long at room temperature. Always use a clean spoon when scooping it out to prevent contamination. If you see any mold or off smells, it’s time to toss it.
Pin This Recipe!
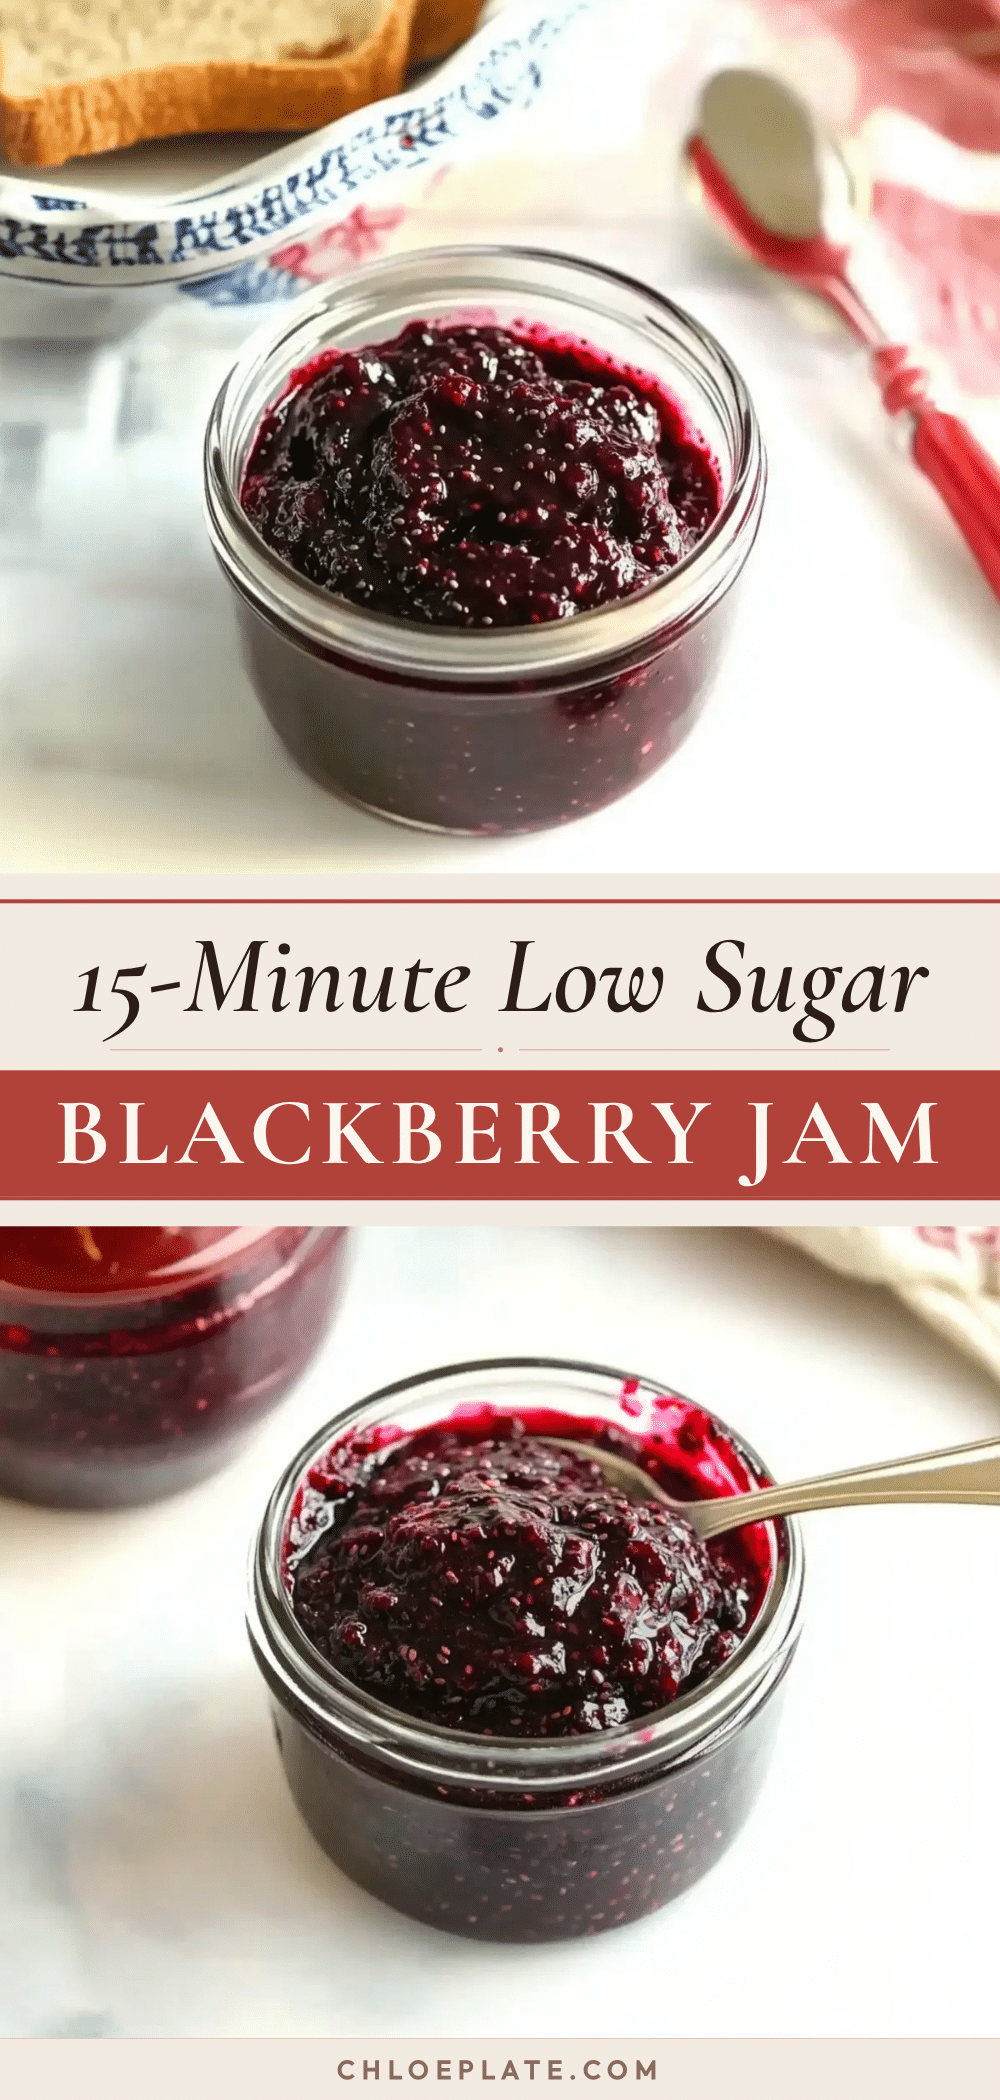
Best Easy Blackberry Chia Jam Recipe Ready in 15 Minutes
This quick and easy blackberry chia jam is made with just a few simple ingredients and ready in 15 minutes. It’s naturally sweetened, low in sugar, and perfect for toast, yogurt, or any breakfast treat.
- Prep Time: 5 minutes
- Cook Time: 10 minutes
- Total Time: 15 minutes
- Yield: 4 servings 1x
- Category: Condiment
- Cuisine: American
Ingredients
- 2 cups fresh or frozen blackberries
- 2–3 tablespoons maple syrup or honey
- 2 tablespoons chia seeds
- 1 tablespoon lemon juice (optional)
- Pinch of salt
Instructions
- Rinse fresh blackberries under cold water and pick out any stems or leaves. If using frozen berries, skip rinsing and measure straight from the bag.
- Place blackberries in a medium saucepan over medium heat. Add maple syrup (or honey) and lemon juice if using. Stir to combine. Cook for about 5 minutes, stirring occasionally, until berries release their juices and the liquid turns deep purple.
- Use a potato masher or fork to mash the berries to your desired consistency. Leave some chunks for texture if preferred.
- Reduce heat to low. Sprinkle chia seeds over the berry mixture and stir well. Let simmer gently for 3-5 minutes, stirring frequently, until the mixture thickens to a loose jam consistency.
- Turn off the heat. The jam will continue to thicken as it cools. Taste and adjust sweetness with more maple syrup or balance with a squeeze of lemon if needed.
- Let the jam cool in the saucepan for about 10 minutes, then pour into a clean glass jar. Cool completely to room temperature before sealing and refrigerating. The jam will firm up as it chills.
Notes
Don’t over-stir once chia seeds are added; they need stillness to gel. The jam thickens significantly as it cools and chills. For a nuttier flavor, dry toast chia seeds in a small pan for about a minute before adding. This jam is not suitable for water bath canning; freeze for long-term storage.
Nutrition
- Serving Size: 2 tablespoons
- Calories: 4555
- Sugar: 56
- Fat: 2
- Carbohydrates: 810
- Fiber: 4
- Protein: 1
Keywords: blackberry chia jam, easy jam recipe, low sugar jam, quick jam, homemade jam, chia seed jam, vegan jam, gluten free jam



