Love this? Save it for later!
Share the inspiration with your friends
“You really don’t need a fancy setup to get that perfect crunch,” my neighbor said one slow Saturday afternoon, holding out a jar of homemade pickles. I was skeptical at first—homemade pickles? In the fridge? But biting into one of those crisp, tangy slices was like a little victory dance on my taste buds. Honestly, it was a game-changer for me as someone who usually buys jars off the shelf, expecting that same satisfying snap and flavor that rarely shows up.
That jar sat on my counter for a few days, and I kept thinking about how just a few simple ingredients could turn a humble cucumber into something so vibrant and addictive. It wasn’t just the crunch, but the way the dill and garlic mingled with a whisper of heat that made me want to keep snacking—like the perfect pickle should. I ended up tweaking the recipe a bit myself, making it just right for quick homemade snacks when life gets hectic but the craving for something tangy and crisp hits hard.
Since then, these easy crunchy refrigerator dill pickles have become my go-to. They don’t require canning, so they’re perfect for anyone who’s a bit wary of the whole canning process (raises hand). I love how you can start them one night and have a tasty batch waiting in the fridge in just a couple of days. Plus, they bring the kind of fresh, bold flavor that makes me think twice about the usual snack options. It’s a recipe that sticks because it’s simple, reliable, and honestly, a little bit fun to make.
There’s something reassuring about knowing what’s in your food, especially when it’s this crunchy and delicious. These pickles have quietly become my little culinary secret, the kind that friends always want the recipe for once they try them. So if you’re looking for a straightforward way to make crunchy, zingy pickles at home—without fuss or fancy equipment—well, you’re in the right place.
Why You’ll Love This Recipe
This easy crunchy refrigerator dill pickles recipe has quickly become a staple in my kitchen for a bunch of reasons. I’ve tested it several times to nail the balance of flavor and texture, and it’s one of those recipes where you can’t help but smile after every bite. Here’s why I think you’ll love it too:
- Quick & Easy: The prep takes less than 15 minutes, and you get crunchy pickles ready to enjoy in about 48 hours—ideal for busy weeknights or last-minute snack cravings.
- Simple Ingredients: No hunting for obscure spices or special vinegars here. Just fresh cucumbers, garlic, dill, and some pantry staples you probably already have.
- Perfect for Any Occasion: Whether you’re making a quick snack, topping off a sandwich, or adding a tangy crunch to your salad, these pickles fit right in. They even pair beautifully with dishes like the crispy shrimp tacos I love whipping up on weekends.
- Crowd-Pleaser: Everyone from kids to adults seems to love these pickles. They’re mellow enough to please picky eaters but still packed with flavor for those who want that classic dill punch.
- Unbelievably Delicious: The texture is just right—crunchy, juicy, and tangy. It’s like the pickles you get at the deli but with your personal touch and fresher taste.
What makes this different from other recipes? The secret is in balancing the garlic and dill with the right acidity, plus a pinch of sugar to mellow the sharpness. I also recommend using fresh dill and a mix of pickling and kosher salt for the best crunch and flavor. It’s not just another pickle recipe—it’s the one you’ll want to keep coming back to.
Honestly, this recipe feels like a little act of self-care—simple, satisfying, and just right for those moments when you want something homemade without a ton of effort. It’s a fresh take on a classic snack that’ll make you close your eyes and savor every bite.
What Ingredients You Will Need
This recipe uses simple, wholesome ingredients to deliver bold flavor and satisfying crunch without the fuss. Most of these are pantry staples, and you can easily find fresh cucumbers at any market. Here’s what you’ll need:
- Fresh cucumbers (about 4-5 medium, preferably Kirby or pickling cucumbers for that classic crunch)
- Fresh dill (2-3 sprigs, with flowers if you can find them—adds bright, herbal notes)
- Garlic cloves (3-4, peeled and crushed for a punch of flavor)
- White vinegar (1 cup / 240 ml, the acid that gives pickles their tang)
- Water (1 cup / 240 ml, to balance vinegar’s sharpness)
- Pickling salt or kosher salt (2 tablespoons; I recommend Diamond Crystal kosher salt for consistent texture)
- Sugar (1 teaspoon, just enough to round out the acidity)
- Black peppercorns (1 teaspoon whole, adds subtle warmth)
- Red pepper flakes (optional, 1/4 teaspoon for a mild kick)
You don’t need anything fancy here. If you want to swap out fresh dill for dried, go ahead, but fresh dill really makes a difference in flavor and aroma. For a gluten-free option, all these ingredients are naturally safe, so no worries there. And if you’re not a fan of spicy, just skip the red pepper flakes.
Equipment Needed
- Large glass jar or several smaller jars with tight-fitting lids: I prefer glass because it doesn’t react with the vinegar and keeps the flavor pure.
- Measuring cups and spoons: For accuracy with salt, sugar, and liquids.
- Sharp knife and cutting board: To slice the cucumbers evenly.
- Mixing bowl: To whisk the brine before pouring it over the cucumbers.
- Spoon or chopstick: For packing cucumbers tightly and pressing down any floating bits.
If you don’t have a fancy jar, a clean mason jar or any airtight container works fine. Just make sure it’s well-sealed to keep those pickles fresh. I’ve tried plastic containers before, but glass always feels better to me for flavor and longevity.
Preparation Method
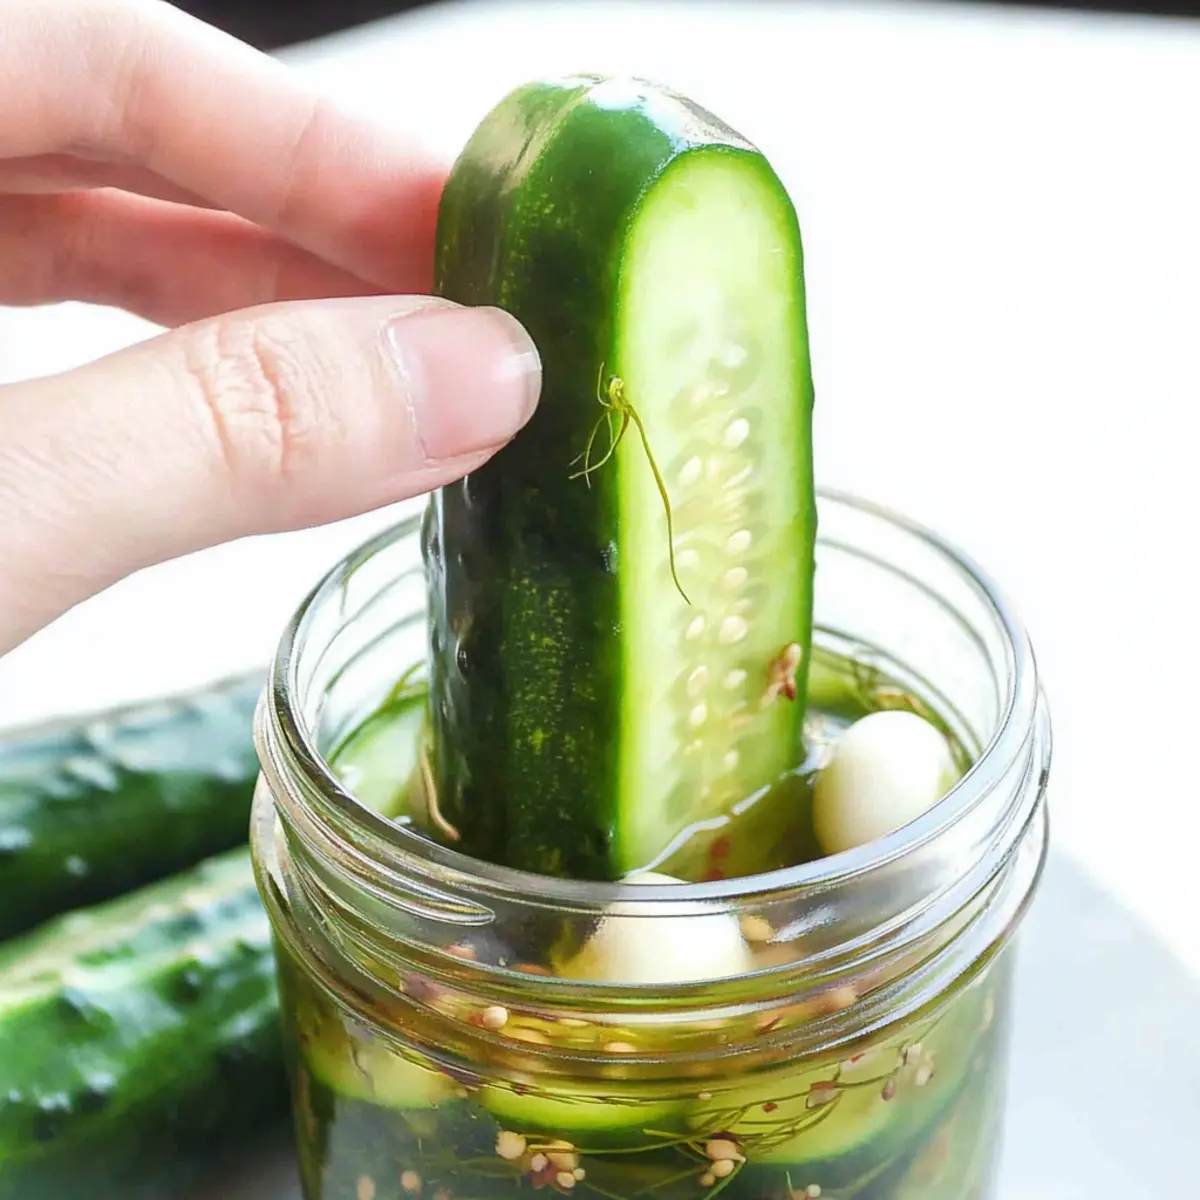
- Prepare Cucumbers: Wash and dry your cucumbers thoroughly. Slice them into 1/4-inch (about 6 mm) thick rounds or spears, whichever you prefer. Using uniform cuts helps the pickles soak evenly. (Prep time: 5-7 minutes)
- Make the Brine: In a bowl, combine 1 cup (240 ml) white vinegar, 1 cup (240 ml) water, 2 tablespoons pickling salt, 1 teaspoon sugar, 1 teaspoon black peppercorns, and red pepper flakes if using. Stir until salt and sugar dissolve. This brine should taste tangy and slightly salty—adjust if needed. (Prep time: 3 minutes)
- Pack the Jar: Place the crushed garlic cloves and fresh dill sprigs at the bottom of your jar. Then tightly pack the cucumber slices or spears in, leaving about 1/2 inch (1.25 cm) space at the top. Press down gently to minimize air pockets but don’t crush the cucumbers. (Prep time: 5 minutes)
- Pour in Brine: Pour the brine over the cucumbers, making sure they’re fully submerged. Use a clean spoon or chopstick to press down any floating cucumbers. Seal the jar tightly with the lid. (Prep time: 2 minutes)
- Refrigerate: Place the jar in the refrigerator. Let the pickles sit for at least 48 hours before tasting. The flavor will develop more the longer they sit, up to 2 weeks. (Resting time: Minimum 48 hours)
- Check and Enjoy: After 48 hours, sample a pickle. It should be crunchy, tangy, and garlicky. If you want it more intense, leave it a day or two longer. Once ready, store in the fridge and enjoy within 2-3 weeks for best freshness.
Quick tip: If your pickles come out a little soft, try adding a few grape leaves or a small piece of horseradish leaf to the jar next time—they contain tannins that help keep cucumbers crisp. Also, thinner slices soak up flavor faster but can get softer quicker, so slice thickness is a balance you can adjust to your liking.
Cooking Tips & Techniques
Making pickles might sound straightforward, but there are a few insider tricks I’ve picked up along the way to keep them crunchy and flavorful:
- Use Fresh Cucumbers: The fresher, the better. Older or soft cucumbers tend to get mushy no matter what.
- Salt Matters: Avoid table salt as it can cloud your brine and affect flavor. Pickling or kosher salt dissolves cleanly and gives that classic pickle taste.
- Don’t Skip the Sugar: Just a tiny amount balances the vinegar’s sharpness and brings depth to the flavor.
- Keep Cucumbers Submerged: Air exposure leads to soft, slimy pickles. Press them down and check the jar daily.
- Chill Time is Key: The longer they rest, the better the flavor. But I’ve learned not to wait too long—after 3 weeks, texture starts to fade.
- Experiment with Slices vs. Spears: Slices pickle faster and are great for sandwiches, but spears hold the snap longer for snacking.
- Don’t Rush: I once tried forcing the pickles by microwaving the jar—big mistake. Trust the fridge and time for the best crunch.
Honestly, the first time I made these, I thought a quick brine would be enough, but after a day, the pickles were still bland and soft. Waiting the full 48 hours made all the difference—and now I always plan my pickles ahead a bit. It’s worth the patience!
Variations & Adaptations
You can easily tweak this basic recipe to suit your taste or dietary needs. Here are some fun variations I’ve tried and loved:
- Spicy Dill Pickles: Add more red pepper flakes or a few sliced fresh jalapeños for a fiery kick that pairs perfectly with tacos or burgers.
- Garlic Lover’s Pickles: Double the garlic cloves for an aromatic punch that makes these pickles irresistible alongside grilled meats.
- Herb Mix: Swap some of the dill with fresh tarragon or thyme for a slightly different herbal profile. This was a favorite twist when I made a batch to go with a low-carb zucchini lasagna.
- Vinegar Swap: Try apple cider vinegar instead of white for a milder, fruitier tang.
- Low-Sodium Option: Use less salt but add a splash more vinegar or a pinch of citric acid to keep that bright flavor.
When I’m feeling experimental, I’ve even added a few slices of fresh ginger or mustard seeds to the jar, which adds a surprising depth. The best part is you can customize these pickles to exactly how you like them, whether for snacking, salads, or sandwiches.
Serving & Storage Suggestions
These crunchy refrigerator dill pickles are best served chilled, straight from the fridge. They make a fantastic snack on their own or a vibrant side to sandwiches, burgers, or even alongside a fresh salad like the chickpea salad with Mediterranean flavors.
For storage, keep the pickles in their brine inside a tightly sealed glass jar or container in the refrigerator. They stay fresh and crunchy for up to 3 weeks. Over time, the flavor deepens and the texture softens slightly, so plan to enjoy them within that window for the best snap.
To reheat or warm pickles (if you ever want to try), it’s best to do it gently and briefly to avoid losing crunch. Usually, these pickles are best cold, but they also add great brightness chopped into dishes like potato salad or grain bowls.
Nutritional Information & Benefits
One serving (about 3 slices) of these easy crunchy refrigerator dill pickles contains approximately:
| Nutrient | Amount |
|---|---|
| Calories | 10 |
| Carbohydrates | 2g |
| Fiber | 0.5g |
| Sodium | 350mg |
| Vitamin K | 8% DV |
These pickles are low-calorie and provide a good source of vitamin K, important for bone health. The vinegar may also aid digestion and help balance blood sugar levels. Just keep an eye on sodium if you’re watching your intake—using kosher salt and rinsing pickles briefly before eating can help reduce saltiness.
From a wellness standpoint, I appreciate how these pickles add flavor and crunch without extra fat or sugar, making them a guilt-free way to satisfy snack cravings. Plus, homemade means no preservatives or weird additives.
Conclusion
This easy crunchy refrigerator dill pickles recipe is one of those simple joys that sneaks into your routine and sticks around. It’s quick, fuss-free, and rewards you with that perfect crunchy, tangy bite every time. I love how customizable it is—you can make it your own and enjoy it fresh or with a little twist depending on your mood.
Whether you’re looking for a quick homemade snack or a vibrant addition to your meals, these pickles fit right in. I find myself reaching for them more often than expected, and I’m betting you will too. If you give them a try, I’d love to hear how you customize the recipe or what dishes you pair them with—sharing those little adaptations always makes cooking more fun.
Here’s to crunchy, flavorful pickles that brighten your fridge and your day!
Frequently Asked Questions (FAQs)
How long do refrigerator dill pickles last?
They stay fresh and crunchy in the fridge for up to 3 weeks. After that, the texture may soften and flavor mellow.
Can I use regular cucumbers instead of pickling cucumbers?
Yes, but pickling cucumbers like Kirby are firmer and yield a better crunch. Regular cucumbers might be softer after pickling.
Do I need to sterilize the jars for refrigerator pickles?
No need to sterilize since these pickles stay refrigerated and aren’t canned. Just use clean jars and lids.
Can I make these pickles without garlic?
Absolutely! Garlic adds flavor, but you can omit it or replace it with other aromatics like mustard seeds or fresh herbs.
Why are my pickles not crunchy?
Common reasons include using old cucumbers, not enough salt, or cucumbers not fully submerged. Adding grape leaves or horseradish leaves next time can help maintain crunch.
Pin This Recipe!
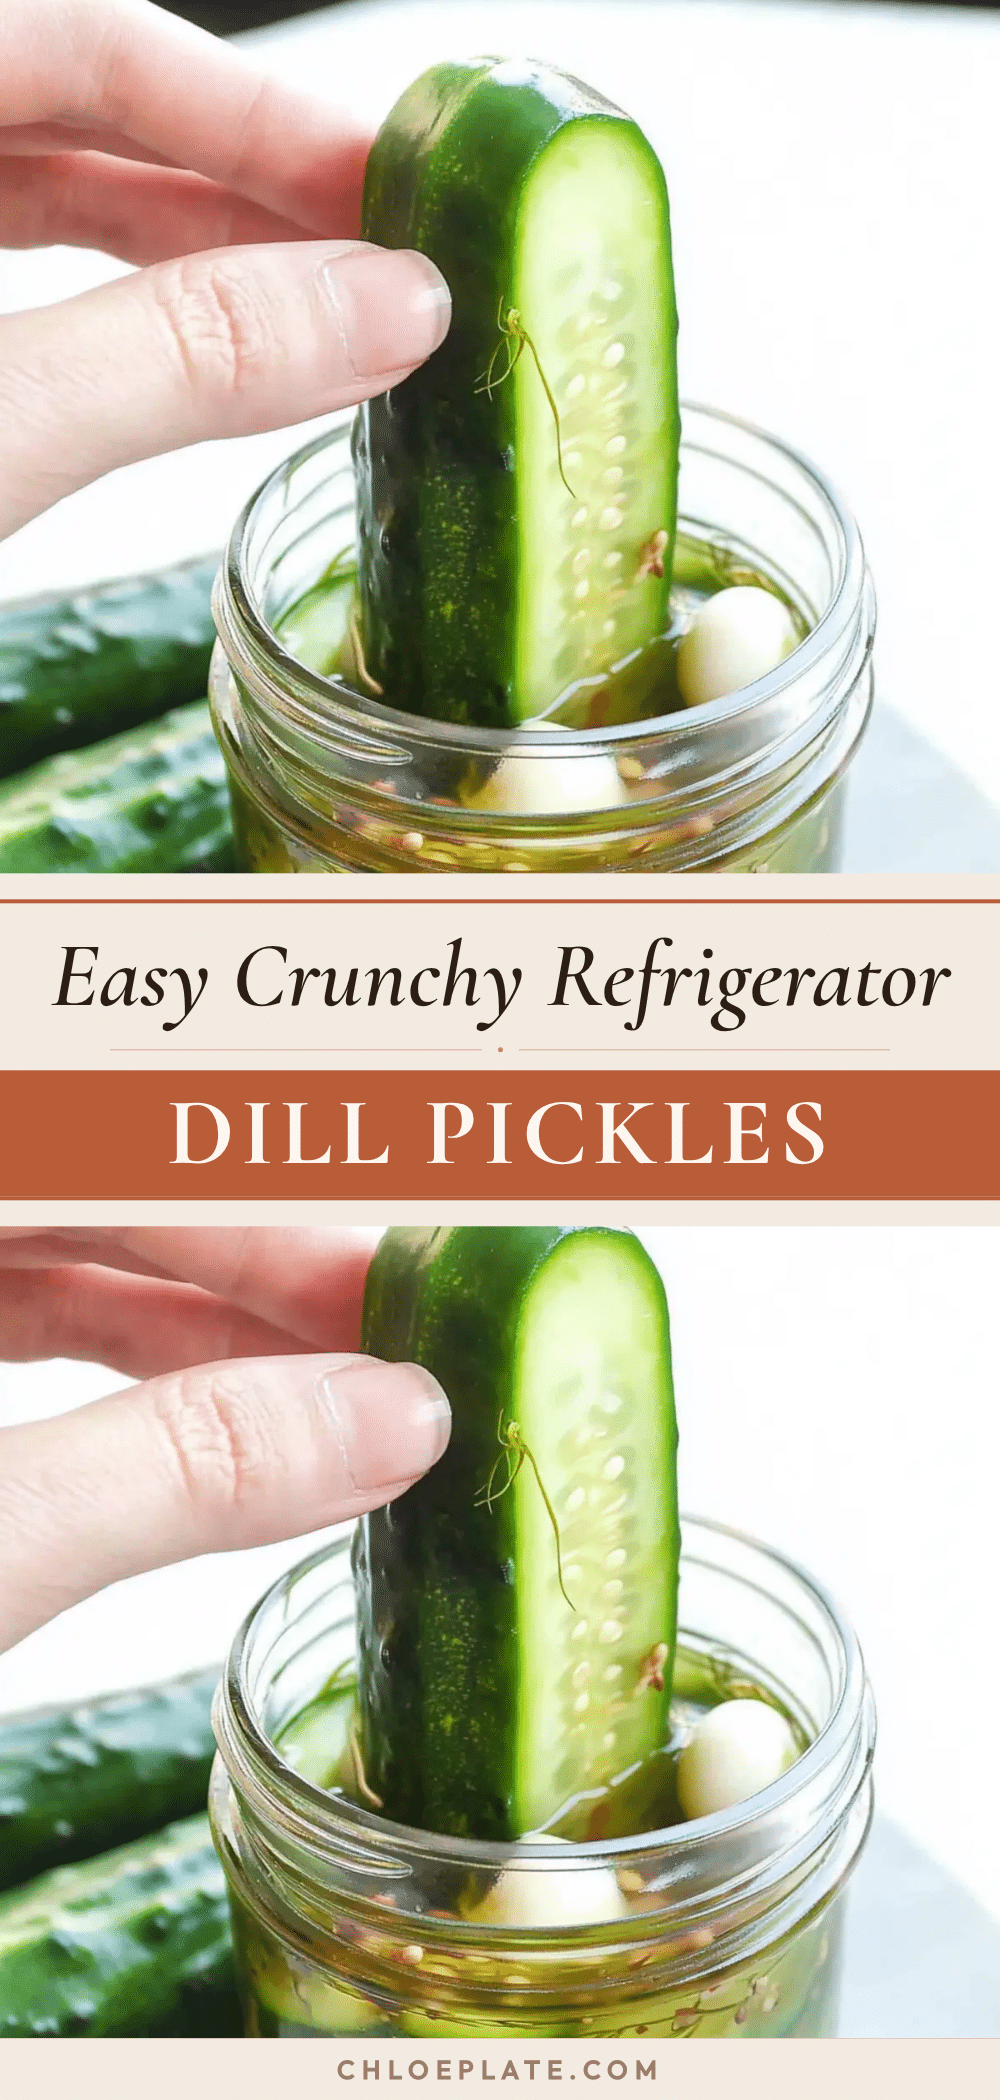
Easy Crunchy Refrigerator Dill Pickles Recipe Perfect for Quick Homemade Snacks
A quick and easy recipe for crunchy, tangy refrigerator dill pickles that require no canning and are ready in about 48 hours. Perfect for homemade snacks with simple ingredients and bold flavor.
- Prep Time: 15 minutes
- Cook Time: 0 minutes
- Total Time: 48 hours (including resting time)
- Yield: About 4-5 servings 1x
- Category: Snack
- Cuisine: American
Ingredients
- 4–5 medium fresh cucumbers (preferably Kirby or pickling cucumbers)
- 2–3 sprigs fresh dill (with flowers if available)
- 3–4 garlic cloves, peeled and crushed
- 1 cup (240 ml) white vinegar
- 1 cup (240 ml) water
- 2 tablespoons pickling salt or kosher salt (Diamond Crystal kosher salt recommended)
- 1 teaspoon sugar
- 1 teaspoon whole black peppercorns
- 1/4 teaspoon red pepper flakes (optional)
Instructions
- Wash and dry cucumbers thoroughly. Slice into 1/4-inch (about 6 mm) thick rounds or spears.
- In a mixing bowl, combine white vinegar, water, pickling salt, sugar, black peppercorns, and red pepper flakes if using. Stir until salt and sugar dissolve.
- Place crushed garlic cloves and fresh dill sprigs at the bottom of a large glass jar.
- Tightly pack cucumber slices or spears into the jar, leaving about 1/2 inch space at the top. Press down gently to minimize air pockets without crushing cucumbers.
- Pour the brine over the cucumbers, ensuring they are fully submerged. Use a spoon or chopstick to press down any floating cucumbers. Seal the jar tightly.
- Refrigerate the jar for at least 48 hours before tasting. Flavor develops more the longer they sit, up to 2 weeks.
- After 48 hours, sample a pickle. If desired, let sit longer for more intense flavor. Store in the fridge and consume within 2-3 weeks for best freshness.
Notes
Use fresh cucumbers for best crunch. Avoid table salt to prevent cloudy brine; use pickling or kosher salt instead. Keep cucumbers fully submerged to avoid soft pickles. If pickles turn soft, try adding grape leaves or horseradish leaves next time. Slice thickness affects soaking time and texture. Do not rush the pickling process by heating; refrigeration and time yield best results.
Nutrition
- Serving Size: About 3 pickle slice
- Calories: 10
- Sodium: 350
- Carbohydrates: 2
- Fiber: 0.5
Keywords: refrigerator pickles, dill pickles, crunchy pickles, quick pickles, homemade pickles, easy pickle recipe, no canning pickles



