Love this? Save it for later!
Share the inspiration with your friends
I was staring at a carton of egg whites in my fridge last spring, leftovers from a batch of lemon curd I had made on a whim. You know that moment when you have a random ingredient and zero plan? That was me. I had already made a batch of tender lemon shortbread cookies earlier that week, and honestly, I was a little tired of baking. But tossing those whites felt wasteful.
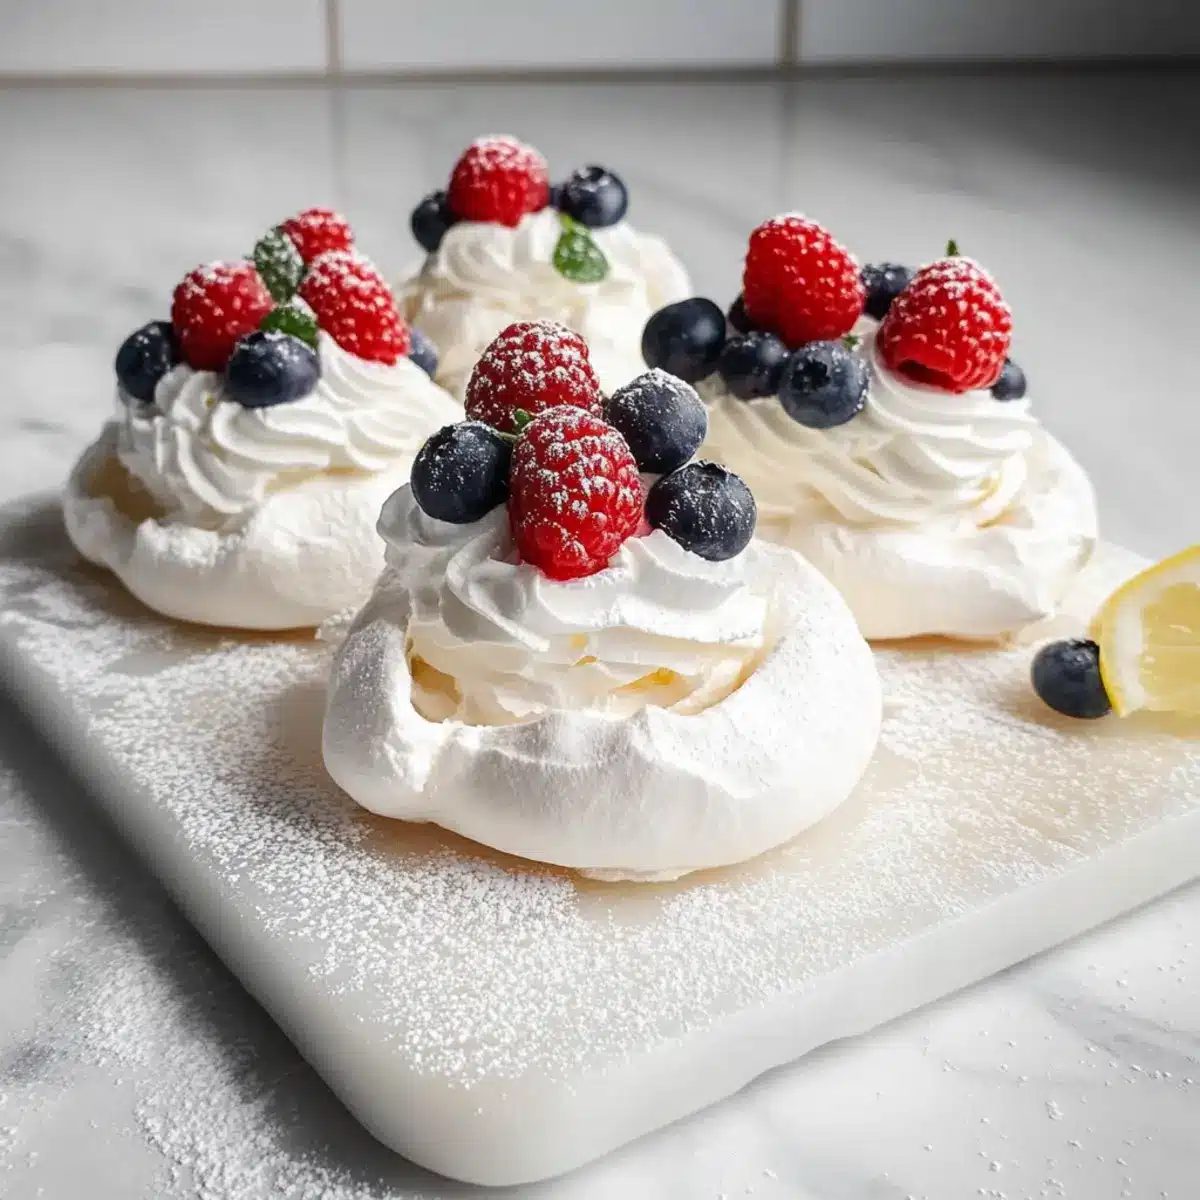
So I did what any reasonable person does when faced with egg whites and no dinner plans—I made mini pavlovas. Not a big, showy one. Just tiny, personal-sized clouds of meringue. I topped them with the leftover lemon curd, some frozen raspberries I found in the back of the freezer, and a dollop of cream. And I sat there on my kitchen counter, eating one with a fork, thinking, why don’t I make these more often?
That’s the thing about this Perfect Mini Pavlova with Lemon Curd and Berries. It feels fancy—like something you’d order at a brunch spot with cloth napkins—but it’s actually just a few simple ingredients behaving beautifully. The meringue gets crisp on the outside and marshmallowy on the inside. The curd is tart and silky. The berries add that pop of freshness. It’s not complicated. It’s just right.
I’ve made these little nests maybe a dozen times since that night. For friends, for birthdays, for no reason at all. And every time, someone asks for the recipe. So here it is.
Why You’ll Love This Recipe
- Impressive Without the Stress: These mini pavlovas look like they came from a bakery, but they come together with basic pantry ingredients and a little patience. No piping bags needed.
- Perfect Make-Ahead Dessert: The meringue shells can be baked days in advance and stored in an airtight container. Just assemble when you’re ready to serve. Total lifesaver for entertaining.
- Naturally Gluten-Free: Since pavlova is built on egg whites and sugar, it’s naturally free of gluten. No weird flour substitutes needed. Just pure, airy goodness.
- Endlessly Customizable: Swap the lemon curd for passion fruit, top with any berries you have, or add a drizzle of chocolate. This recipe is a template for whatever you’re craving.
- Portion-Controlled Indulgence: Individual servings mean everyone gets their own little nest of sweetness. No fighting over the last slice.
What really sets this recipe apart is the texture. I’ve nailed down the exact technique to get that signature pavlova shell—crisp and crackly on the outside, soft and chewy on the inside. Plus, the homemade lemon curd is a game-changer. It’s tangy enough to cut through the sweetness of the meringue, creating that perfect balance that keeps you coming back for another bite.
Honestly, this is the kind of dessert that makes you feel like you’ve got it all together, even if you’re just wearing sweatpants in your own kitchen. And that’s a win in my book.
What Ingredients You Will Need
This recipe uses simple, wholesome ingredients to create something that feels truly special. Most of these are pantry staples, and the ones that aren’t are worth seeking out for the texture and flavor they deliver.
For the Mini Pavlova Meringues
- 4 large egg whites, at room temperature (this is important—cold egg whites don’t whip up as well)
- 1 cup (200g) granulated sugar (use superfine sugar if you can find it; it dissolves faster)
- 1 teaspoon white vinegar (or lemon juice—this stabilizes the meringue)
- 1 teaspoon cornstarch (helps create that soft, marshmallow center)
- 1 teaspoon vanilla extract (adds warmth and depth to the flavor)
For the Lemon Curd
- 3 large egg yolks (save the whites from these for the meringue!)
- 1/2 cup (100g) granulated sugar
- 1/3 cup (80ml) fresh lemon juice (about 2-3 lemons—don’t use bottled)
- Zest of 1 lemon
- 4 tablespoons (56g) unsalted butter, cut into small cubes
- Pinch of salt
For the Topping
- 1 cup (240ml) heavy cream, cold
- 1 tablespoon powdered sugar
- 1 teaspoon vanilla extract
- 1 cup mixed fresh berries (strawberries, raspberries, blueberries, blackberries)
- Optional: Mint leaves for garnish, extra lemon zest
Ingredient Tips: For the meringue, I prefer using organic cane sugar—it dissolves more evenly. For the lemon curd, use unwaxed lemons if you can find them. And for the berries, feel free to use frozen if fresh aren’t in season, but thaw and drain them first so they don’t water down the cream.
Equipment Needed
- Stand mixer or hand mixer (you’ll be whipping egg whites for a while, so save your arm)
- Large mixing bowls (make sure they’re spotless—any grease will ruin your meringue)
- Baking sheet lined with parchment paper
- Small saucepan (for the lemon curd)
- Fine-mesh strainer (for straining the curd to make it silky smooth)
- Rubber spatula
- Piping bag or zip-top bag (optional, for shaping the meringues)
- Whisk
If you don’t have a piping bag, don’t stress. You can just spoon the meringue onto the baking sheet and shape it into nests with the back of a spoon. I’ve done it both ways, and honestly, the rustic spoon-shaped ones have more charm.
Preparation Method
Step 1: Make the Lemon Curd (Can Be Done Ahead)
In a small saucepan, whisk together the egg yolks, sugar, lemon juice, lemon zest, and salt. Cook over medium-low heat, whisking constantly, until the mixture thickens and coats the back of a spoon—about 6-8 minutes. Don’t walk away; you don’t want scrambled eggs. Once thickened, remove from heat and whisk in the butter cubes until smooth. Strain through a fine-mesh strainer into a bowl. Cover with plastic wrap directly on the surface (to prevent a skin from forming) and chill for at least 2 hours. It will keep in the fridge for up to a week.
Step 2: Prepare the Meringue
Preheat your oven to 250°F (120°C). Line a baking sheet with parchment paper.
In the bowl of a stand mixer (or a large bowl with a hand mixer), beat the egg whites on medium speed until soft peaks form. This takes about 2-3 minutes. You’ll know it’s ready when the whites are foamy and hold a gentle peak that flops over.
With the mixer running, add the sugar one tablespoon at a time. Yes, it’s tedious, but adding it slowly helps it dissolve properly. Once all the sugar is in, increase the speed to high and beat until the meringue is thick, glossy, and holds stiff peaks. This will take about 5-7 minutes. Rub a little between your fingers—if it feels gritty, keep beating. It should feel smooth.
Sprinkle the vinegar and cornstarch over the meringue, add the vanilla, and beat on low just until combined. The mixture should look like marshmallow fluff.
Step 3: Shape the Meringues
Spoon or pipe the meringue onto the prepared baking sheet in 6 equal mounds. Use the back of a spoon to create a small well in the center of each—this is where the curd and cream will go later. Make the edges slightly higher than the center so they form little nests.
I like to make mine about 4 inches wide. They’ll spread a tiny bit as they bake, so leave some space between them.
Step 4: Bake the Meringues
Place the baking sheet in the oven and immediately reduce the temperature to 225°F (110°C). Bake for 60-70 minutes, or until the meringues are dry to the touch and can be lifted easily off the parchment. They should be pale and crisp on the outside. Turn off the oven and leave the meringues inside with the door slightly ajar (use a wooden spoon to prop it open) for another hour. This gradual cooling prevents cracking.
Pro tip: Don’t bake on a humid day. Meringue absorbs moisture from the air and can become sticky. If it’s rainy, just wait—trust me.
Step 5: Whip the Cream
In a chilled bowl, beat the heavy cream, powdered sugar, and vanilla until soft peaks form. Don’t over-whip—you want it billowy, not buttery.
Step 6: Assemble and Serve
Just before serving, place a meringue nest on each plate. Spoon a generous dollop of lemon curd into the well, top with a cloud of whipped cream, and scatter fresh berries over the top. Garnish with mint leaves and a little extra lemon zest if you’re feeling fancy. Serve immediately.
The meringues will start to soften once assembled, so this is strictly a right-before-eating kind of deal. But that’s part of the magic—the contrast between the crunchy shell and the creamy filling is everything.
Cooking Tips & Techniques
I’ve ruined my fair share of meringues, so let me save you the heartache. Here are the things I wish someone had told me:
Egg whites at room temperature are non-negotiable. Cold egg whites don’t whip up as high or as stable. Take them out of the fridge 30 minutes before you start. If you’re in a rush, place the eggs in a bowl of warm water for 5 minutes.
No fat, no yolk. Any trace of fat—even a speck of egg yolk—will prevent your egg whites from whipping. Separate your eggs carefully, and make sure your bowl and beaters are completely clean. I wipe mine with a little lemon juice just to be safe.
Low and slow is the way to go. Baking meringue at a low temperature dries it out without browning it. If your oven runs hot, check them at 50 minutes. You want them pale, not golden.
Don’t skip the cooling step. Leaving the meringues in the oven as it cools prevents thermal shock, which causes cracking. Yes, it takes an extra hour. Yes, it’s worth it.
Make the curd first. It needs time to chill and set. I usually make it the day before, which also means I have the egg whites ready to go for the meringue. Efficient, right?
Variations & Adaptations
This recipe is a blank canvas. Here are some of my favorite ways to switch it up:
- Berry Swap: Use whatever berries look best at the market. In summer, I love sliced peaches or nectarines. In fall, poached pears or roasted figs are incredible.
- Citrus Curd Variations: Swap the lemon for lime, orange, or grapefruit. Each brings a different vibe. Lime is fantastic with mango and coconut.
- Chocolate Drizzle: Melt some dark chocolate with a little coconut oil and drizzle it over the assembled pavlovas. The bitterness of the chocolate plays beautifully with the sweet meringue.
- Vegan Option: Use aquafaba (the liquid from a can of chickpeas) instead of egg whites. Whip it the same way—it works surprisingly well. For the curd, use a vegan butter and a little extra cornstarch to thicken.
- Spiced Version: Add a pinch of cinnamon or cardamom to the meringue. It adds a warm, cozy note that’s perfect for fall.
I once made a batch with passion fruit curd and topped them with toasted coconut flakes. They disappeared in about 10 minutes. Just saying.
Serving & Storage Suggestions
Serve these mini pavlovas immediately after assembling. The contrast between the crunchy meringue and the cold, creamy filling is the whole point. If you’re serving a crowd, set up a pavlova bar—let everyone build their own with different toppings.
For storage, keep the baked meringue shells in an airtight container at room temperature for up to 5 days. They’re surprisingly sturdy. The lemon curd will keep in the fridge for a week. The whipped cream is best made fresh, but you can whip it up to 4 hours ahead and keep it chilled.
Do not refrigerate assembled pavlovas. The meringue will absorb moisture from the cream and curd and turn soft and sticky. Leftover components can be stored separately and assembled fresh.
If you have extra meringue shells, they’re fantastic crumbled over ice cream or yogurt. Or just eat them like cookies. No judgment here.
Nutritional Information & Benefits
Per serving (one mini pavlova with curd, cream, and berries): approximately 320 calories, 18g fat, 38g carbohydrates, 4g protein, 1g fiber, 28g sugar.
While this is definitely a treat, there are some bright spots. Egg whites are pure protein, and the lemon curd provides a decent dose of vitamin C from the fresh lemon juice. Berries are packed with antioxidants and fiber. And hey, it’s gluten-free and can easily be made dairy-free with a few swaps.
Is it health food? No. But it’s a dessert made from real ingredients, and that counts for something. I’d rather have one perfect, homemade pavlova than a box of processed anything.
Conclusion
This Perfect Mini Pavlova with Lemon Curd and Berries is the kind of dessert that makes you look like a rockstar with minimal effort. It’s elegant, versatile, and surprisingly forgiving once you know a few key tricks. The meringue shells can be made ahead, the curd is a dream, and the whole thing comes together in a way that feels special without being fussy.
I hope you give these a try. Play with the toppings, make them your own, and don’t stress about perfection. The slightly imperfect ones are always the most delicious anyway.
If you make these, I’d love to hear about it. Drop a comment below, tag me in your photos, or share your favorite variation. And if you’re looking for another easy, impressive dessert, check out this cherry cheesecake puppy chow crunch for a totally different kind of sweet treat. Happy baking!
Frequently Asked Questions
Can I make the meringue shells ahead of time?
Yes! Bake the meringue shells up to 5 days in advance and store them in an airtight container at room temperature. Just don’t assemble them until you’re ready to serve.
Why did my meringue crack?
Cracking usually happens from sudden temperature changes. Make sure to cool the meringues gradually in the oven with the door cracked open. Also, avoid over-beating the egg whites—stiff peaks are perfect, but over-beaten meringue can become dry and brittle.
Can I use store-bought lemon curd?
You can, but homemade is so much better. Store-bought curd tends to be sweeter and less tangy, and it often has a thicker, more gelatinous texture. If you’re short on time, go for it, but the homemade version is worth the extra 10 minutes.
How do I prevent my meringue from being sticky?
Sticky meringue is usually a sign of under-baking or high humidity. Make sure the meringues are fully dried out in the oven and avoid making them on rainy or humid days. Storing them in an airtight container immediately after cooling also helps.
Can I freeze the assembled pavlovas?
I don’t recommend it. The meringue will absorb moisture from the cream and curd and become soft and soggy. Freeze the meringue shells separately if you need to store them longer than a week, but assemble fresh for the best texture.
Pin This Recipe!
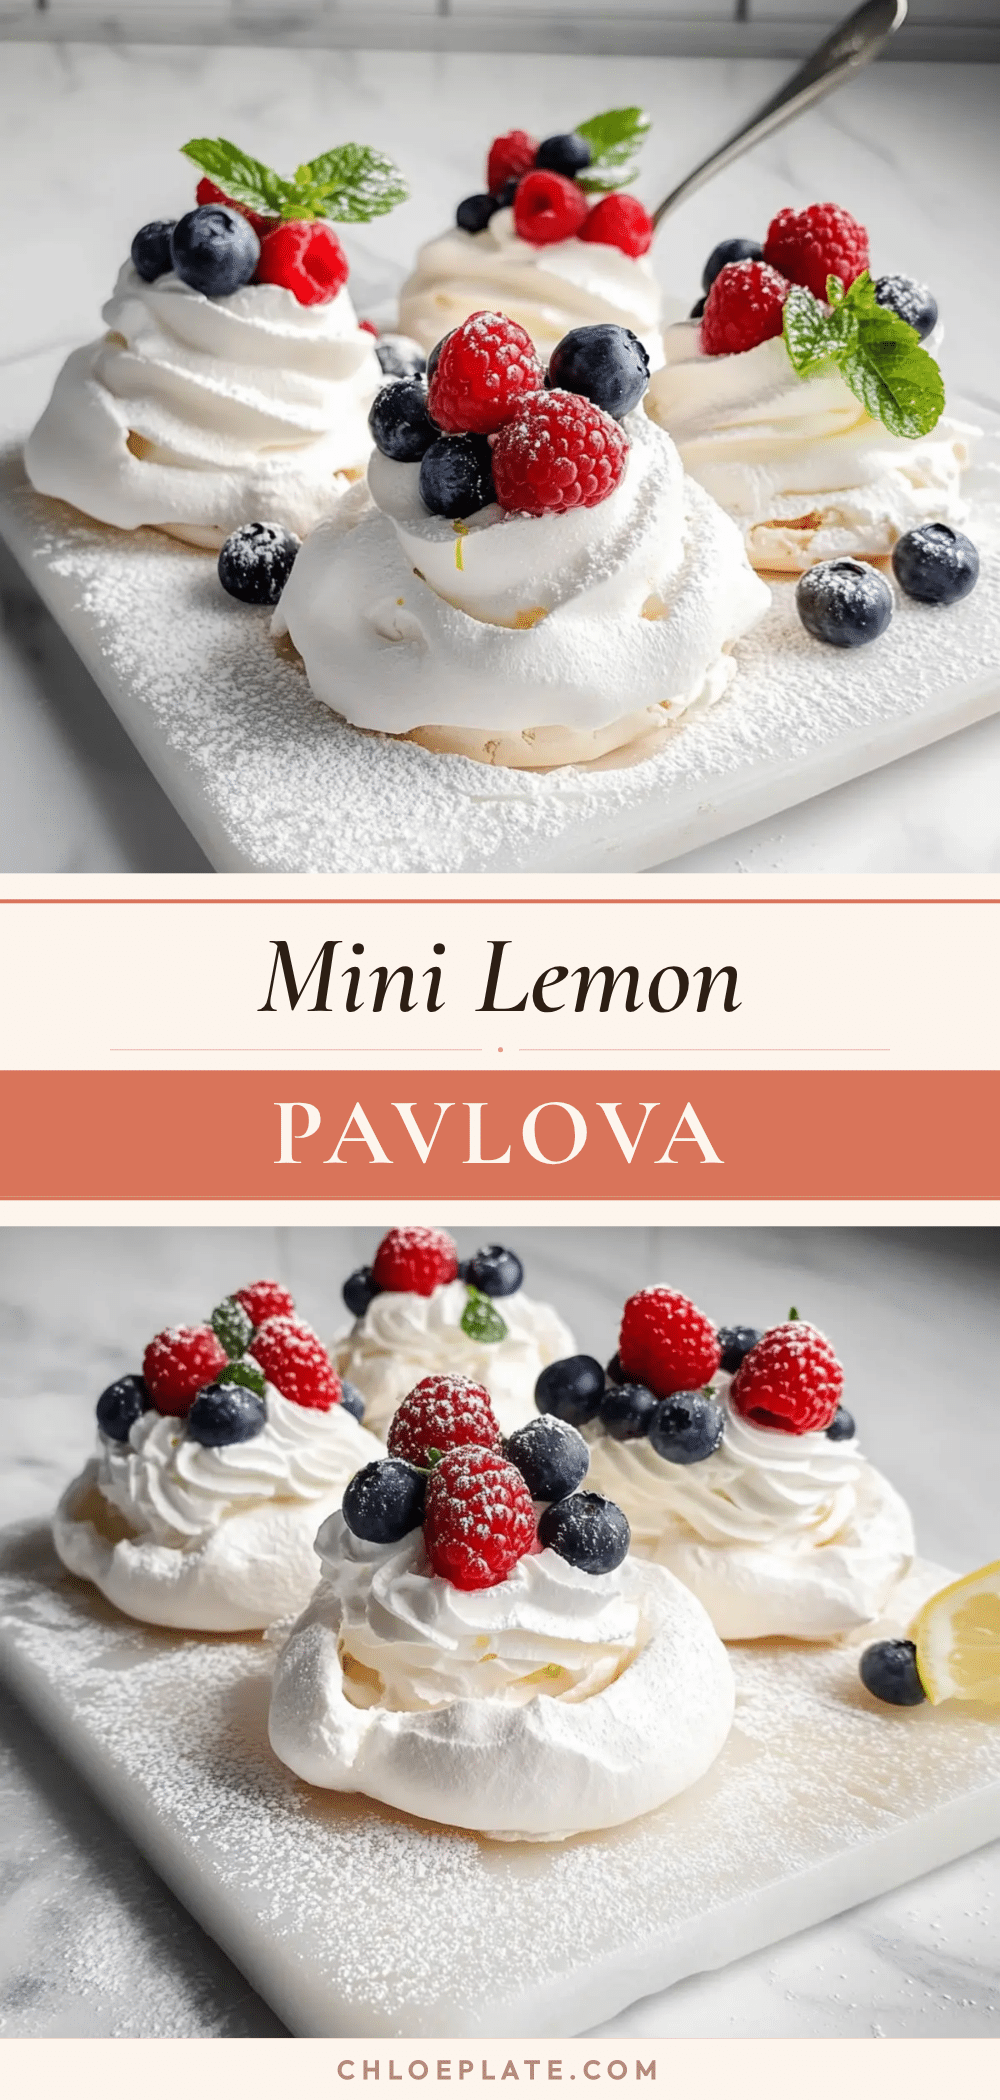
Perfect Mini Pavlova with Lemon Curd and Berries

These individual meringue nests are crisp on the outside, marshmallowy on the inside, and topped with tangy homemade lemon curd, billowy whipped cream, and fresh berries. An elegant yet surprisingly simple dessert that’s naturally gluten-free and perfect for entertaining.
- Prep Time: 30 minutes
- Cook Time: 70 minutes
- Total Time: 2 hours 40 minutes (includes cooling and chilling)
- Yield: 6 servings 1x
- Category: Dessert
- Cuisine: Australian/New Zealand
Ingredients
- 4 large egg whites, at room temperature
- 1 cup (200g) granulated sugar (superfine preferred)
- 1 teaspoon white vinegar (or lemon juice)
- 1 teaspoon cornstarch
- 1 teaspoon vanilla extract
- 3 large egg yolks
- 1/2 cup (100g) granulated sugar
- 1/3 cup (80ml) fresh lemon juice (about 2–3 lemons)
- Zest of 1 lemon
- 4 tablespoons (56g) unsalted butter, cut into small cubes
- Pinch of salt
- 1 cup (240ml) heavy cream, cold
- 1 tablespoon powdered sugar
- 1 teaspoon vanilla extract
- 1 cup mixed fresh berries (strawberries, raspberries, blueberries, blackberries)
- Optional: Mint leaves for garnish, extra lemon zest
Instructions
- Make the lemon curd: In a small saucepan, whisk together egg yolks, sugar, lemon juice, lemon zest, and salt. Cook over medium-low heat, whisking constantly, until thickened (coats the back of a spoon), about 6-8 minutes. Remove from heat and whisk in butter cubes until smooth. Strain through a fine-mesh strainer into a bowl. Cover with plastic wrap directly on the surface and chill for at least 2 hours (up to 1 week).
- Preheat oven to 250°F (120°C). Line a baking sheet with parchment paper.
- In a stand mixer or large bowl with hand mixer, beat egg whites on medium speed until soft peaks form, about 2-3 minutes.
- With mixer running, add sugar one tablespoon at a time. Increase speed to high and beat until thick, glossy, and stiff peaks form, about 5-7 minutes. The mixture should feel smooth when rubbed between fingers.
- Sprinkle vinegar and cornstarch over meringue, add vanilla, and beat on low just until combined.
- Spoon or pipe meringue onto prepared baking sheet in 6 equal mounds. Use back of a spoon to create a small well in the center of each, making edges slightly higher than center.
- Place baking sheet in oven and immediately reduce temperature to 225°F (110°C). Bake for 60-70 minutes, until meringues are dry to the touch and can be lifted easily off parchment. Turn off oven and leave meringues inside with door slightly ajar for 1 hour to cool gradually.
- In a chilled bowl, beat heavy cream, powdered sugar, and vanilla until soft peaks form. Do not over-whip.
- Just before serving, place a meringue nest on each plate. Spoon lemon curd into the well, top with whipped cream, and scatter fresh berries over the top. Garnish with mint and extra lemon zest if desired. Serve immediately.
Notes
Egg whites must be at room temperature. Ensure all equipment is completely clean and free of fat. Do not make meringue on humid days. Meringue shells can be baked up to 5 days ahead and stored in an airtight container at room temperature. Assemble just before serving to maintain crunch. Lemon curd can be made up to a week ahead.
Nutrition
- Serving Size: 1 mini pavlova
- Calories: 320
- Sugar: 28
- Sodium: 80
- Fat: 18
- Saturated Fat: 10
- Carbohydrates: 38
- Fiber: 1
- Protein: 4
Keywords: mini pavlova, lemon curd, berries, meringue, gluten-free dessert, individual pavlova, make-ahead dessert, summer dessert



