Love this? Save it for later!
Share the inspiration with your friends
The first time I made crispy fried pickles, it was a total accident. I had a jar of dill spears staring at me from the fridge and a sudden craving for something crunchy. I wasn’t trying to recreate a state fair classic or impress anyone. I just wanted a snack. So I grabbed some flour, an egg, and a bottle of hot sauce, and I started experimenting. Honestly, I didn’t expect much. But the moment that first batch hit the hot oil and turned golden brown, I knew I had stumbled onto something special.
These aren’t your usual soggy, sad fried pickles. We’re talking about a shatteringly crisp coating that clings to every ridge of a tangy dill spear. The secret is in the buttermilk soak and a perfectly seasoned breading. And that dipping sauce? A dreamy, herb-flecked buttermilk ranch that is so good you’ll want to put it on everything. I’ve been making this recipe for years now, and it’s the one thing friends always ask me to bring to parties. It’s the appetizer that disappears before anything else on the table.
There’s just something about that first bite. The crunch gives way to a warm, briny pop of pickle, and then you dip it into that cool, creamy ranch. It’s a flavor and texture combo that just works. This recipe is my absolute best version, perfected through many batches and a few happy accidents. Trust me on this one.
Why You’ll Love This Recipe
This isn’t just another fried pickle recipe. This is the one you’ll come back to again and again. Here’s why it works so well:
- Incredibly Crispy: The buttermilk soak and double-dredge method create a coating that stays crunchy long after frying. No sad, soggy pickles here.
- Simple Pantry Ingredients: You probably have everything you need in your kitchen right now. No fancy flours or hard-to-find spices.
- Perfect Party Appetizer: This is the ultimate finger food. It’s great for game day, backyard barbecues, or just a fun snack with friends. Pair it with an easy antipasto platter for a full spread.
- Always a Crowd-Pleaser: Even people who think they don’t like pickles end up loving these. They’re addictive in the best way.
- Quick and Easy: From start to finish, you can have a batch of these on the table in under 30 minutes. Perfect for last-minute cravings.
What makes this recipe different? It’s the attention to detail. The buttermilk tenderizes the pickle just enough, and the blend of spices in the flour gives you that classic Southern-style flavor. I’ve tested this with different flours, different pickles, and different frying methods. This version is the gold standard. It’s the kind of appetizer that makes you close your eyes after the first bite because it’s just that good.
What Ingredients You Will Need
This recipe uses simple, everyday ingredients to create something truly special. The magic is in how they come together. Here’s what you’ll need:
For the Fried Pickles
- 1 jar (16 oz) dill pickle chips or spears (I prefer Claussen or Grillo’s for their crunch, but any brand works. Make sure they’re well-drained.)
- 1 cup buttermilk (This is key for tanginess and helps the breading stick. Shake it well before using.)
- 1 large egg
- 1 teaspoon hot sauce (Optional, but it adds a nice subtle kick. I use Frank’s RedHot.)
- 1 ½ cups all-purpose flour
- ½ cup cornstarch (This is the secret to extra crunch!)
- 1 teaspoon garlic powder
- 1 teaspoon onion powder
- 1 teaspoon paprika
- ½ teaspoon cayenne pepper (Adjust to your spice preference.)
- 1 teaspoon salt
- ½ teaspoon black pepper
- Vegetable oil or peanut oil (For frying. Use enough to have about 2 inches of oil in your pot.)
For the Dreamy Buttermilk Ranch
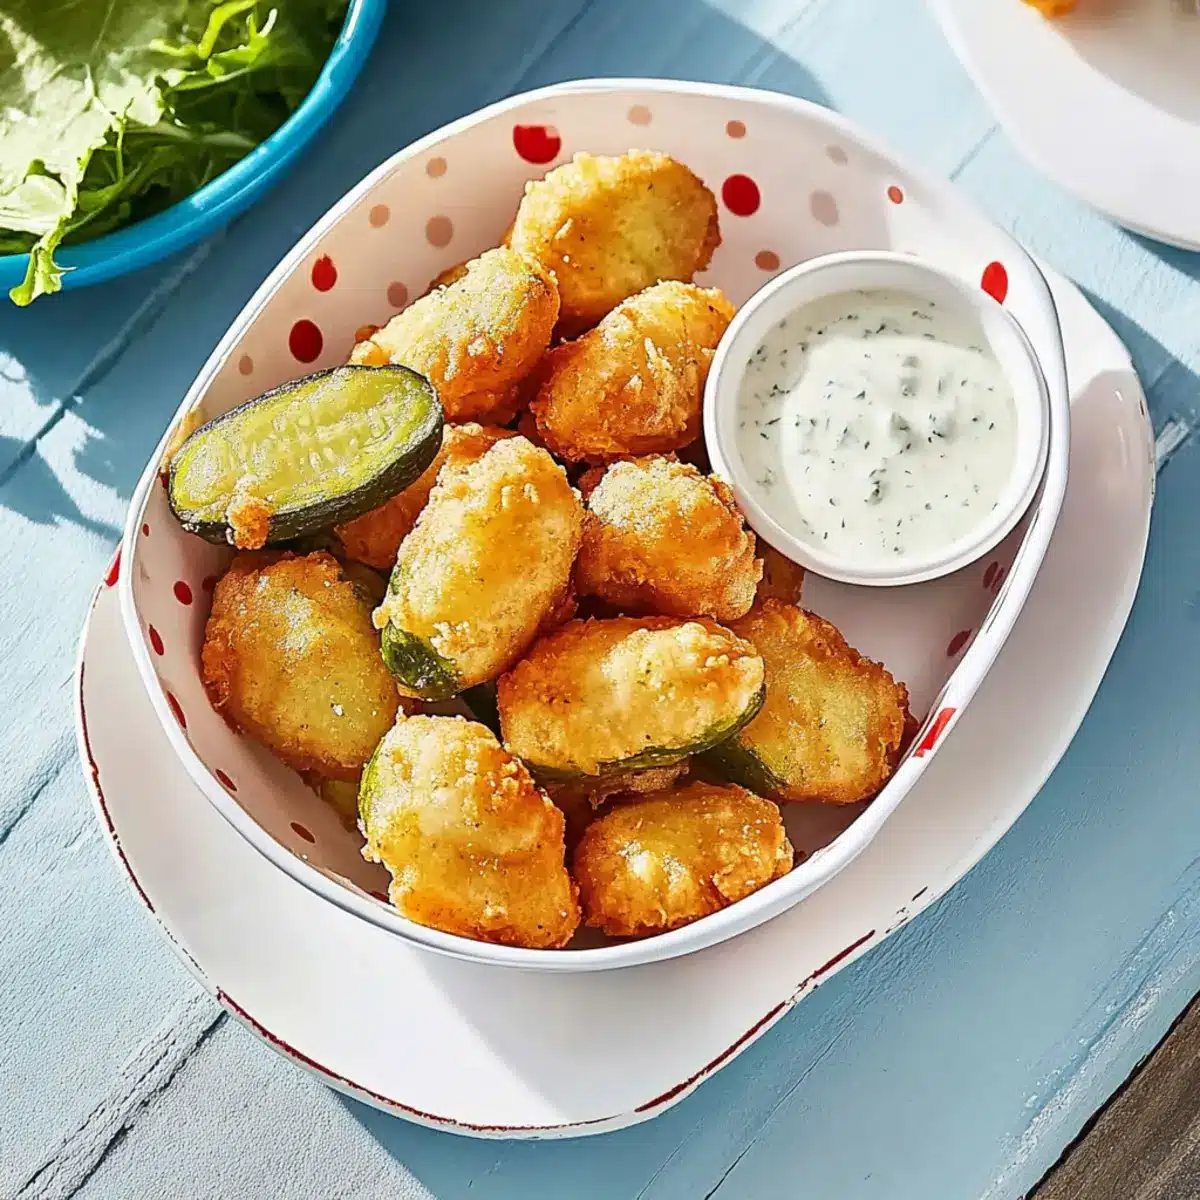
- ½ cup sour cream (Full-fat gives the best texture.)
- ¼ cup buttermilk
- ¼ cup mayonnaise (I recommend Duke’s or Hellmann’s.)
- 1 tablespoon fresh dill, chopped (Or 1 teaspoon dried dill. Fresh is best!)
- 1 tablespoon fresh chives, chopped
- 1 teaspoon garlic powder
- ½ teaspoon onion powder
- ½ teaspoon salt
- ¼ teaspoon black pepper
- Squeeze of lemon juice (To brighten it up.)
For the pickles, I really recommend finding a brand that’s naturally fermented or has a good snap. The texture of the pickle itself matters just as much as the breading. If you’re using pickle spears, you might want to cut them in half lengthwise so they’re easier to eat. And don’t skip the cornstarch in the breading. That’s what gives you that ultra-crispy, almost shattery crust. If you’re looking for another great dip to serve alongside, my creamy dill pickle dip is a fantastic option for true pickle lovers.
Equipment Needed
You don’t need a deep fryer for this recipe. A few basic kitchen tools will do the job perfectly.
- Large heavy-bottomed pot or Dutch oven: This is essential for even heat distribution and maintaining oil temperature. A cast iron Dutch oven is my go-to.
- Deep-fry thermometer: Don’t skip this! Maintaining the right oil temperature (350°F) is the difference between crispy and greasy. A clip-on candy thermometer works great.
- Mixing bowls: You’ll need one for the buttermilk mixture and one for the flour dredge.
- Whisk: For combining the wet and dry ingredients.
- Slotted spoon or spider strainer: For safely removing the pickles from the hot oil.
- Paper towels or wire rack: For draining the fried pickles. A wire rack set over a baking sheet is best for keeping them crispy.
- Baking sheet: To hold the pickles before and after frying.
- Small bowl: For mixing the ranch dip.
If you don’t have a Dutch oven, a deep, heavy saucepan will work. Just make sure it’s big enough to hold the oil without splattering. A budget-friendly option is to use a wok. The wide opening makes it easy to fry in batches. And honestly, I’ve used a basic cast iron skillet in a pinch. It works, you just have to be more careful about the temperature.
Preparation Method
Let’s get to the fun part. Follow these steps, and you’ll have a batch of perfect crispy fried pickles in no time.
- Drain the pickles: Open your jar of dill pickles and drain them well in a colander. Pat them dry very thoroughly with paper towels. This is a crucial step. Excess moisture will make the breading slide off and cause the oil to splatter. Let them sit on a paper towel-lined plate for about 10 minutes.
- Make the buttermilk mixture: In a medium bowl, whisk together the buttermilk, egg, and hot sauce (if using). Set aside.
- Prepare the flour dredge: In a separate shallow bowl, whisk together the all-purpose flour, cornstarch, garlic powder, onion powder, paprika, cayenne pepper, salt, and black pepper.
- Set up your dredging station: Arrange your bowls in this order: pickles, buttermilk mixture, flour mixture, and a clean baking sheet. This assembly line makes the process smooth and mess-free.
- Dredge the pickles: Working in batches, take a few pickle slices and dip them into the buttermilk mixture, letting any excess drip off. Then, transfer them to the flour mixture. Toss them around to coat completely, pressing the flour gently into the ridges. Shake off any excess flour and place them on the baking sheet. Repeat with all the pickles.
- Heat the oil: Pour about 2 inches of vegetable or peanut oil into your heavy-bottomed pot. Attach your deep-fry thermometer and heat the oil over medium-high heat to 350°F (175°C). This usually takes about 5-7 minutes. Don’t rush this step.
- Fry in batches: Once the oil is hot, carefully add a single layer of pickles to the pot. Don’t overcrowd. Fry for 2-3 minutes, turning once halfway through, until they are golden brown and crispy. The pickles should float to the surface when they’re done.
- Drain and season: Use your slotted spoon or spider strainer to transfer the fried pickles to a paper towel-lined plate or a wire rack. Immediately sprinkle with a tiny bit of extra salt while they’re hot. This is the best time to season them.
- Make the ranch dip: While the pickles are frying, make the dip. In a small bowl, combine the sour cream, buttermilk, mayonnaise, fresh dill, fresh chives, garlic powder, onion powder, salt, pepper, and a squeeze of lemon juice. Stir until smooth. Taste and adjust the seasoning. You can make this ahead of time and let it chill in the fridge.
- Serve immediately: Fried pickles are best enjoyed hot and fresh. Serve them right away with the dreamy buttermilk ranch on the side for dipping.
A few things to watch for. If your pickles are browning too quickly, the oil is too hot. If they look pale and greasy, the oil isn’t hot enough. That thermometer is your best friend here. Also, don’t skip the double-dredge step. It sounds fussy, but it’s what creates that thick, crunchy crust that stays put.
Cooking Tips & Techniques
I’ve made plenty of mistakes with fried pickles over the years. Here are the lessons I learned so you don’t have to.
The biggest mistake is soggy pickles. This almost always happens because the pickles weren’t dried properly or the oil wasn’t hot enough. Water is the enemy of crispy frying. Pat those pickles bone dry. And always let your oil come back up to temperature between batches. If you add cold pickles to oil that’s below 325°F, they’ll absorb oil like a sponge.
Don’t skip the cornstarch. I tried making these with just flour once, and the crust was good but not great. Cornstarch is the secret to that light, shattery crunch you get at fairs and restaurants. It also helps the breading stay on during frying.
Work in small batches. I know it’s tempting to throw all the pickles in at once, but it will lower the oil temperature and lead to uneven cooking. Fry in a single layer with a little space between each piece. It takes a few more minutes, but the results are worth it.
Use a wire rack for draining. Paper towels are fine in a pinch, but they can trap steam and make the bottom of your pickles soggy. A wire rack set over a baking sheet allows air to circulate around the pickles, keeping them crispy on all sides. This is a game-changer for texture.
Season immediately. Right when the pickles come out of the oil, hit them with a little salt. The heat helps the salt adhere and melt into the crust. If you wait, the salt will just fall off.
Timing is everything. These pickles are best within the first 10 minutes of frying. If you’re serving a crowd, fry them in batches and keep the finished ones warm in a 200°F oven on the wire rack. They’ll stay crispy for about 20 minutes that way.
Variations & Adaptations
One of the best things about this recipe is how easy it is to change up. Here are a few of my favorite variations.
Spicy Buffalo Version: Add 2 tablespoons of buffalo sauce to the buttermilk mixture and increase the cayenne pepper to 1 teaspoon. Serve with blue cheese dressing instead of ranch. It’s a whole new level of heat.
Gluten-Free Adaptation: Swap the all-purpose flour with a 1:1 gluten-free flour blend (like King Arthur Measure for Measure) and use gluten-free cornstarch. The texture will be slightly different, but still very crispy. I’ve tested this, and it works surprisingly well.
Air Fryer Method: If you want a lighter version, you can make these in an air fryer. Spray the dredged pickles generously with cooking spray and air fry at 400°F for 8-10 minutes, shaking the basket halfway through. They won’t be quite as crispy as deep-fried, but they’re still delicious and much less oily.
Flavor Twists: Try adding different spices to the flour mixture. A teaspoon of Cajun seasoning gives them a Louisiana kick. Or add some dried ranch seasoning mix for a double ranch flavor. For a dill-forward version, add a tablespoon of dried dill to the flour.
Different Pickles: While dill pickles are classic, you can use bread and butter pickles for a sweeter, tangier version. The sugar in the bread and butter pickles will caramelize a bit in the oil, creating an amazing sweet and savory crust. Just know they’ll brown a little faster.
Serving & Storage Suggestions
These crispy fried pickles are best served immediately, hot from the oil. I like to pile them on a large platter with a small bowl of the buttermilk ranch in the center. Garnish with some extra fresh dill or chives for a pop of color. They’re perfect for game day, movie night, or as an appetizer before a summer barbecue. They pair beautifully with a refreshing cucumber lemonade for a cool contrast.
If you have leftovers (which rarely happens in my house), store them in an open container in the fridge. Do not seal them in an airtight container. The trapped moisture will make them soggy instantly. They’ll keep for about a day.
To reheat, the air fryer is your best bet. Pop them in at 375°F for 3-4 minutes, and they’ll crisp right back up. You can also reheat them in a 400°F oven on a wire rack for about 5 minutes. The microwave will make them sad and rubbery, so avoid it at all costs.
The ranch dip can be made up to 3 days in advance and stored in an airtight container in the fridge. The flavors actually get better as they meld together. Just give it a good stir before serving.
These pickles also work great as a topping for burgers or sandwiches. Pile a few on a juicy cheeseburger for an incredible crunch. Or serve them alongside a creamy bacon ranch pasta salad for a full comfort food spread.
Nutritional Information & Benefits
Let’s be real. These are fried pickles. They’re a treat, not a health food. But here’s a rough estimate for a serving of about 10-12 pickle chips with 2 tablespoons of ranch dip.
- Calories: Approximately 280-320
- Fat: 18-22g
- Carbohydrates: 25-30g
- Protein: 4-6g
- Sodium: 800-1000mg (pickles are naturally high in sodium)
On the bright side, dill pickles are low in calories and contain some beneficial probiotics from fermentation (if you use naturally fermented pickles). They also provide a small amount of vitamin K. The buttermilk in the dip adds calcium and protein. But honestly, this recipe is about indulgence and enjoyment. It’s the kind of food you eat to make a meal feel special. Balance it out with some fresh veggies on the side, and you’re good to go.
This recipe is not gluten-free as written, but it can be adapted. It contains dairy from the buttermilk, sour cream, and mayonnaise. For a dairy-free version, use a plant-based buttermilk (mix almond milk with a tablespoon of vinegar) and vegan sour cream and mayo.
Conclusion
This crispy fried pickle recipe is the real deal. It’s the one I turn to when I need a guaranteed crowd-pleaser. The combination of that shatteringly crisp crust, the warm briny pickle inside, and the cool, herbaceous ranch dip is just unbeatable. It’s comfort food at its finest, and it’s so much easier to make at home than you might think.
I love this recipe because it feels like a little celebration. Whether it’s a lazy Sunday afternoon or a big party with friends, these pickles always bring a smile. Don’t be afraid to play with the spices or try a different dip. That’s the beauty of cooking. Make it your own.
I’d love to hear how yours turn out! Drop a comment below and let me know if you tried any fun variations. Share this recipe with a friend who loves pickles, and tag me in your photos. Happy frying!
Frequently Asked Questions
Can I use pickle spears instead of chips?
Absolutely. Just cut the spears in half lengthwise so they’re easier to eat in one or two bites. The cooking time will be about the same, maybe a minute longer for thicker pieces.
Why did my breading fall off?
This usually happens for one of three reasons: the pickles weren’t dry enough, the oil wasn’t hot enough, or you didn’t press the flour mixture into the ridges. Pat the pickles very dry and make sure your oil is at 350°F before adding them.
Can I make these ahead of time?
Fried pickles are best fresh. However, you can dredge them up to an hour ahead and keep them in the fridge on a baking sheet. Fry them just before serving. The ranch dip can be made up to 3 days in advance.
What’s the best oil for frying?
Vegetable oil, canola oil, and peanut oil are all excellent choices. They have high smoke points and neutral flavors. Peanut oil adds a subtle nuttiness that I really love.
How do I keep fried pickles warm for a party?
Place them on a wire rack set over a baking sheet in a 200°F oven. This keeps them warm and crispy for about 20-30 minutes. Don’t cover them with foil or they’ll steam and get soggy.
Pin This Recipe!
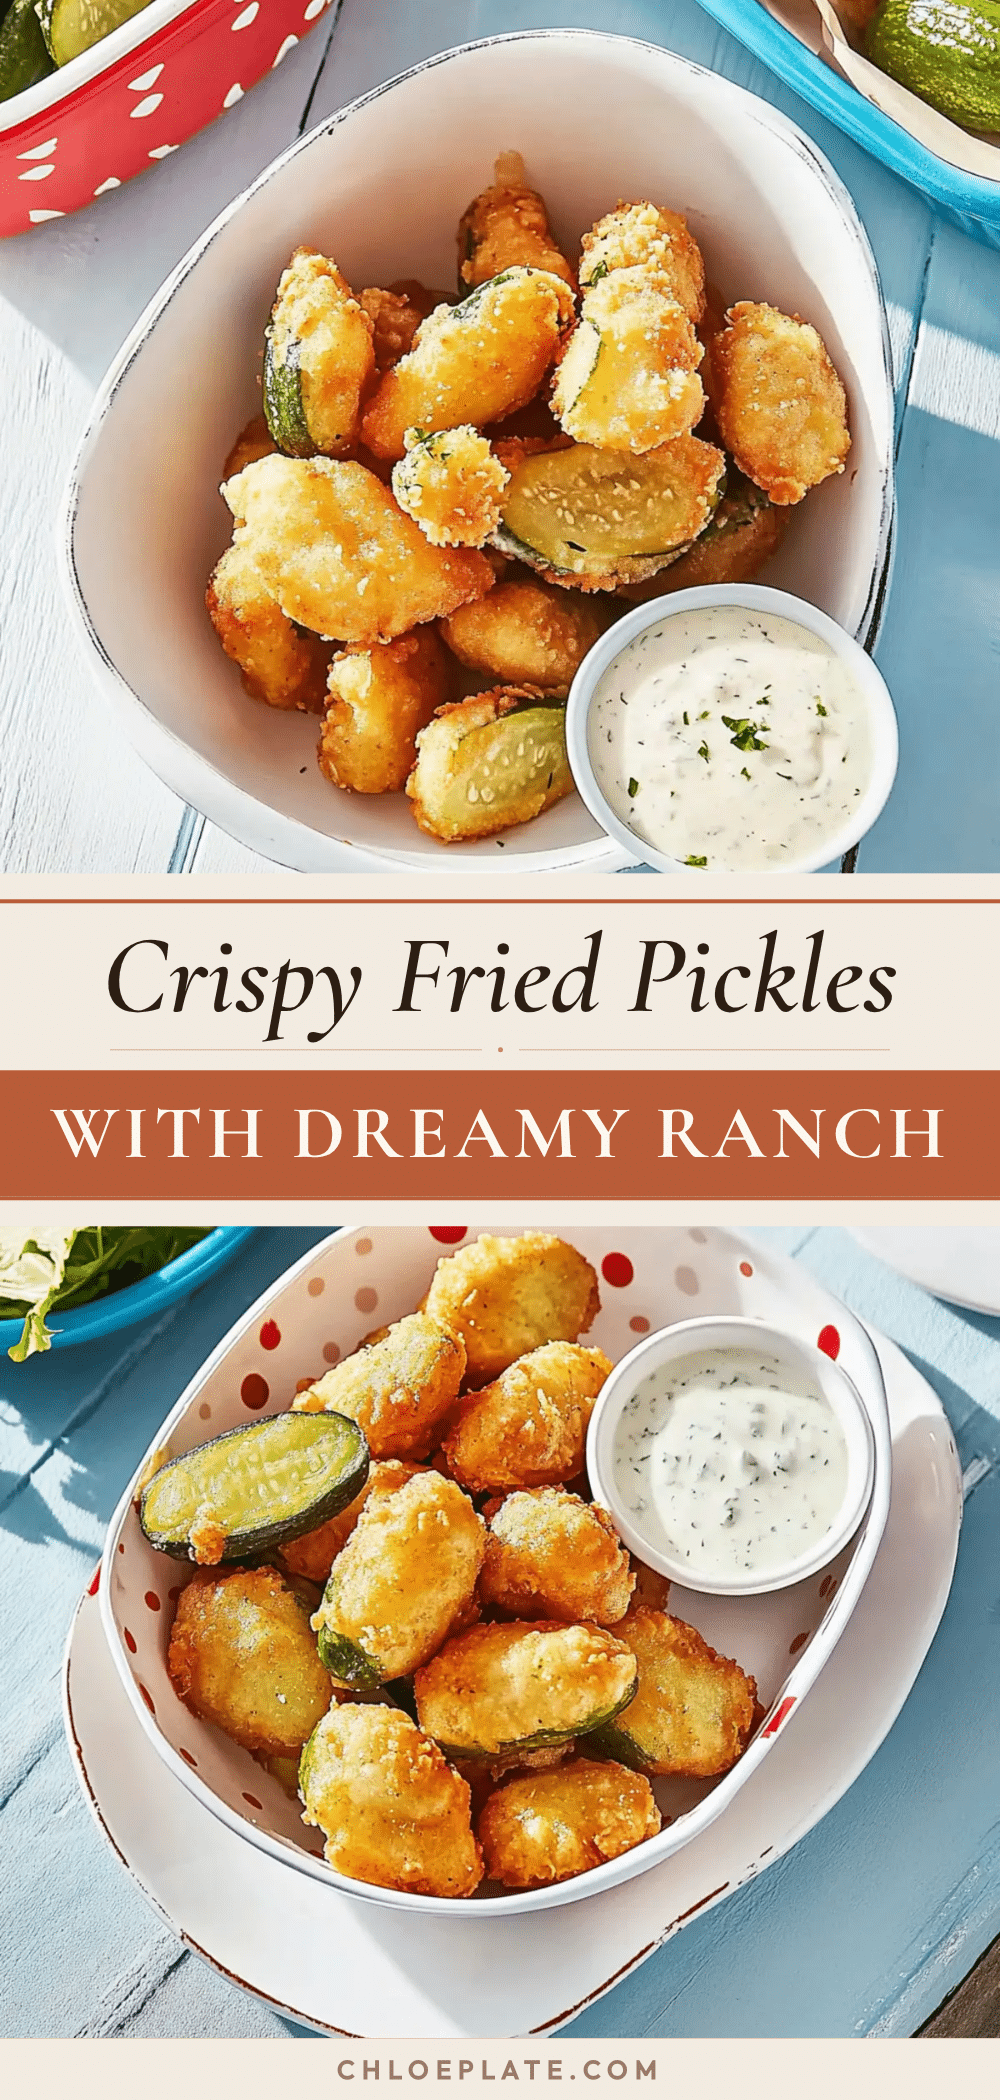
Crispy Fried Pickles with Dreamy Buttermilk Ranch: Best Easy Appetizer
These crispy fried pickles feature a shatteringly crisp coating and tangy dill spears, served with a dreamy herb-flecked buttermilk ranch dip. Perfect for parties or a quick snack.
- Prep Time: 15 minutes
- Cook Time: 10 minutes
- Total Time: 25 minutes
- Yield: 4 servings 1x
- Category: Appetizer
- Cuisine: American
Ingredients
- 1 jar (16 oz) dill pickle chips or spears
- 1 cup buttermilk
- 1 large egg
- 1 teaspoon hot sauce (optional)
- 1 ½ cups all-purpose flour
- ½ cup cornstarch
- 1 teaspoon garlic powder
- 1 teaspoon onion powder
- 1 teaspoon paprika
- ½ teaspoon cayenne pepper
- 1 teaspoon salt
- ½ teaspoon black pepper
- Vegetable oil or peanut oil (for frying)
- ½ cup sour cream
- ¼ cup buttermilk
- ¼ cup mayonnaise
- 1 tablespoon fresh dill, chopped
- 1 tablespoon fresh chives, chopped
- 1 teaspoon garlic powder
- ½ teaspoon onion powder
- ½ teaspoon salt
- ¼ teaspoon black pepper
- Squeeze of lemon juice
Instructions
- Drain the pickles well in a colander and pat them dry thoroughly with paper towels. Let them sit on a paper towel-lined plate for about 10 minutes.
- In a medium bowl, whisk together the buttermilk, egg, and hot sauce (if using). Set aside.
- In a separate shallow bowl, whisk together the all-purpose flour, cornstarch, garlic powder, onion powder, paprika, cayenne pepper, salt, and black pepper.
- Arrange your bowls in this order: pickles, buttermilk mixture, flour mixture, and a clean baking sheet.
- Working in batches, dip a few pickle slices into the buttermilk mixture, letting excess drip off. Transfer to the flour mixture and toss to coat completely, pressing the flour gently into the ridges. Shake off excess flour and place on the baking sheet. Repeat with all pickles.
- Pour about 2 inches of vegetable or peanut oil into a heavy-bottomed pot. Attach a deep-fry thermometer and heat the oil over medium-high heat to 350°F (175°C).
- Once the oil is hot, carefully add a single layer of pickles to the pot. Do not overcrowd. Fry for 2-3 minutes, turning once halfway through, until golden brown and crispy.
- Use a slotted spoon or spider strainer to transfer the fried pickles to a paper towel-lined plate or a wire rack. Immediately sprinkle with a tiny bit of extra salt while hot.
- While the pickles are frying, make the ranch dip. In a small bowl, combine the sour cream, buttermilk, mayonnaise, fresh dill, fresh chives, garlic powder, onion powder, salt, pepper, and a squeeze of lemon juice. Stir until smooth. Taste and adjust seasoning.
- Serve the fried pickles immediately with the buttermilk ranch on the side.
Notes
Pat pickles very dry to avoid soggy coating. Maintain oil temperature at 350°F. Season immediately after frying. For best results, serve within 10 minutes. Leftovers can be reheated in an air fryer at 375°F for 3-4 minutes.
Nutrition
- Serving Size: 10-12 pickle chips w
- Calories: 300
- Sugar: 3
- Sodium: 900
- Fat: 20
- Saturated Fat: 5
- Carbohydrates: 28
- Fiber: 1
- Protein: 5
Keywords: fried pickles, buttermilk ranch, crispy appetizer, party food, game day snack



